
Choose a legal, unobstructed position
Sit in the driver's normal position and identify a high area near the mirror that does not block the road, cover a vehicle sensor, or interfere with a sun visor.

Gearjury may earn a commission from qualifying purchases made through retailer links.
Guide
To learn how to mount a dash cam, start with a clean, legal windshield position, preview the frame, attach the correct mount, and route power away from airbags. Finish by reviewing an original clip in daylight and darkness.
Sit in the driver's normal position and identify a high area near the mirror that does not block the road, cover a vehicle sensor, or interfere with a sun visor.
Use the cleaning method specified by the camera maker, remove residue, and let the glass dry fully. Do not attach adhesive over damaged tint or a surface the instructions exclude.
Power the camera temporarily and use its screen or app to level the horizon. Check that the lens sees through the wiper-cleared area and that trim does not cut into the image.
Follow the supplied mount instructions exactly and apply steady pressure where directed. Adhesive mounts need the correct pad and surface conditions; suction mounts need periodic inspection.
Run the cable neatly without obstructing pedals, steering, mirrors, or controls. Do not tuck it across a curtain-airbag deployment path or force it behind trim without knowing what is underneath.
Test cable length and hatch movement before securing anything. Protect the cable where it passes through moving trim and never use an interior-only camera outside.
Use a compatible memory card, follow the camera's formatting guidance, set the date, and review original clips. Re-aim if the road is too dark, the dashboard dominates, or the mount vibrates.
Common questions
Adhesive mounts are usually compact and stable; suction mounts are easier to move. Use the mount type approved for the exact camera and inspect it regularly.
Only if the manufacturer supports that orientation and the lens has a clear, stable view. Reflections and the hood may reduce useful footage.
Follow the adhesive and camera instructions because curing time varies. Avoid loading or adjusting the mount sooner than directed.
Only when the route is known to be safe and does not cross an airbag path. Vehicle construction differs, so consult the manual or a professional installer.
Keep exploring
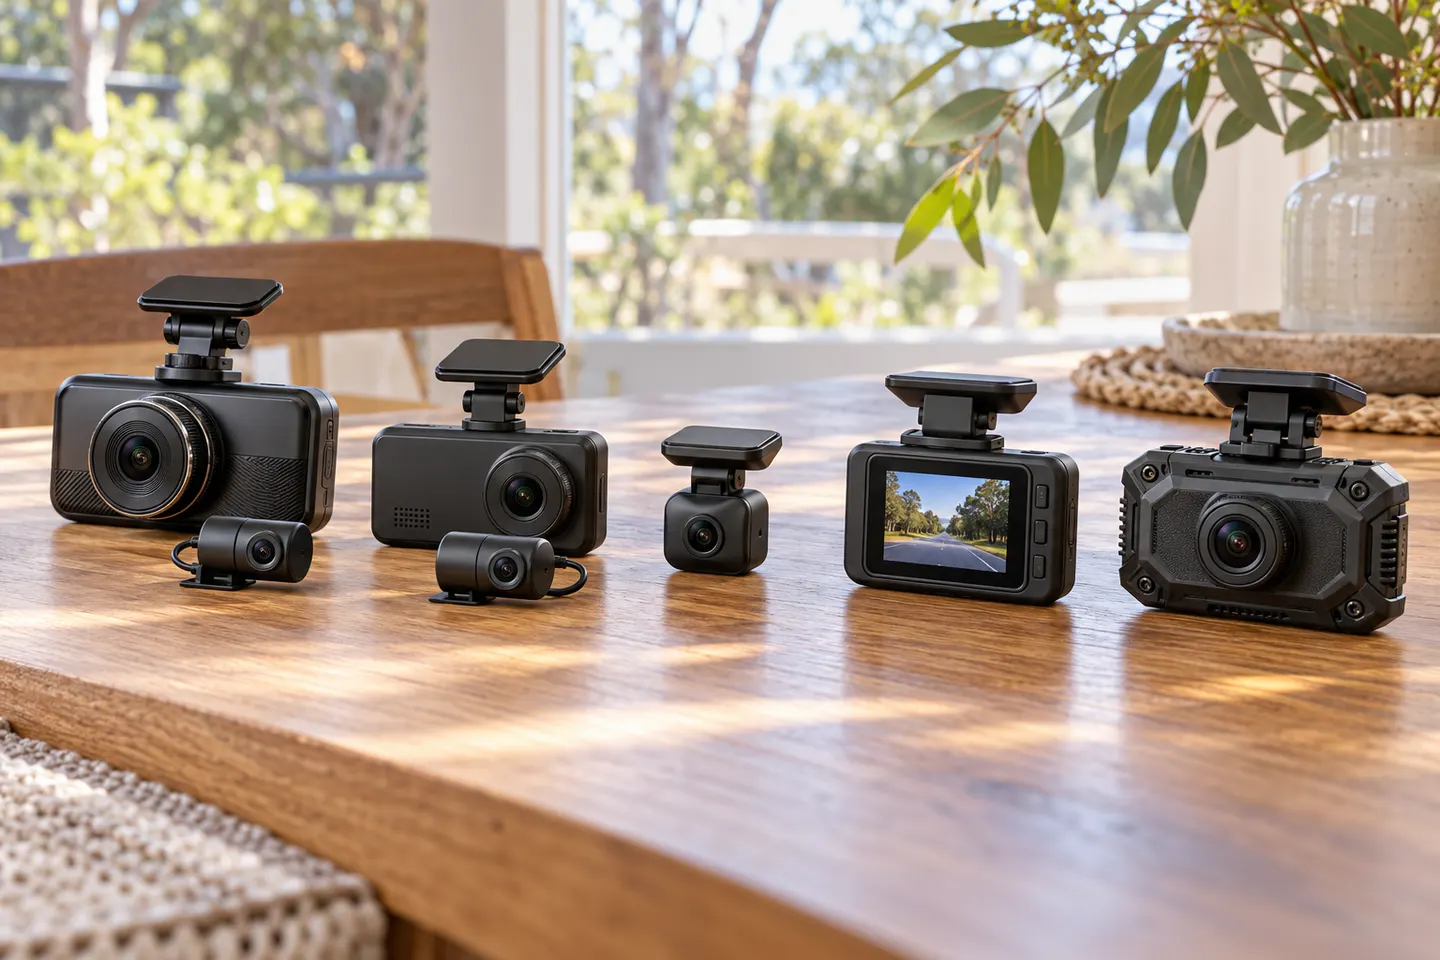
VIOFO A229 Pro 2CH is our broad recommendation for detailed front and rear coverage. Garmin Mini 3 favors discretion, while Garmin X310 is the sharper single-camera choice.
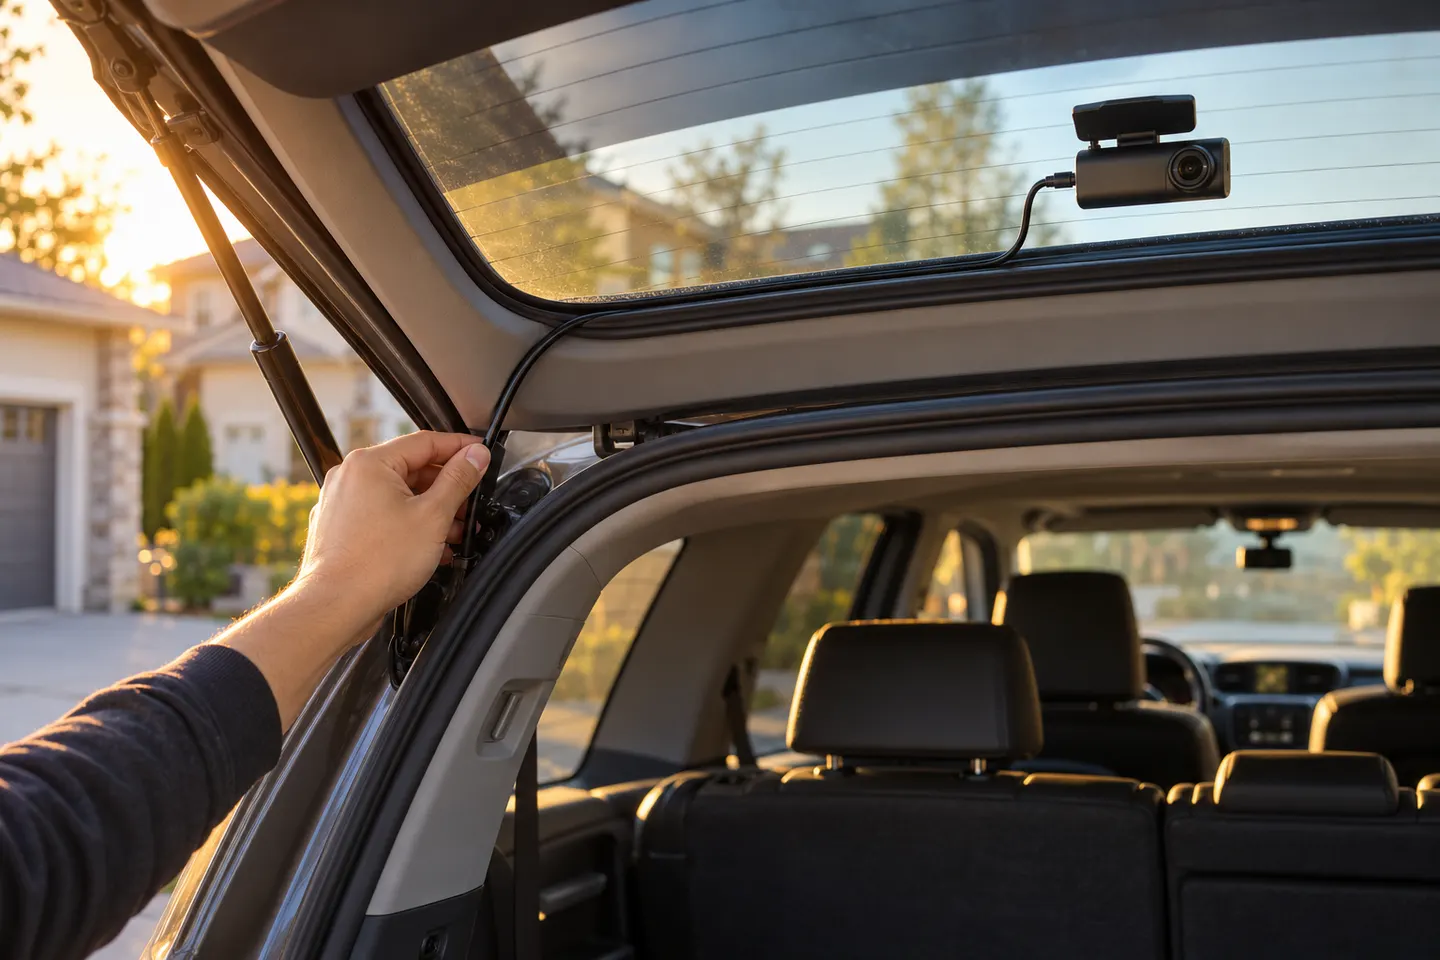
A front and rear dash cam records both directions and can provide context a single lens misses. Check the rear-camera cable route and simultaneous recording resolution before buying.
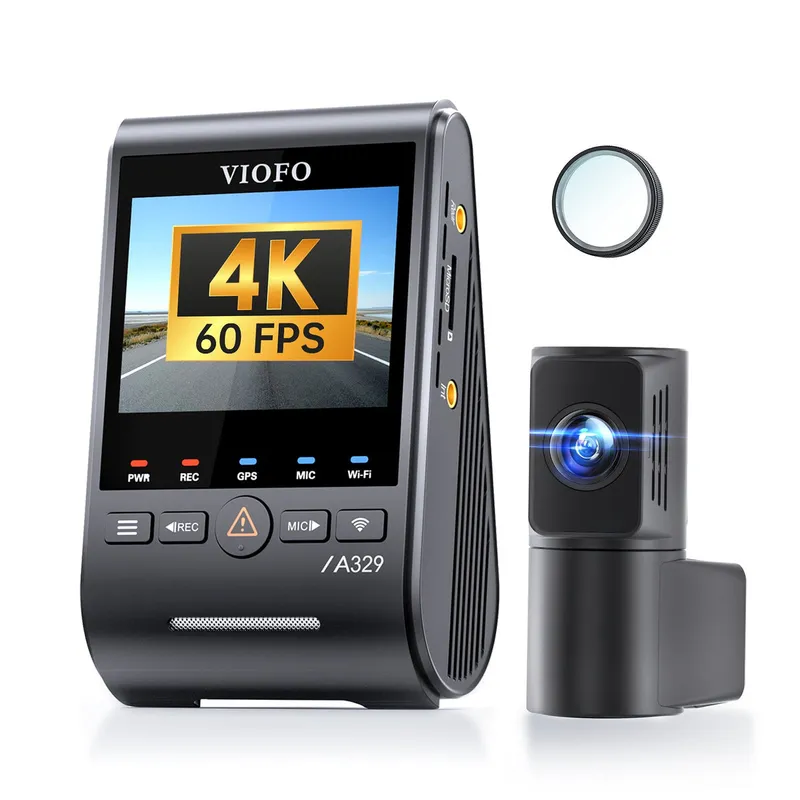
The A329S serves buyers seeking high-detail multichannel recording; A229 models cover more moderate dual-camera needs, while A119 Mini 2 is the compact front-only option.
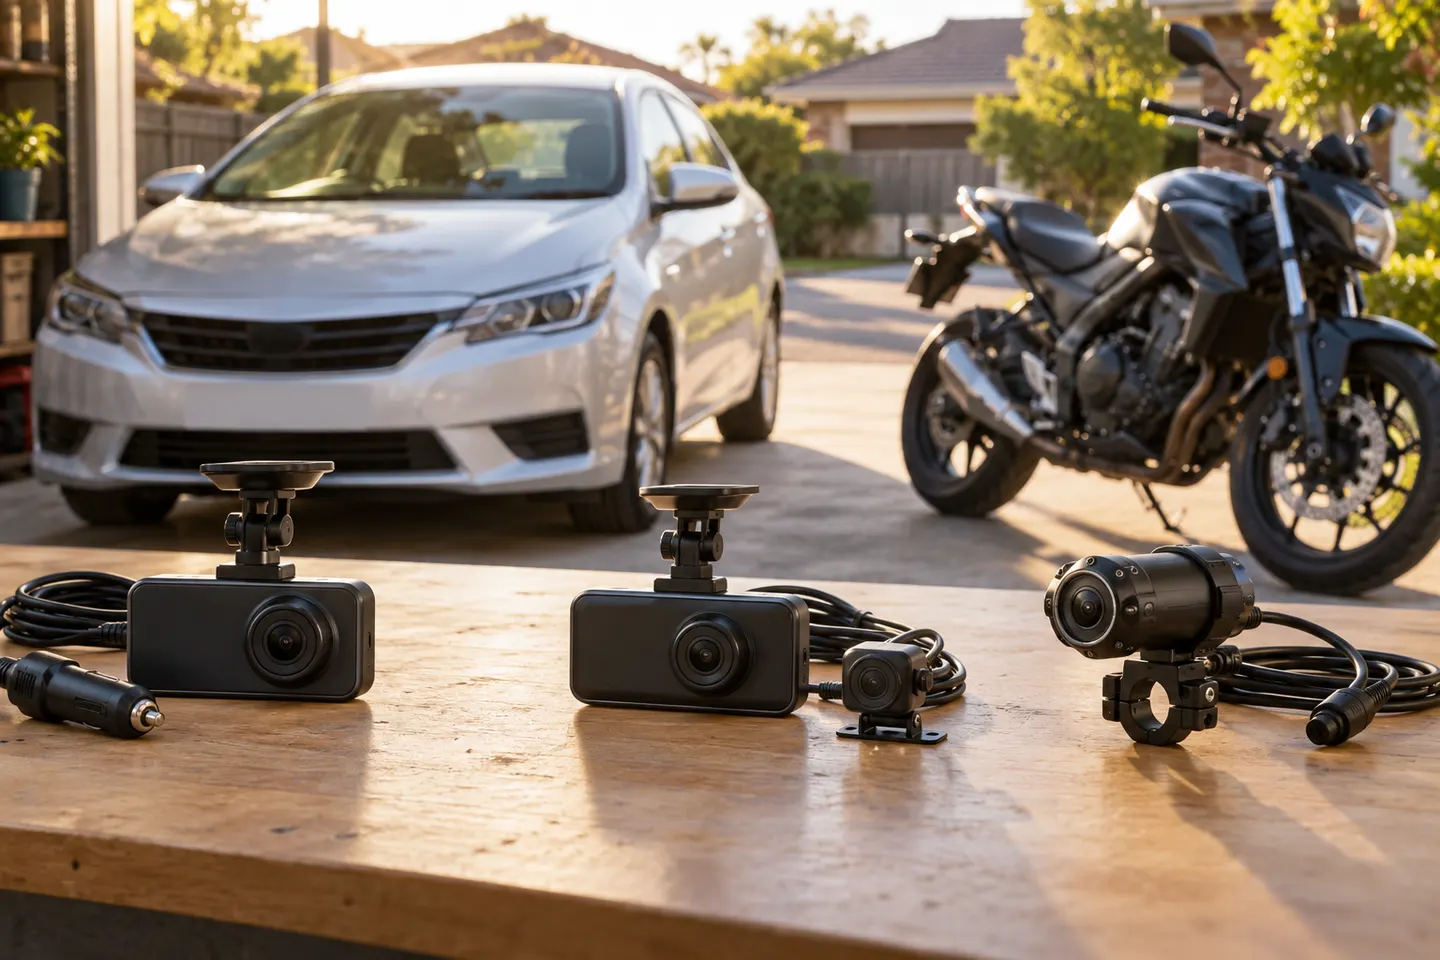
Start with the coverage you need: front-only, front and rear, cabin or a wider multi-camera view. Then compare recording detail, storage and power requirements.