Find the thermometer's sensing area
Digital instant-read models usually sense near the tip, while dial thermometers may average temperature along a longer stem section. Check the manual so the entire sensing area sits inside the food.

Gearjury may earn a commission when you buy through a retailer link. Editorial choices remain independent.
Guide
Put the sensing area in the thermal center of the food, avoid bone and cookware, and wait for the display or dial to stabilize. Check more than one location in irregular cuts.
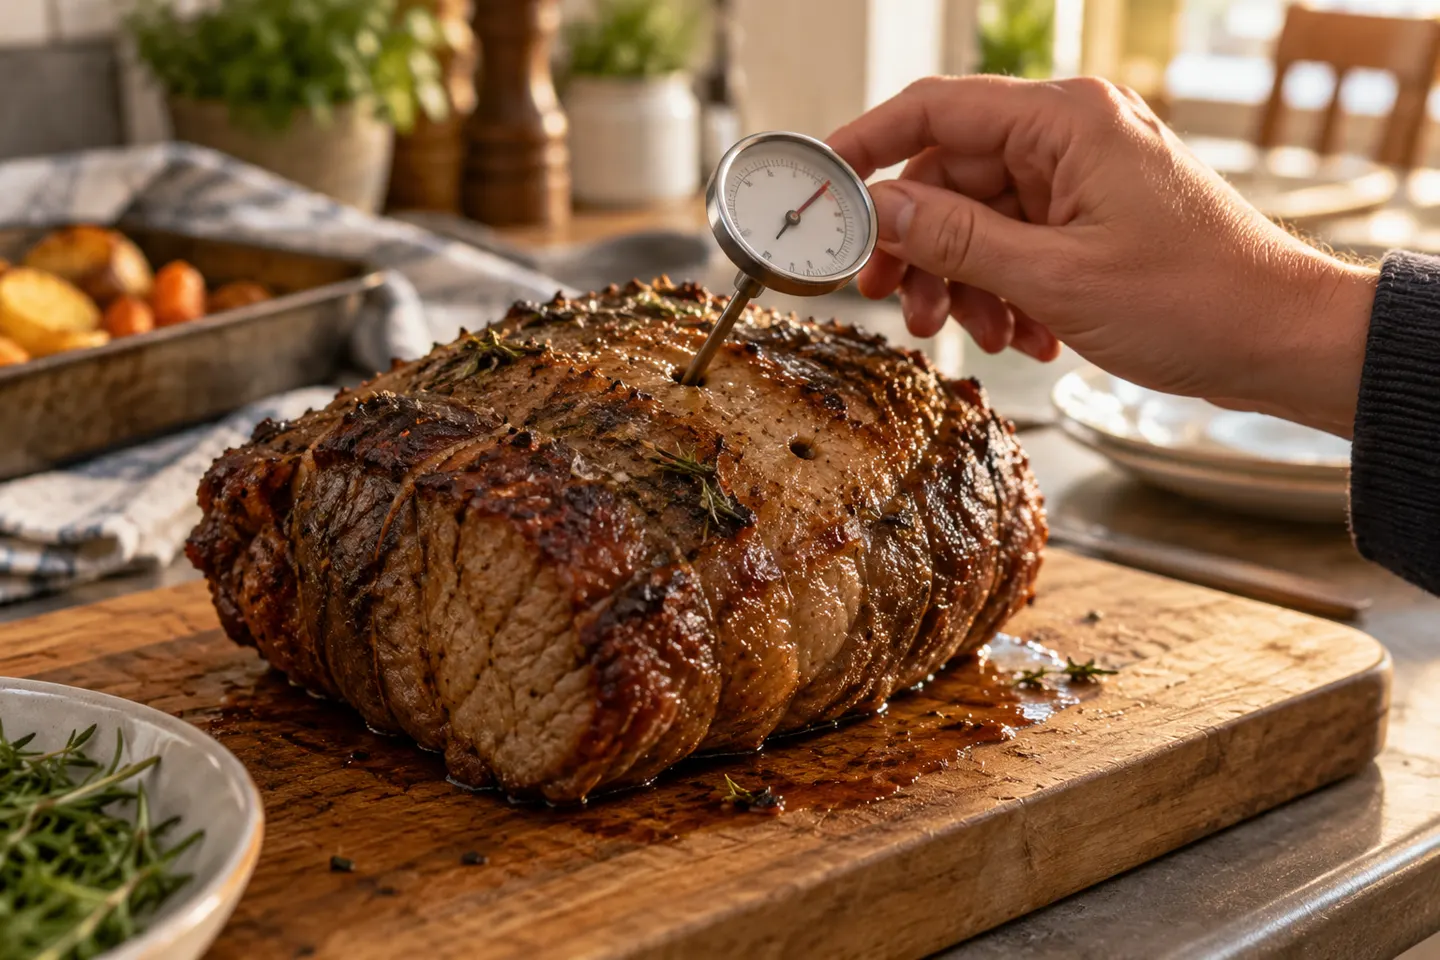
Digital instant-read models usually sense near the tip, while dial thermometers may average temperature along a longer stem section. Check the manual so the entire sensing area sits inside the food.
Aim for the thickest part of the food and approach from the side for thin items. Avoid bone, gristle, large fat pockets, the pan and the cooking grate.
A digital display should stop changing materially; a dial needs time for the pointer to settle. The manufacturer's stated response time is a guide, not permission to read while the value is still moving.
Confirm whether the display is showing Fahrenheit or Celsius. Compare the lowest valid center reading with current safe-minimum guidance for that exact food.
Large roasts, whole poultry and uneven portions do not heat uniformly. Sample additional thick areas and reposition any reading affected by bone or shallow insertion.
On a dial model, insert the required stem depth, wait until the needle stops moving and read the marked scale at eye level. Use the instructions for the exact GoodCook model because stem depth and calibration features differ.
Common questions
Wait until the digital value or dial pointer stabilizes. Response time varies by model and insertion depth.
The full sensing area must reach the thermal center. A fine-tip digital probe may need less depth than a dial thermometer with a longer sensing zone.
A leave-in oven-safe model is designed for that job. For a handheld instant-read model, open the cooker, insert it for the check and remove it afterward.
It commonly indicates a reading outside the instrument's range or a probe fault, but meanings vary. Check the exact model's manual before using the result.