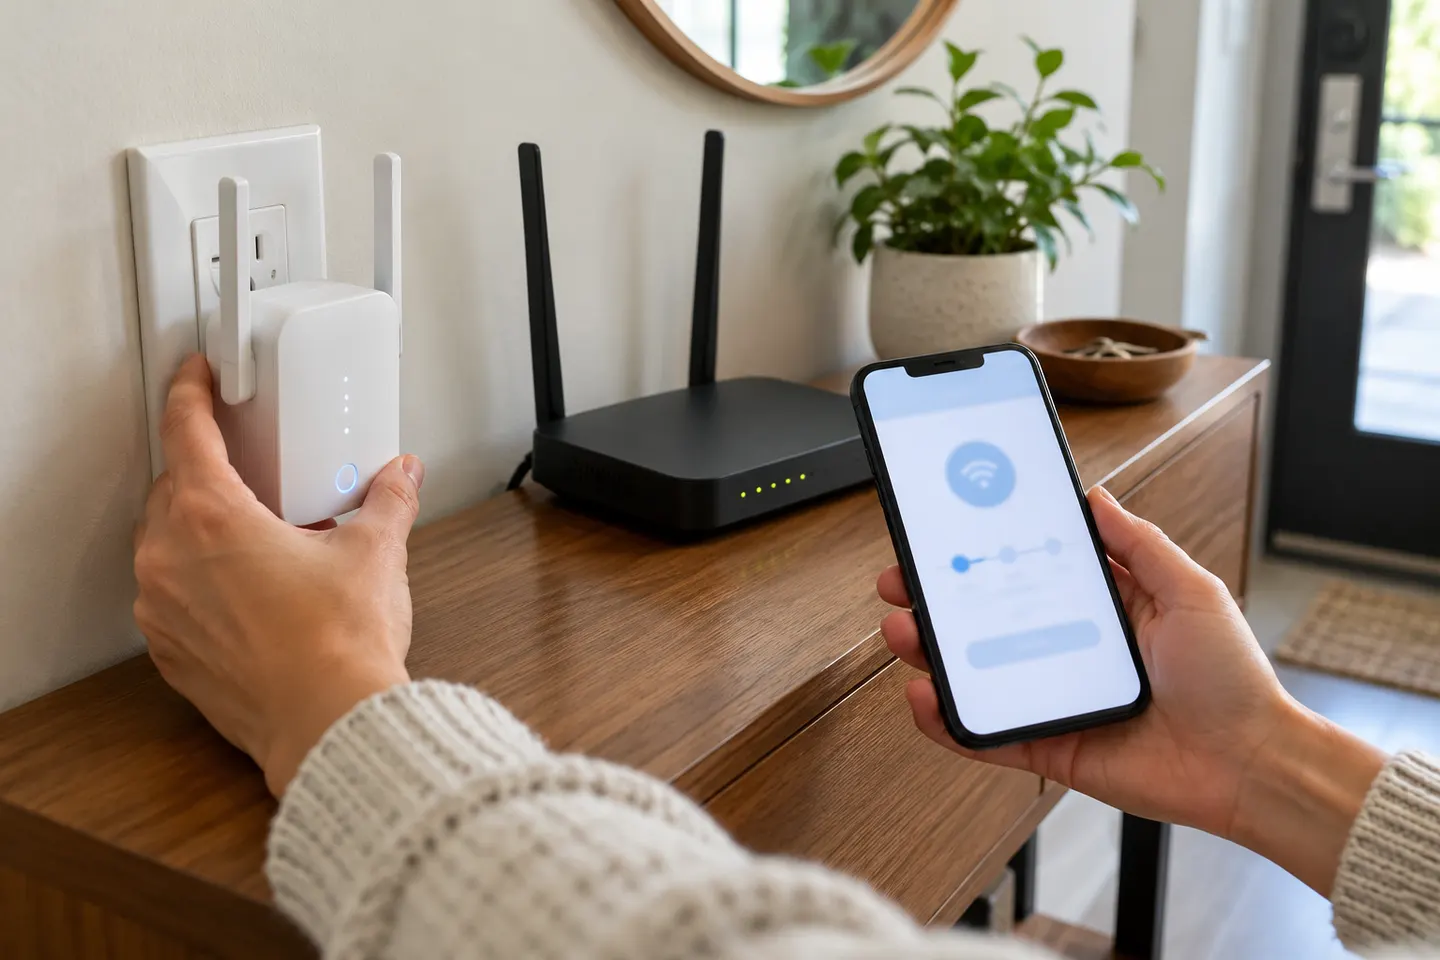
How to Set Up a TP-Link WiFi Extender Step by Step
Pair the extender near your router using WPS, the Tether app or its web setup, then move it to a position with a stable router signal. The exact controls vary by model.

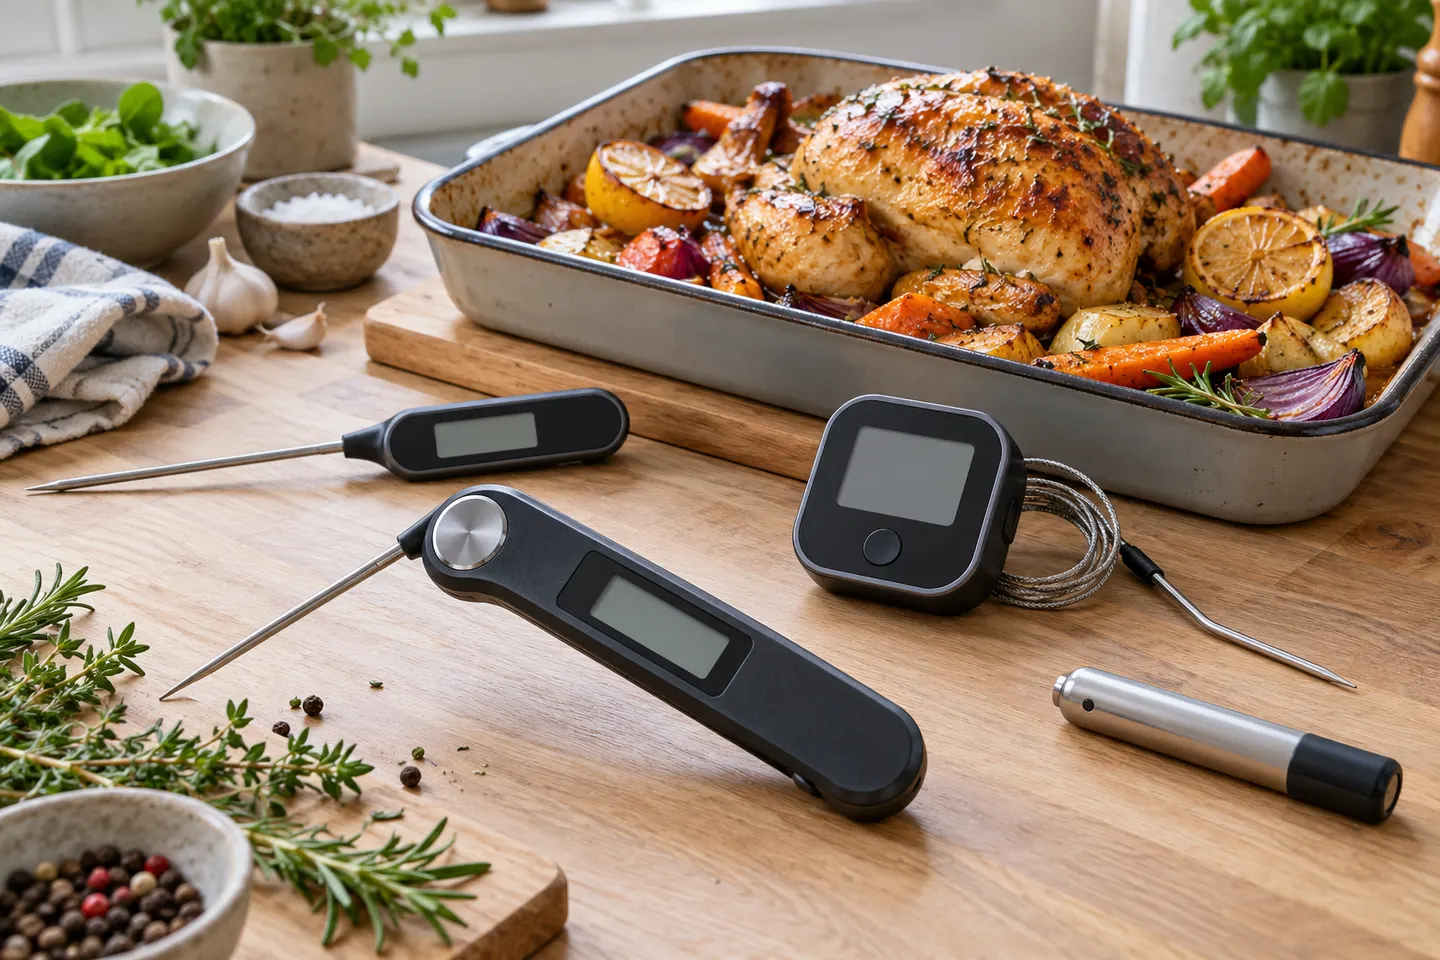 Best picksBest Meat Thermometers in Canada for 2026
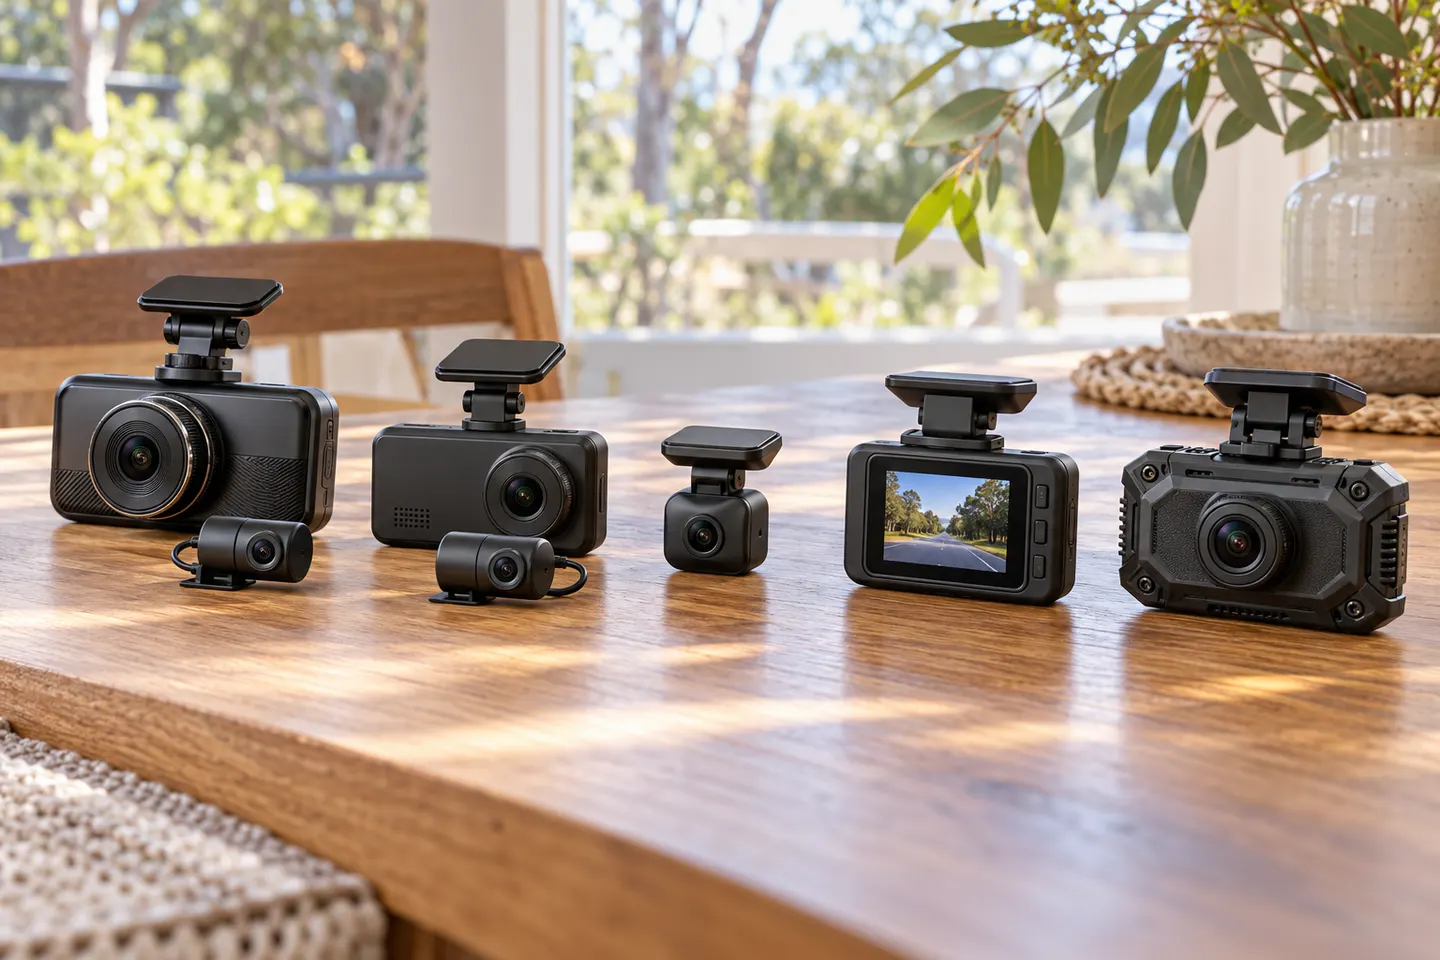 Best picksThe Best Dash Cam Cameras for Different Drivers
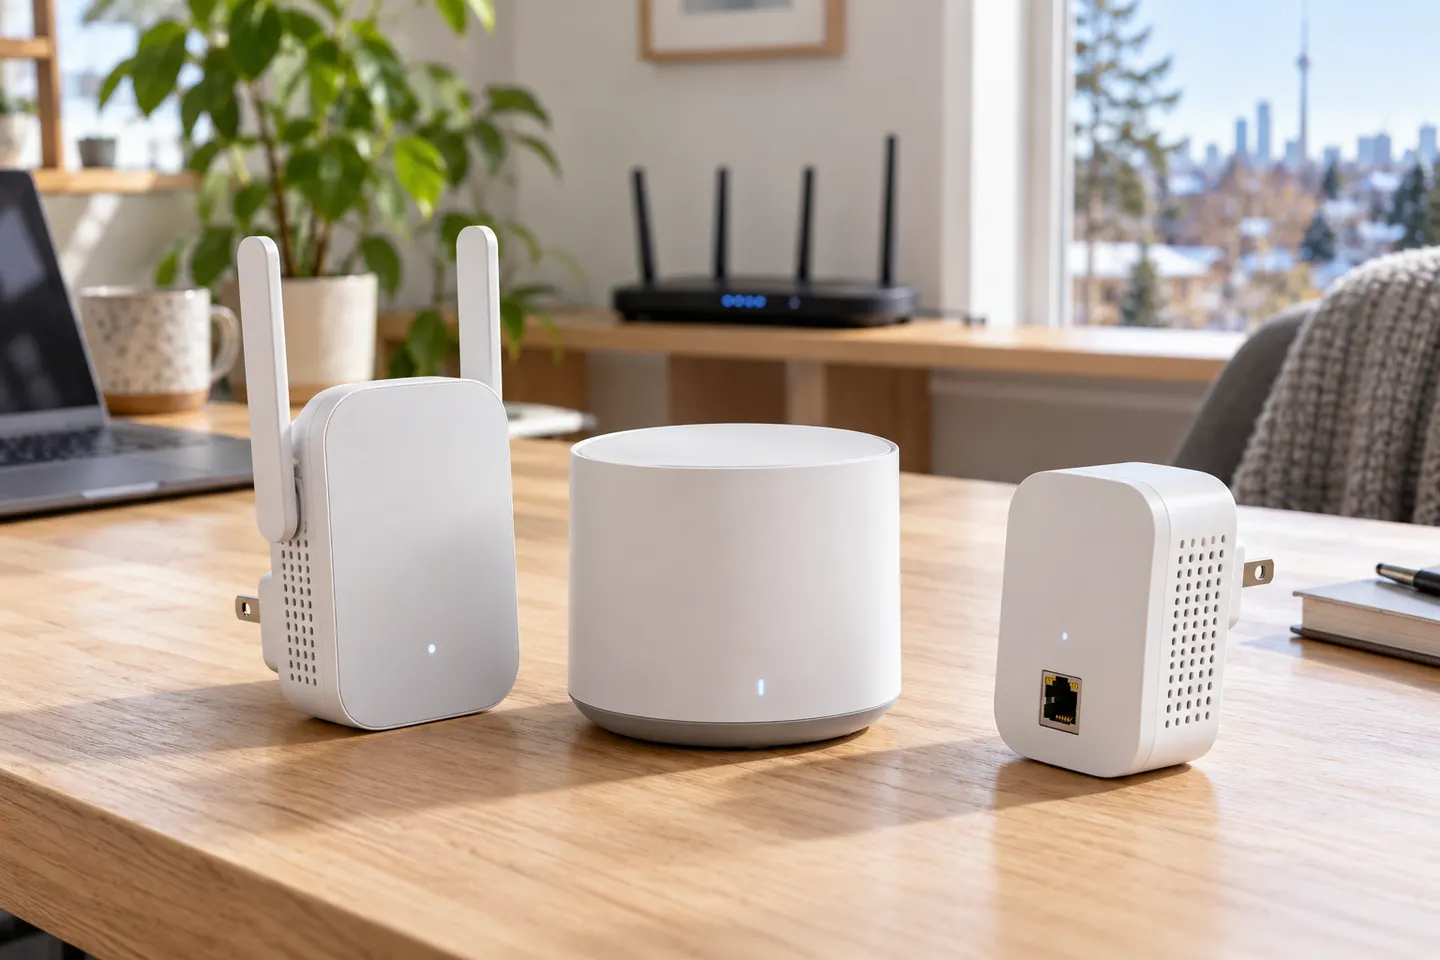 Best picksBest WiFi Extenders in Canada for Different Home Networks
 Best picksBest Air Purifier for Bedroom in the Canada: Quiet Models Compared
Start here
Pair the extender near your router using WPS, the Tether app or its web setup, then move it to a position with a stable router signal. The exact controls vary by model.
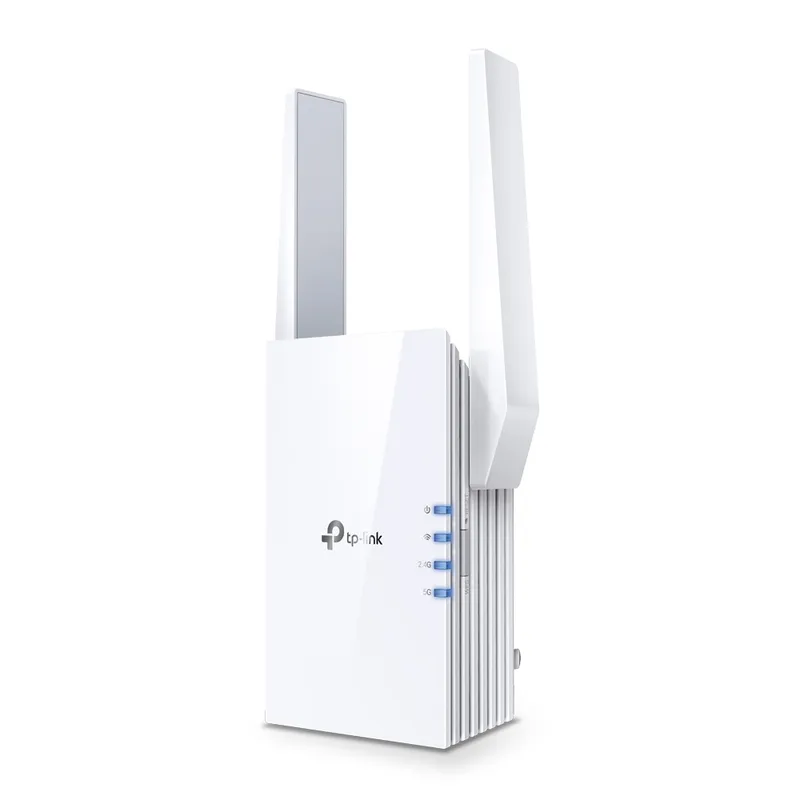
TP-Link’s Canadian range includes WiFi 7, WiFi 6 and older dual-band extenders. Match the model to your router, desired features and available placement.
Our picks
Official manufacturer image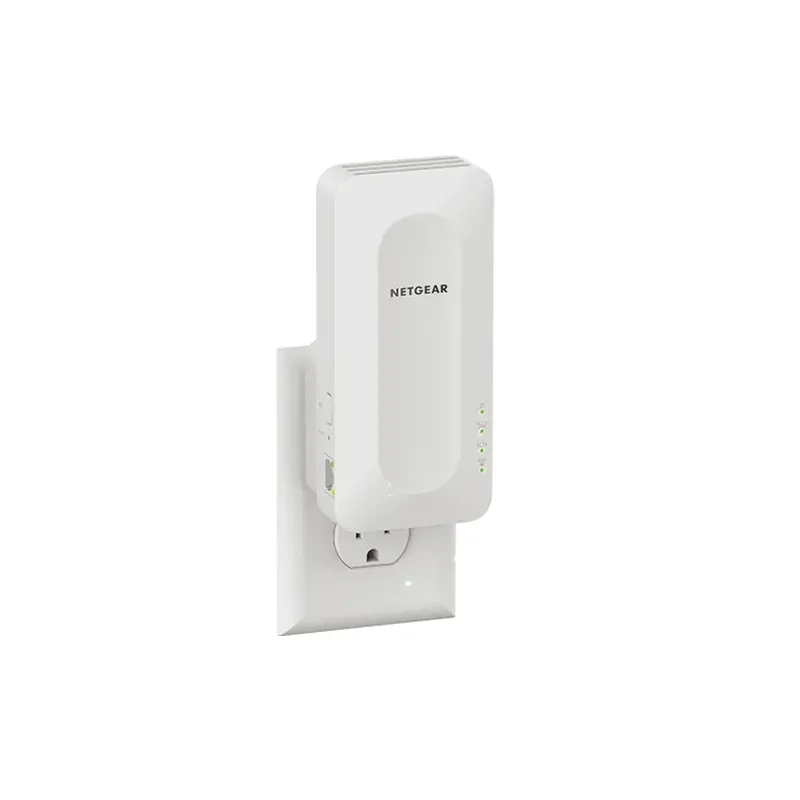 Official manufacturer image
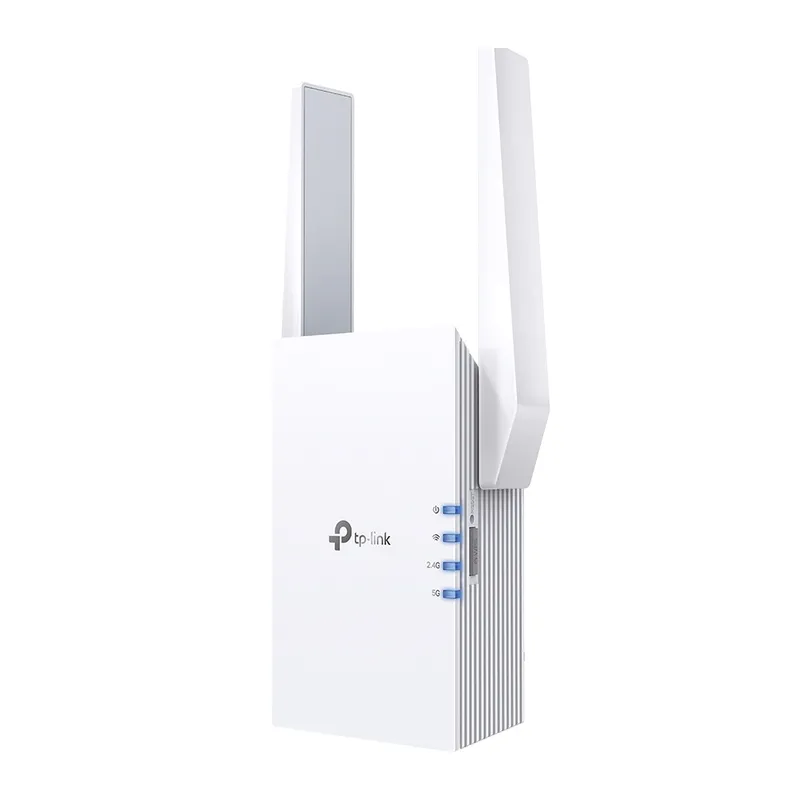 Official manufacturer image
Common questions
For supported models, TP-Link offers WPS, Tether app and browser setup. Start near the router, complete pairing with the method in your model’s guide, and relocate the extender where it still receives a reliable signal.
TP-Link says many range extenders work with standard WiFi routers. Mesh features such as EasyMesh still require compatible router equipment and supported firmware.
Check that the extender is connected to the router, confirm the network password, and ensure the Fire TV is within range of the extended signal. Restart both devices and verify band or security compatibility in their manuals.
Several models do, but port speed varies. For example, the RE705X and RE605X list Gigabit Ethernet, while the RE220 lists Fast Ethernet; confirm the current regional model page.
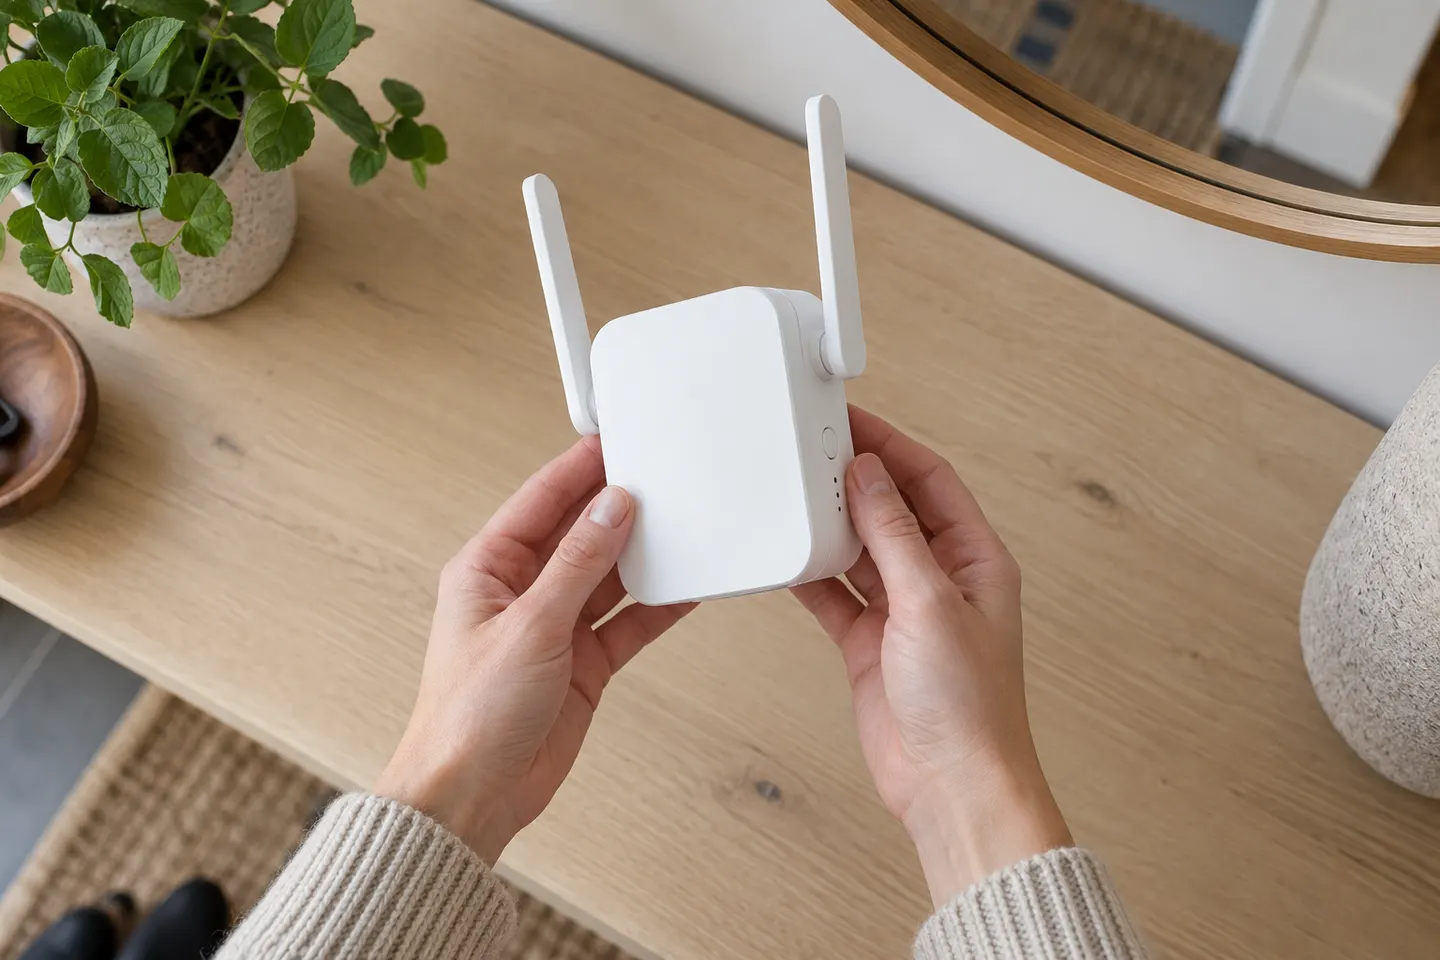 D link setup
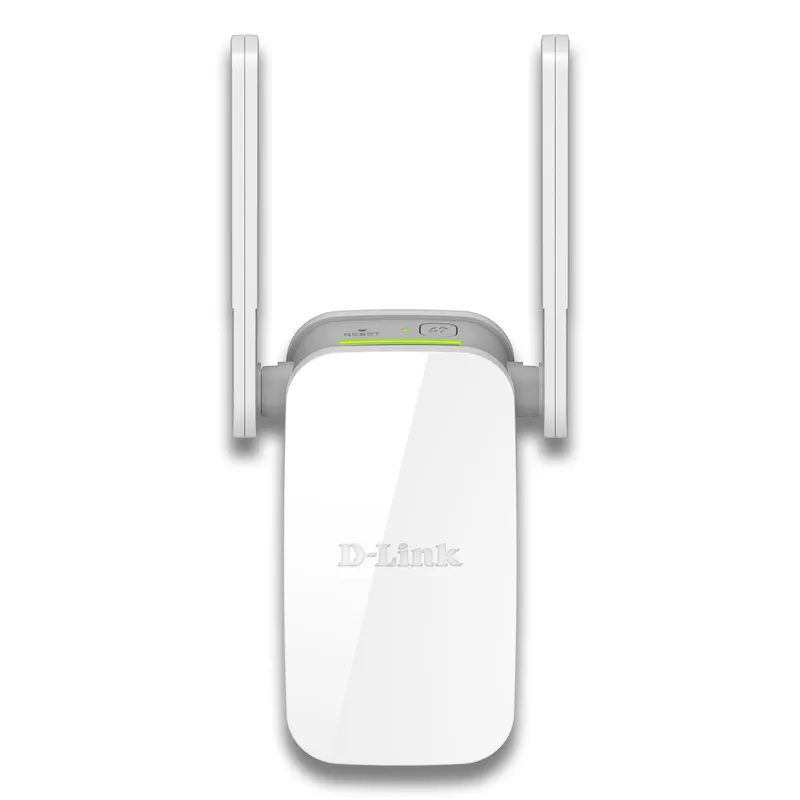 D-Link
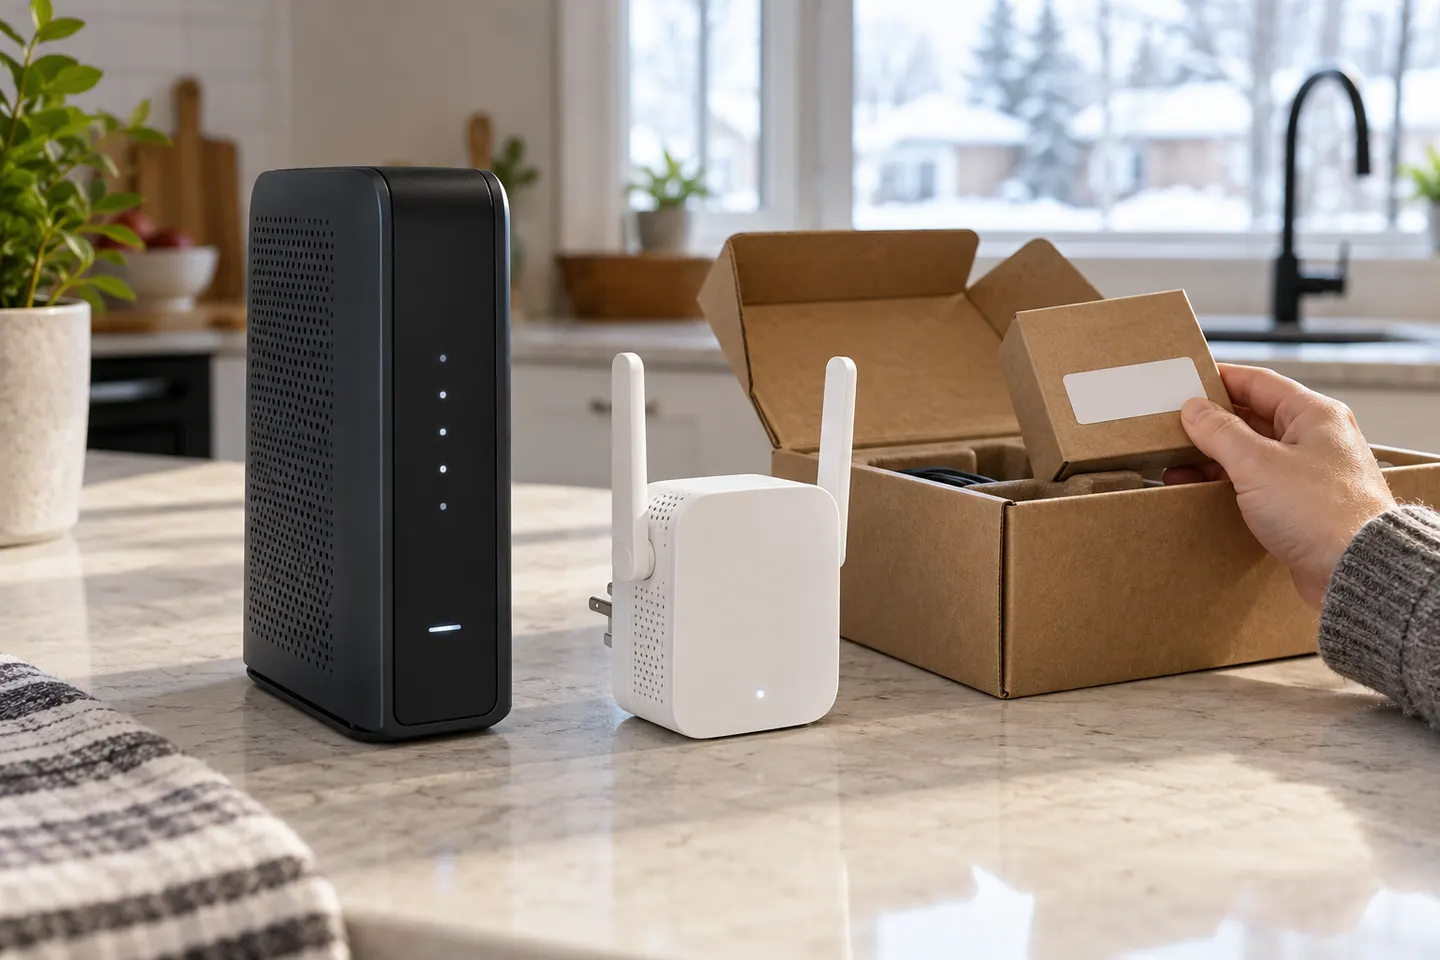 How to Set Up a TP-Link WiFi Extender
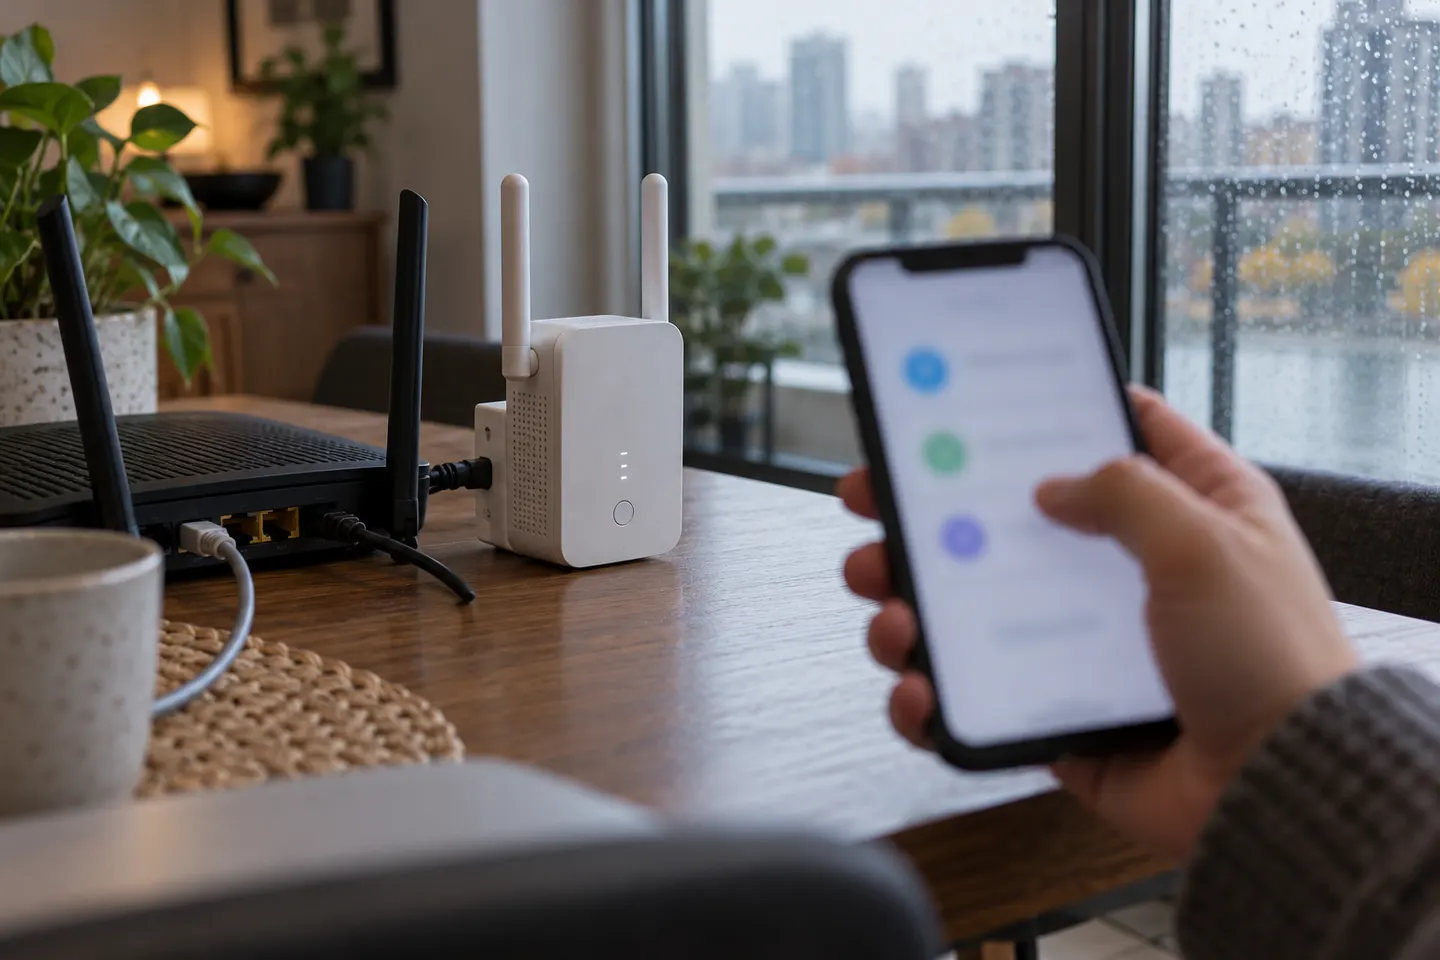 How to Connect a TP-Link WiFi Extender to Your…
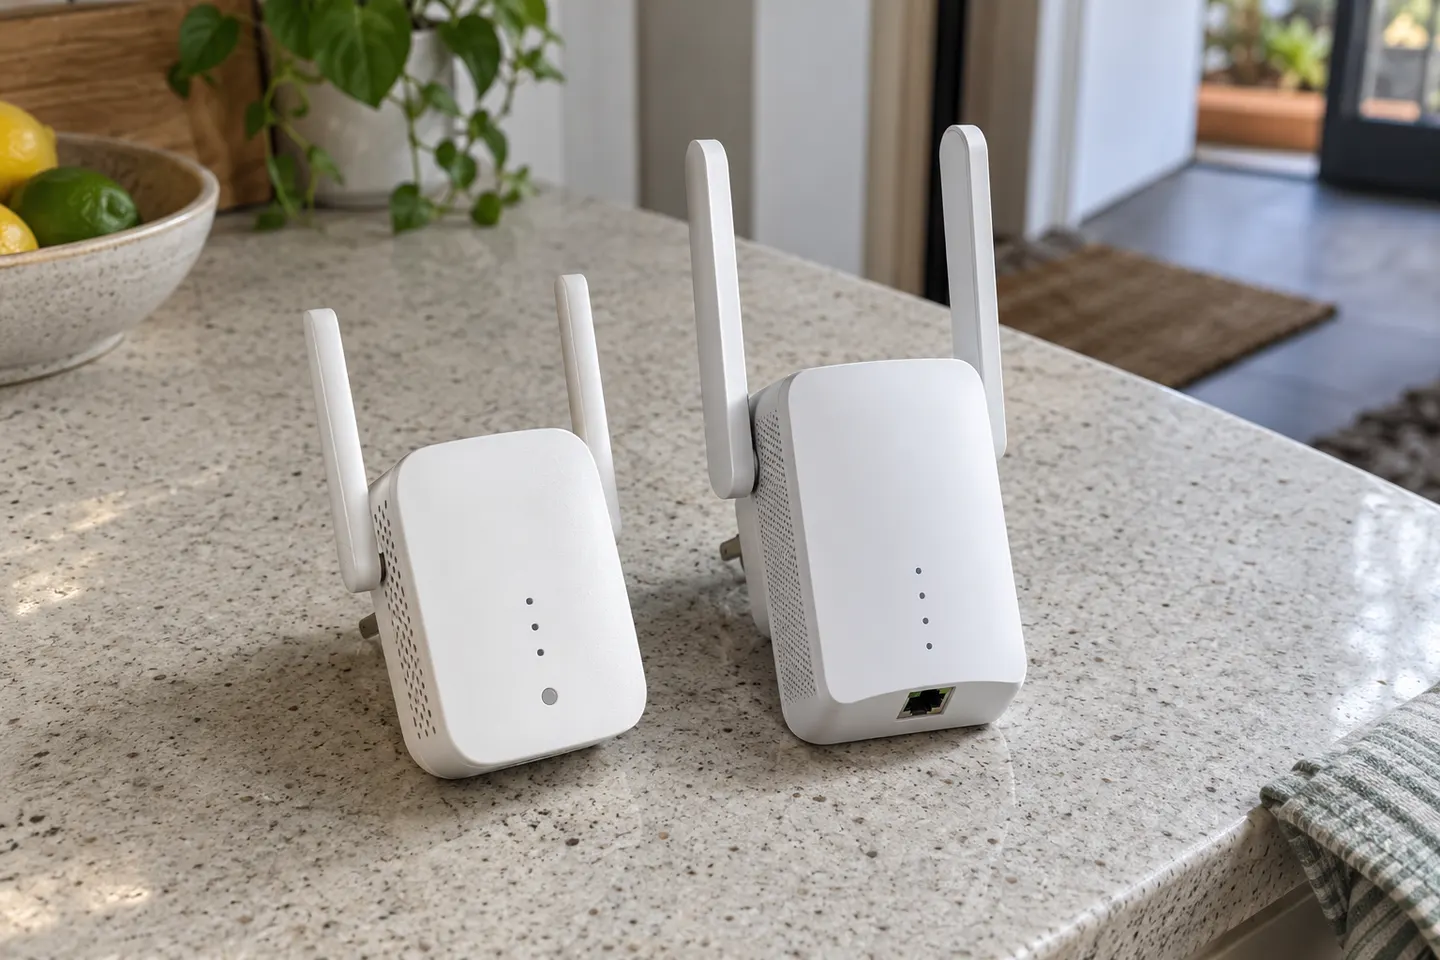 D-Link WiFi Extenders for Extending a Home Network
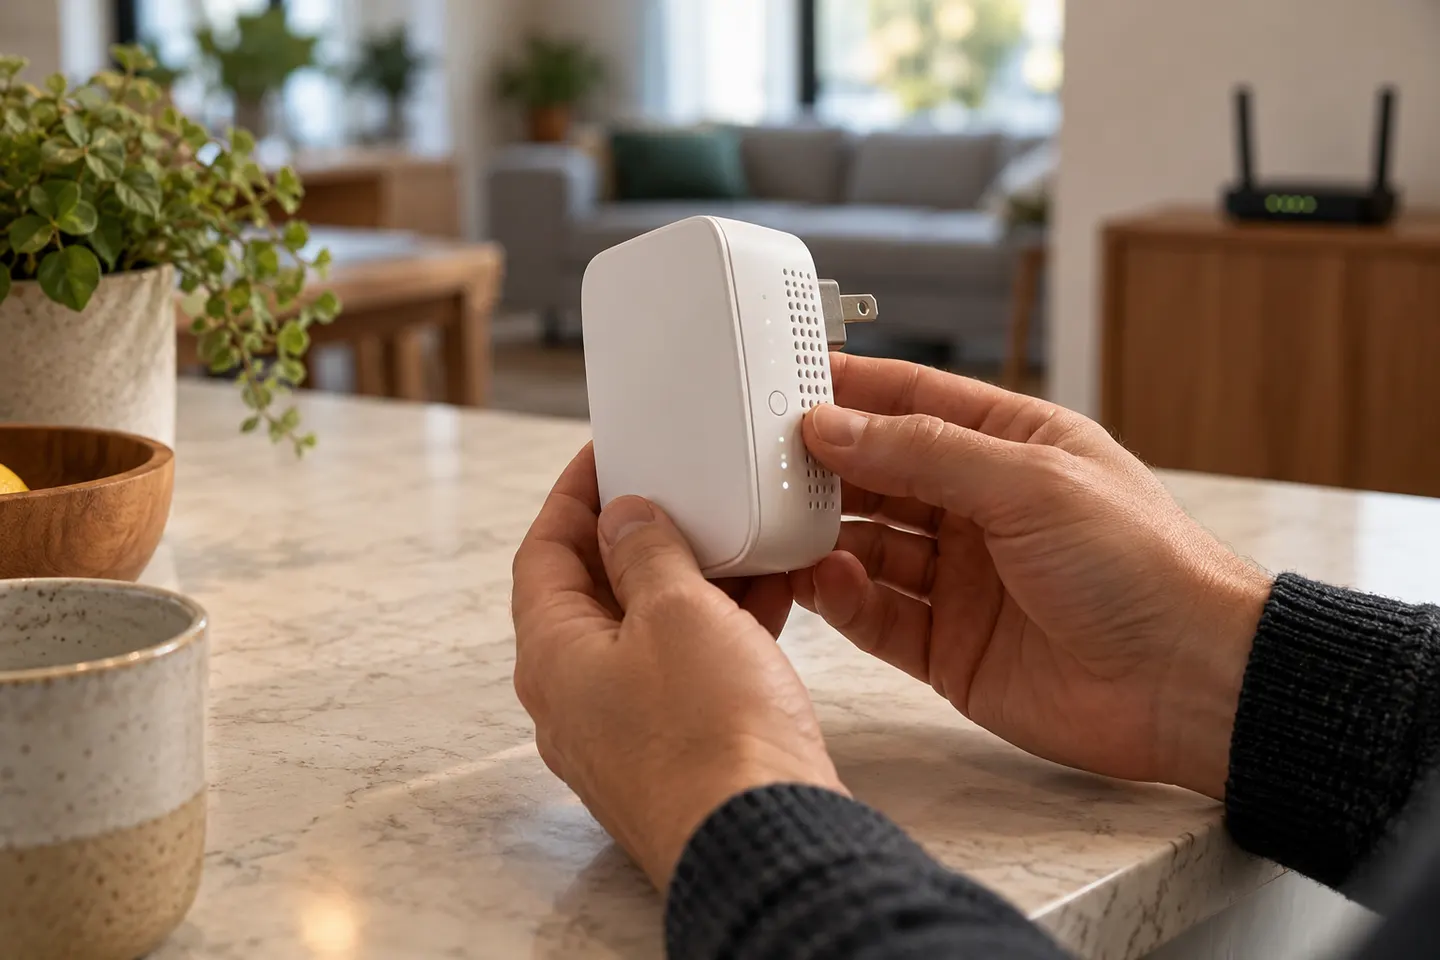 D-Link Wi-Fi Extender Configuration