Prepare the NETGEAR extender
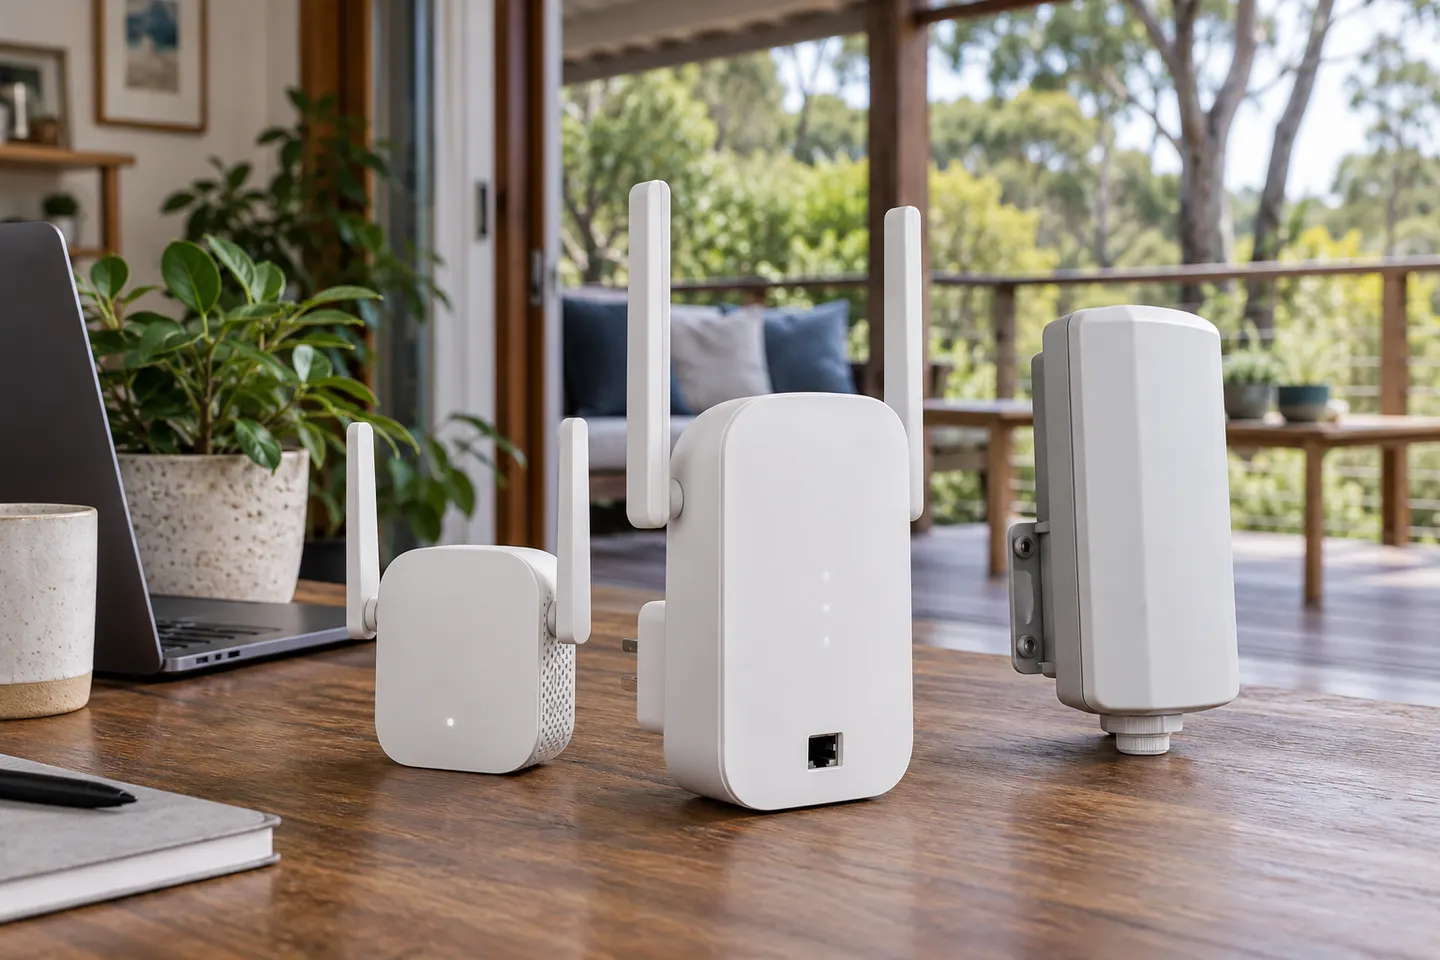
Plug the extender into a power outlet close to the router and wait for its power indicator. For the first setup, proximity makes it easier to establish a stable link; the final position comes later.

Gearjury may earn a commission when you buy through retailer links. This does not affect our editorial guidance.
Guide
Use WPS when both devices support it, or connect to the extender setup network and follow NETGEAR's installation assistant. Complete pairing near the router before moving the extender.
Plug the extender into a power outlet close to the router and wait for its power indicator. For the first setup, proximity makes it easier to establish a stable link; the final position comes later.
If your router has WPS and the extender supports it, press the extender WPS button and then the router WPS button within the time described in the model guide. Wait for the link indicator or setup confirmation. Repeat for another band only if the model instructions require it.
Join the extender setup network, commonly named NETGEAR_EXT, from a phone or computer. Open mywifiext.net or the address specified by your model, then choose the home network and enter its WiFi password. Follow the prompts to finish.
Wait for the extender to report a successful connection. If the setup page cannot load, make sure your device is connected to the extender setup network rather than the router, and try the NETGEAR app or local setup address.
After confirming the connection, move the extender towards the weak coverage area while keeping a dependable link back to the router. Use its link indicator and test from the room where you need service.
Recheck the WiFi password and selected network, confirm the router is broadcasting a compatible band, and retry near the router. WPS may not work with some security configurations or hidden networks; use the installation assistant or reset the unit according to its manual.
Common questions
Use the extender normal setup process and select the Starlink WiFi network. Whether WPS pairing is available depends on the router hardware and configuration; browser or app setup is the fallback.
Follow the setup method for the exact WAVLINK model, typically its WPS process or its setup network and web interface. Names, addresses and button timing vary, so use the model manual.
A WiFi extender normally connects to a wireless router or gateway that provides WiFi. If your modem has no WiFi, connect a router or access point first, unless the booster model explicitly supports another wired mode.
Use the Vodafone instructions for the specific booster and router, pairing through its app or button sequence as directed. Compatibility and steps vary by service equipment, so check the supplied model guide.
Connect to the extender setup network, open the setup page named in its manual, select your router network and enter the password. Some universal models also support WPS pairing.
Use the setup method listed for the exact AC1200 model. NETGEAR AC1200 products do not all share identical controls; supported models can pair with WPS or the NETGEAR Installation Assistant.
Use the quick-start instructions for the ANTSIG model, following its WPS or browser setup path. Confirm the device is joined to the extender setup network before opening the configuration page.
Check the router password, band and security settings, then retry near the router. If WPS is unavailable or fails, use NETGEAR setup assistant; reset only by following the model manual.