Gearjury may earn a commission when you buy through a retailer link. Our editorial choices remain independent.
Guide
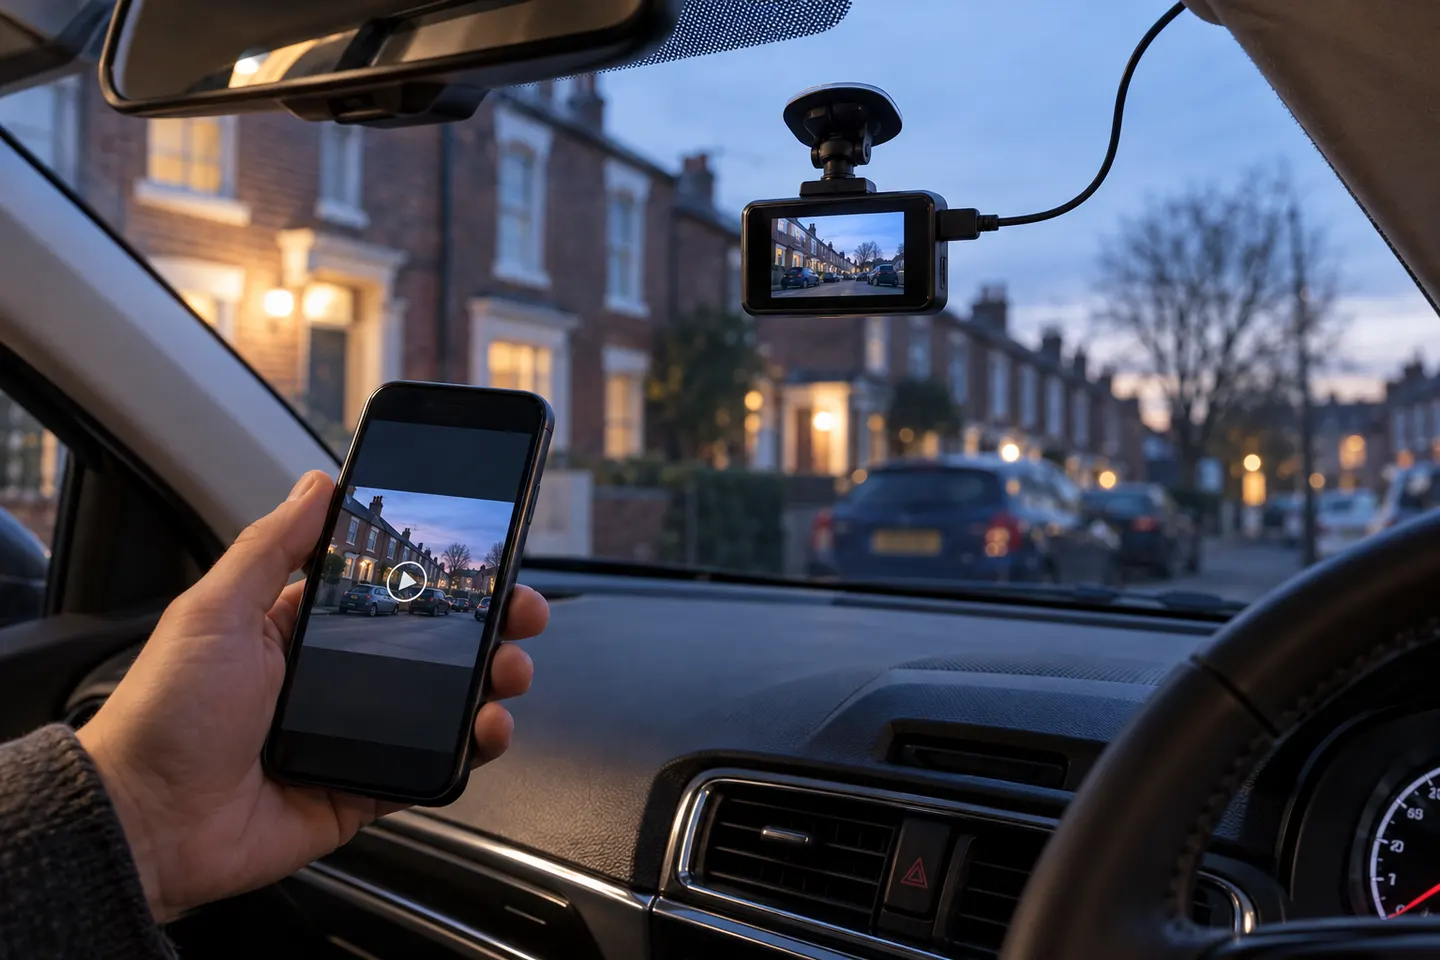
How to Hardwire a Dash Cam to Your Car
Use the camera maker's compatible hardwire kit, identify suitable switched and constant-power circuits, and protect each connection with the correct fuse arrangement. If the vehicle documentation is unclear, use a qualified installer.
GGearjury editorial team · Updated October 15, 2026· 6 min
01
How to hardwire a dash cam to a fuse box
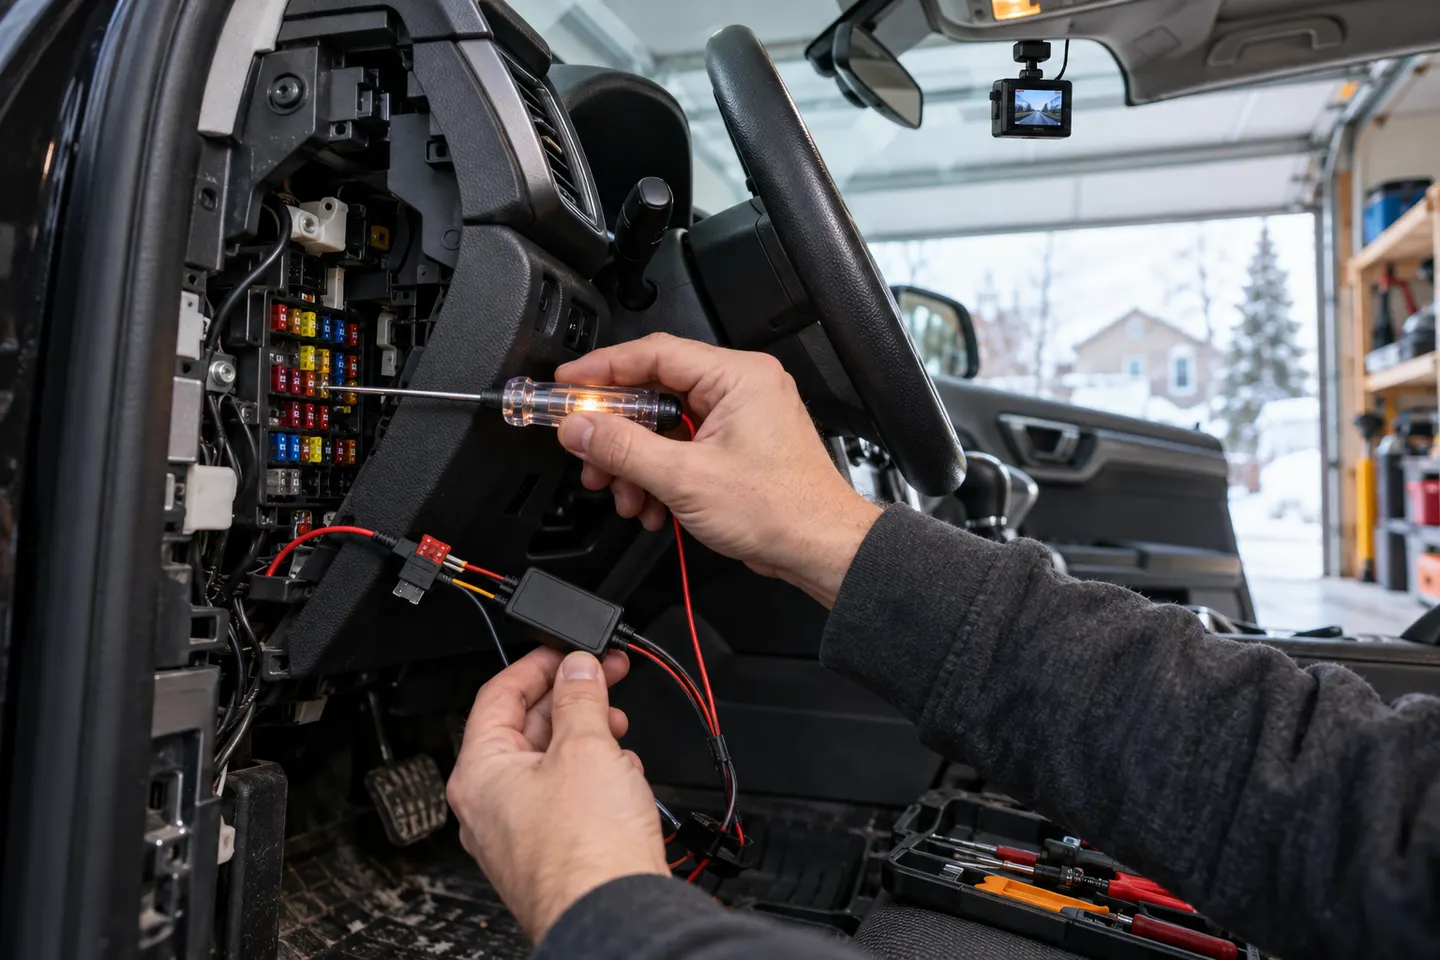
Park safely, switch off the ignition and consult both the vehicle manual and the hardwire-kit instructions. Locate the interior fuse panel and plan a cable route that will not cross airbags, pedals, steering components or sharp edges.
02
Match the kit to the camera and vehicle
Use a manufacturer-approved kit with low-voltage protection and fuse taps of the correct physical type. Confirm whether the kit needs constant power, accessory power and ground, or only a simpler two-wire connection.
03
Identify constant and switched circuits
With an appropriate circuit tester, find a constant-power circuit that remains live with the ignition off and a switched circuit that turns off with the vehicle. Avoid safety-critical circuits such as airbags, braking, steering and driver-assistance systems.
04
Fit and orient the fuse taps
Select circuits permitted by the vehicle documentation. Keep the original circuit fuse in its designated position and fit the accessory fuse specified by the kit maker; fuse-tap orientation matters because power should enter through the supply side.
05
Secure the ground and route the cable
Attach the ground terminal to a manufacturer-approved chassis ground point. Tuck the cable behind trim only where it cannot interfere with curtain airbags, weather seals or moving parts, and leave enough slack at the camera mount.
06
Test recording and battery protection
Restore power and check normal recording with the engine running, then confirm the expected parking-mode transition after shutdown. Verify the low-voltage cutoff setting against the kit instructions before leaving the vehicle unattended.
Common questions
Questions before you buy
How do you hardwire a dashcam to a fuse box?
Use a compatible hardwire kit, connect its leads to approved constant and switched circuits as instructed, attach the ground correctly, and test the low-voltage cutoff. Never guess at a fuse circuit.
Which fuse should I use for a dash cam?
Choose a non-safety-critical circuit permitted by the vehicle and kit documentation. The exact circuit differs by vehicle, so a universal fuse number is not reliable.
Will hardwiring a dash cam drain the car battery?
Parking recording consumes power. A compatible kit with a correctly configured low-voltage cutoff reduces the risk, but battery condition, temperature and parking duration still matter.
Can I hardwire a dash cam myself?
You can if you can identify circuits safely and route wiring clear of airbags. Otherwise, professional installation is the safer choice.
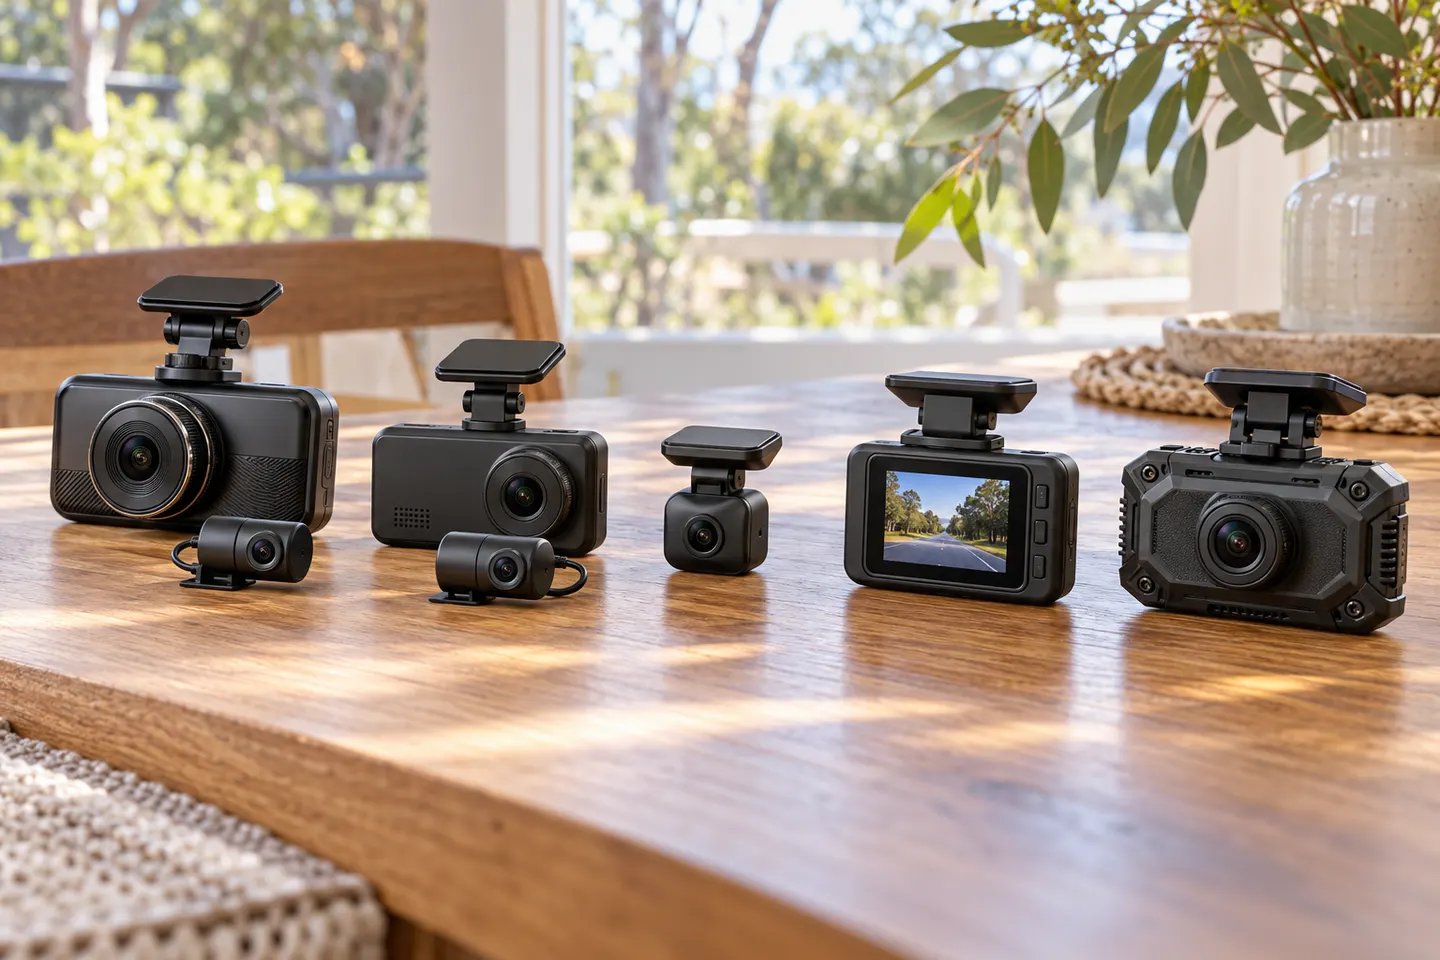
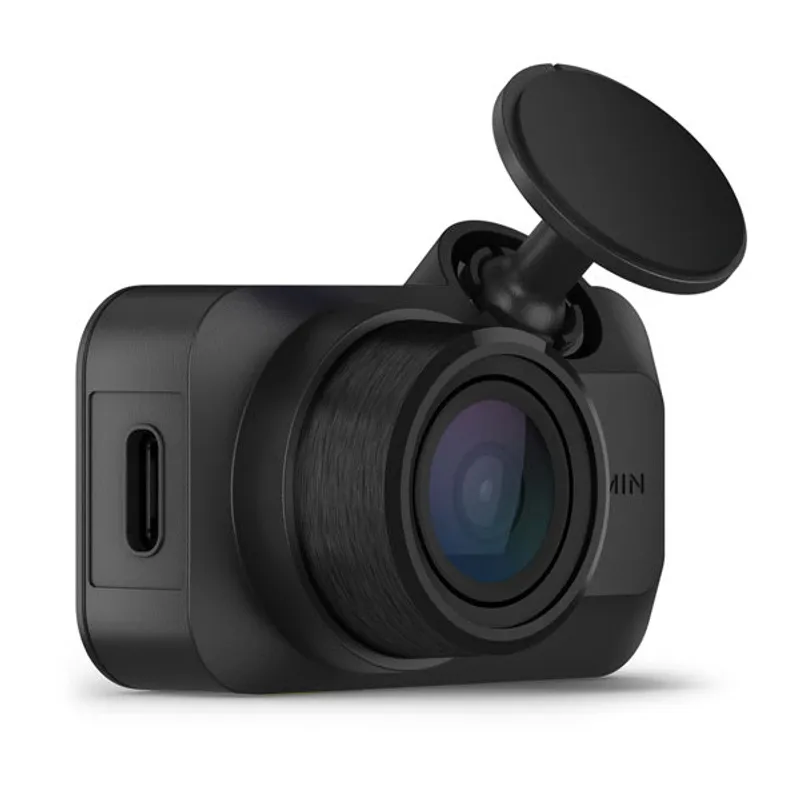
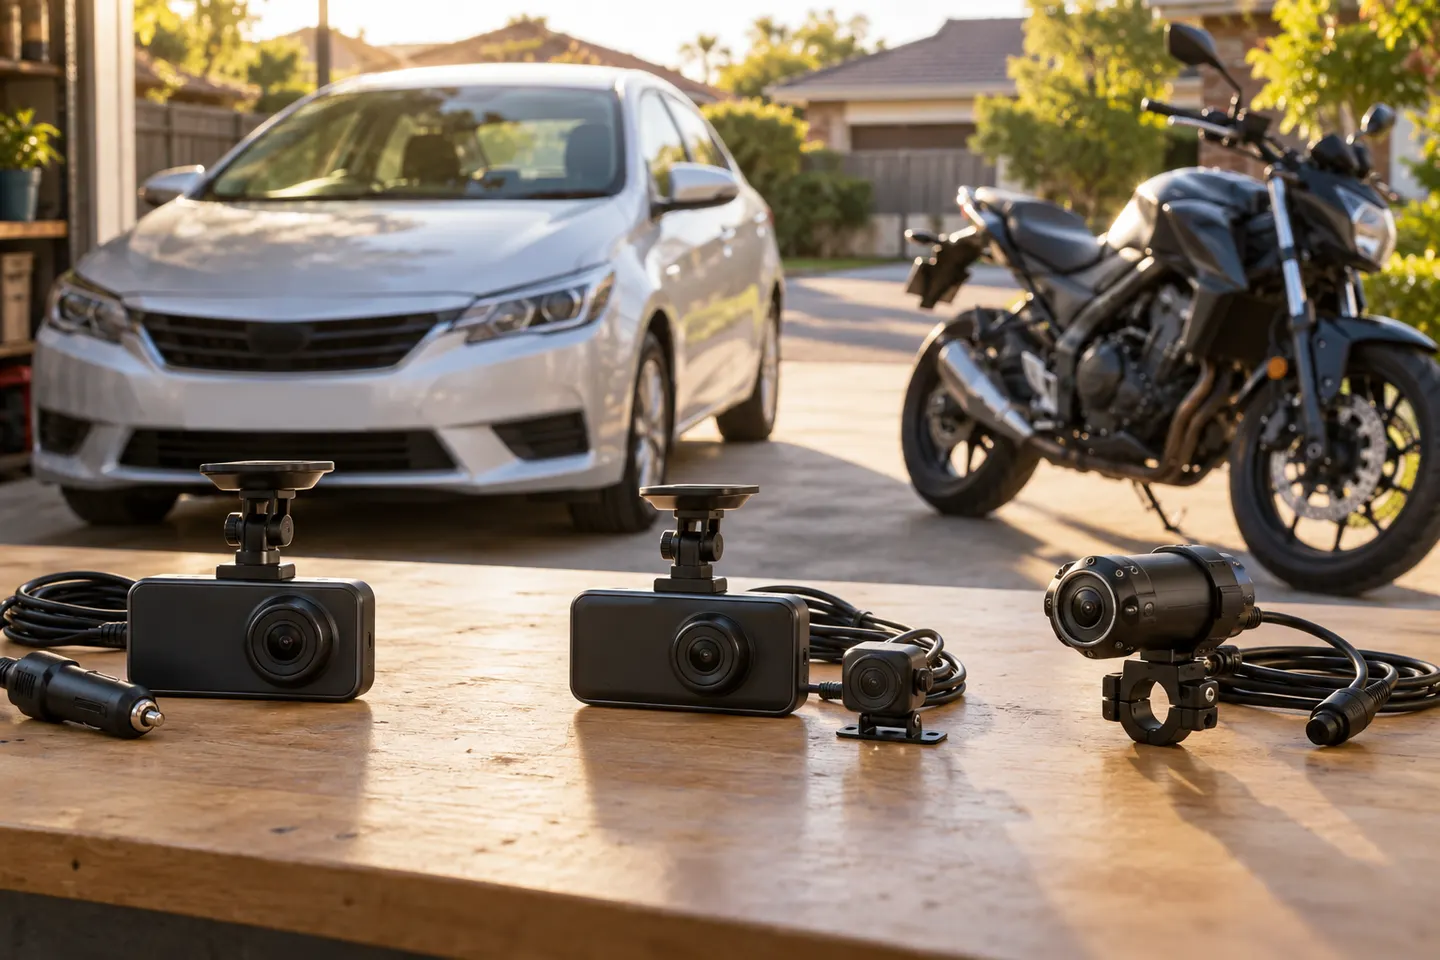
The VIOFO A229 Pro 2CH is our broadest all-round choice for front-and-rear detail. Garmin Mini 3 suits a discreet setup, while Thinkware U3000 targets parking surveillance.
Start with the view you need: front-only for simple evidence, front-and-rear for broader coverage, or parking mode for protection while stopped.
Your privacy
We use cookies and similar technologies. Necessary ones keep the site working. With your permission we also use statistics cookies (Google Analytics and Microsoft Clarity) to understand which guides help readers. You can accept all, reject all or choose. You can change your choice at any time from "Cookie settings" at the bottom of every page. Cookie policy