Choose front and rear camera positions
Sit in the driver's seat and identify areas that keep both lenses clear without obstructing the road view. Leave room for wipers, rear defroster lines, hatch movement and access to the memory card.

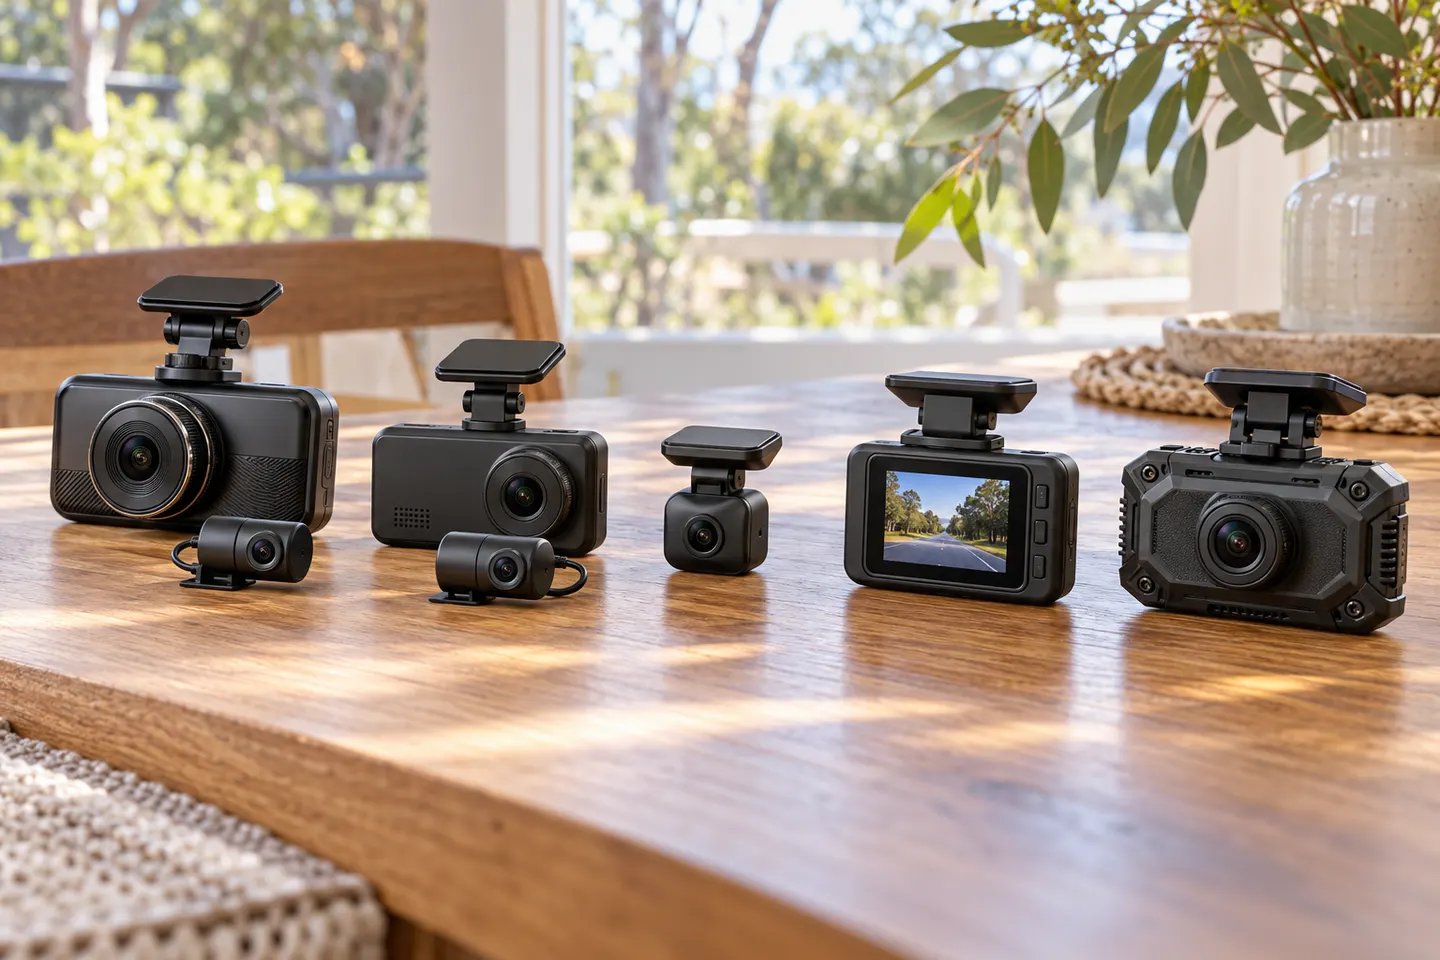 Best picksThe Best Dash Cam Cameras for Different Drivers
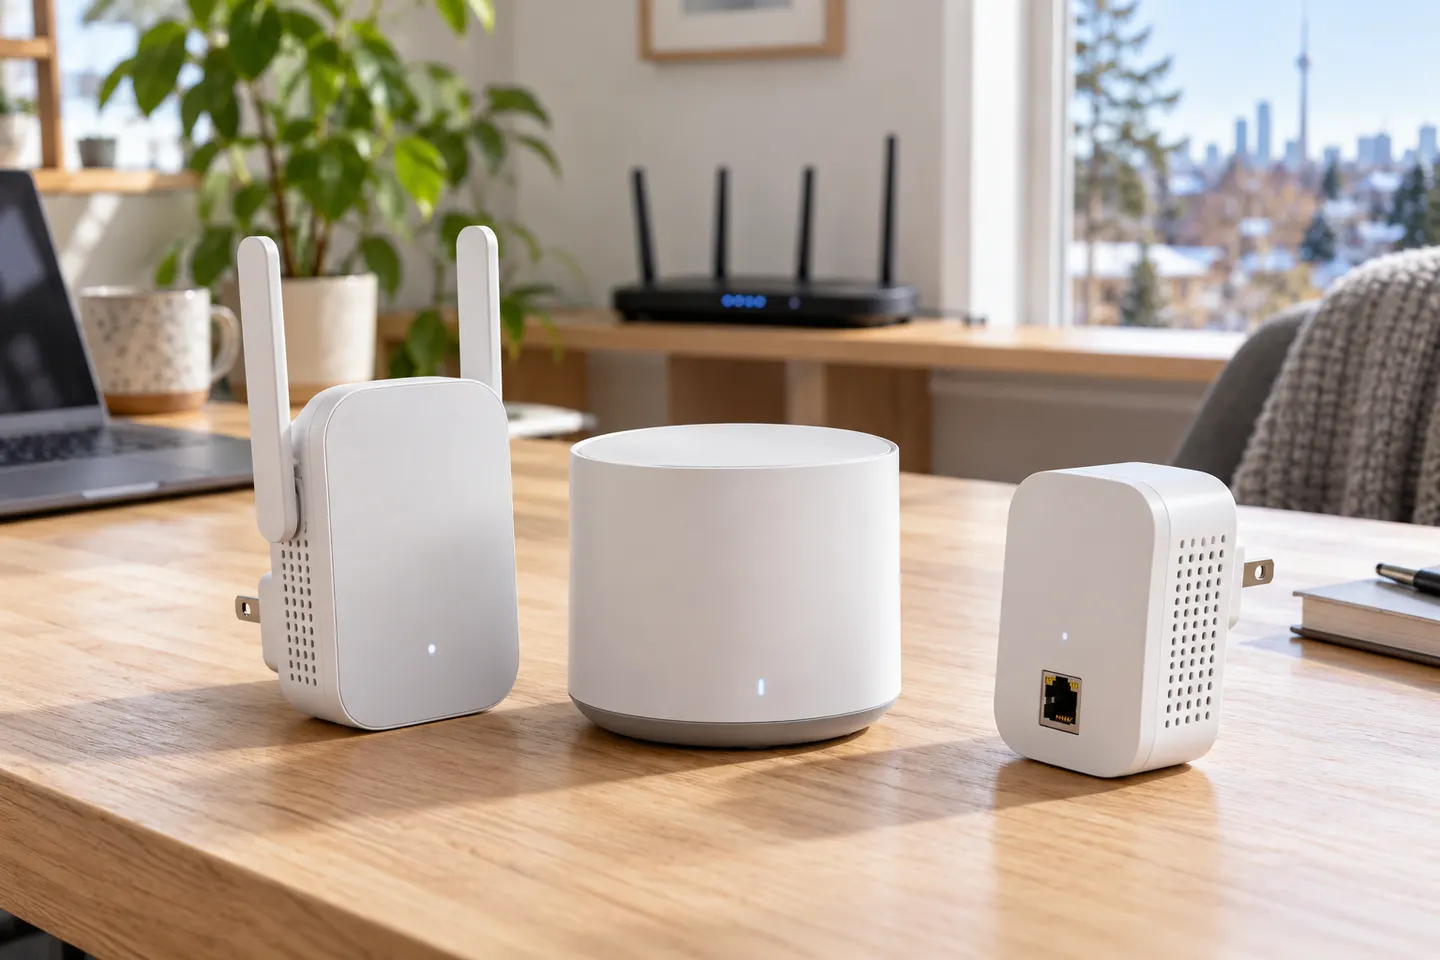 Best picksBest WiFi Extenders in Canada for Different Home Networks
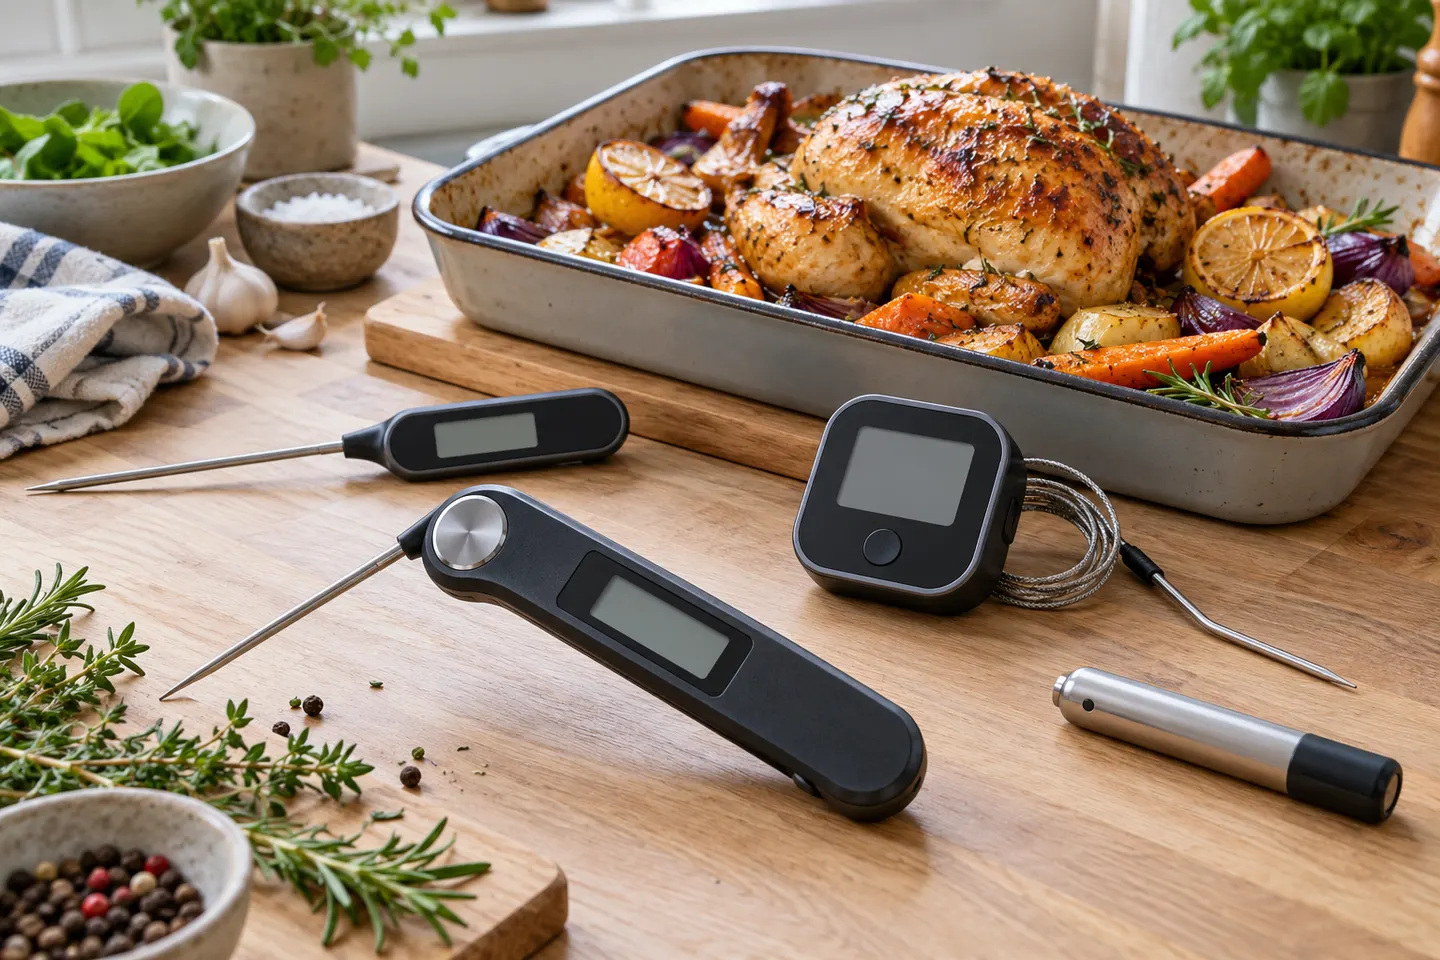 Best picksBest Meat Thermometers in Canada for 2026
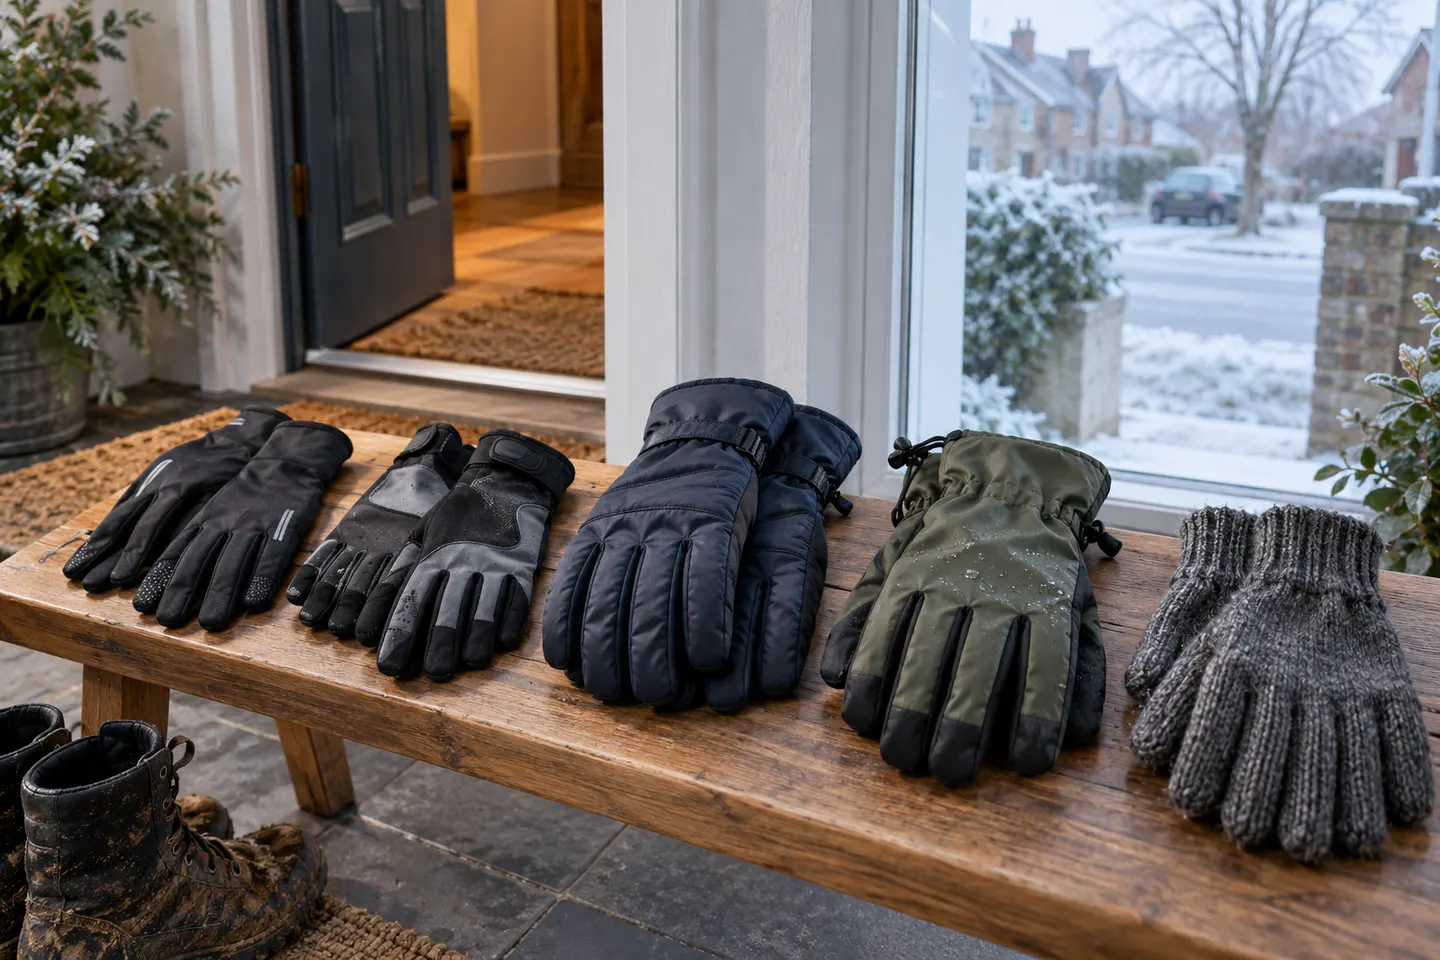 Best picksBest Winter Gloves for Canadian Conditions (2026)
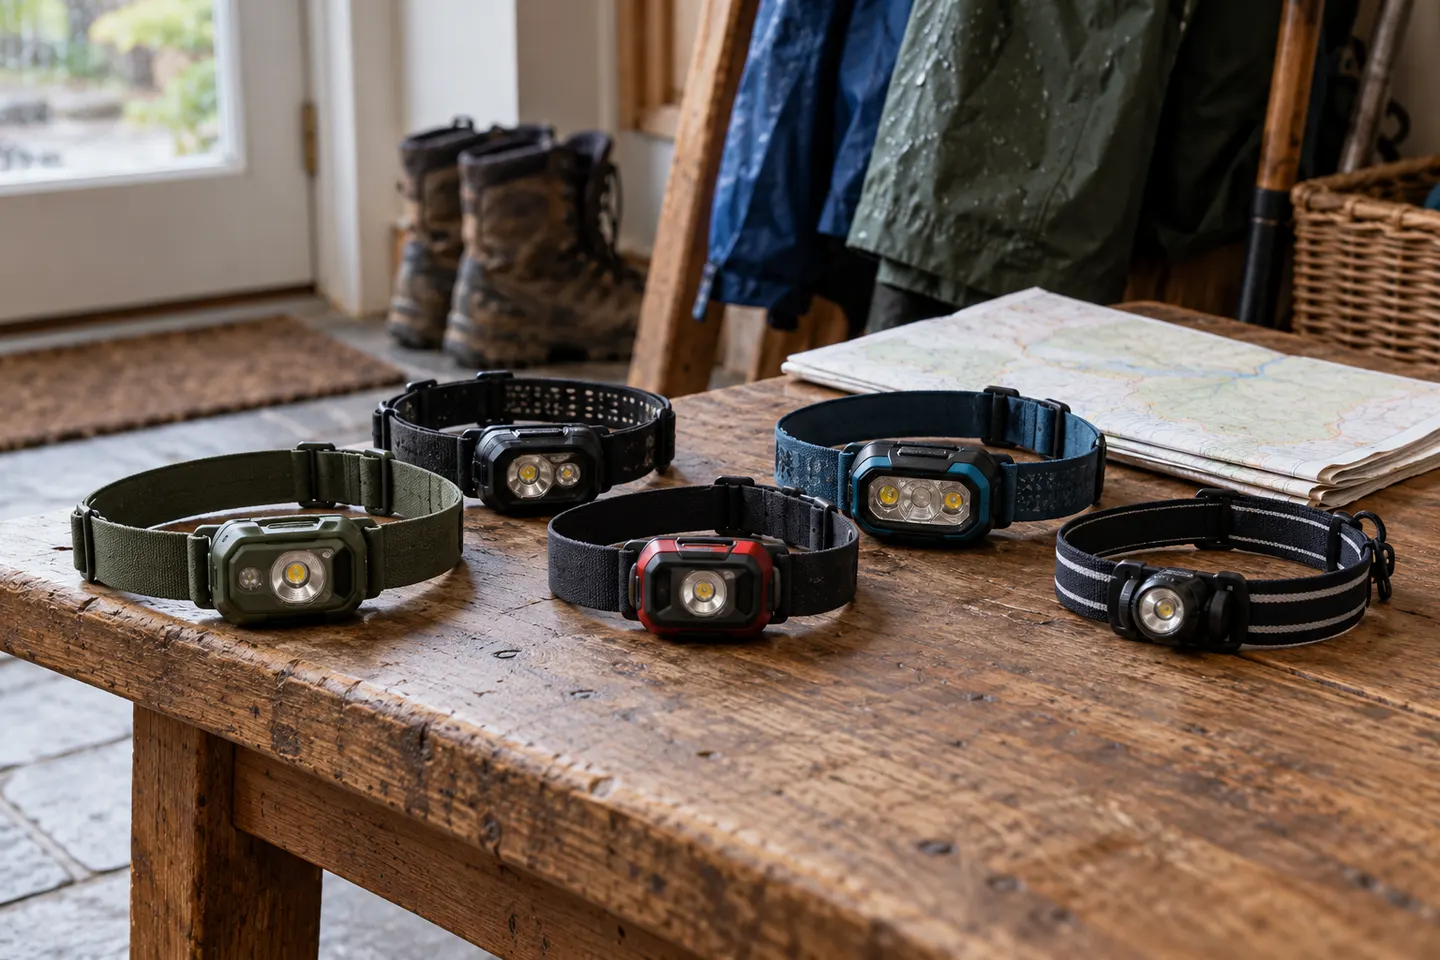 Best picksBest Headlamps: Compare Reliable Options for Canada
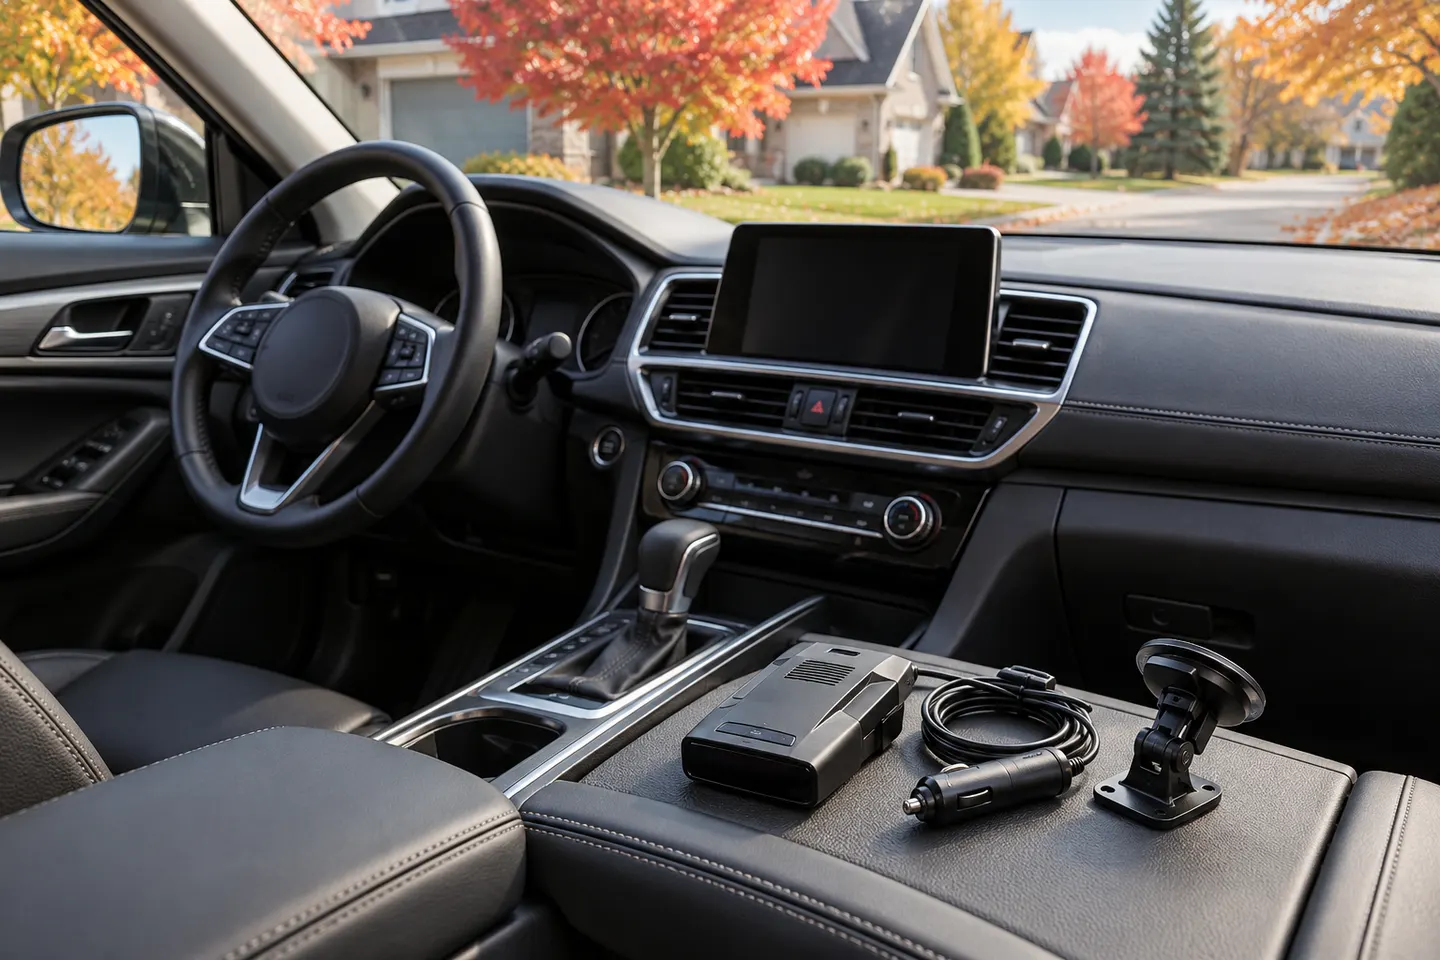 Best picksRadar Detector Best Picks for Canadian Drivers (2026)
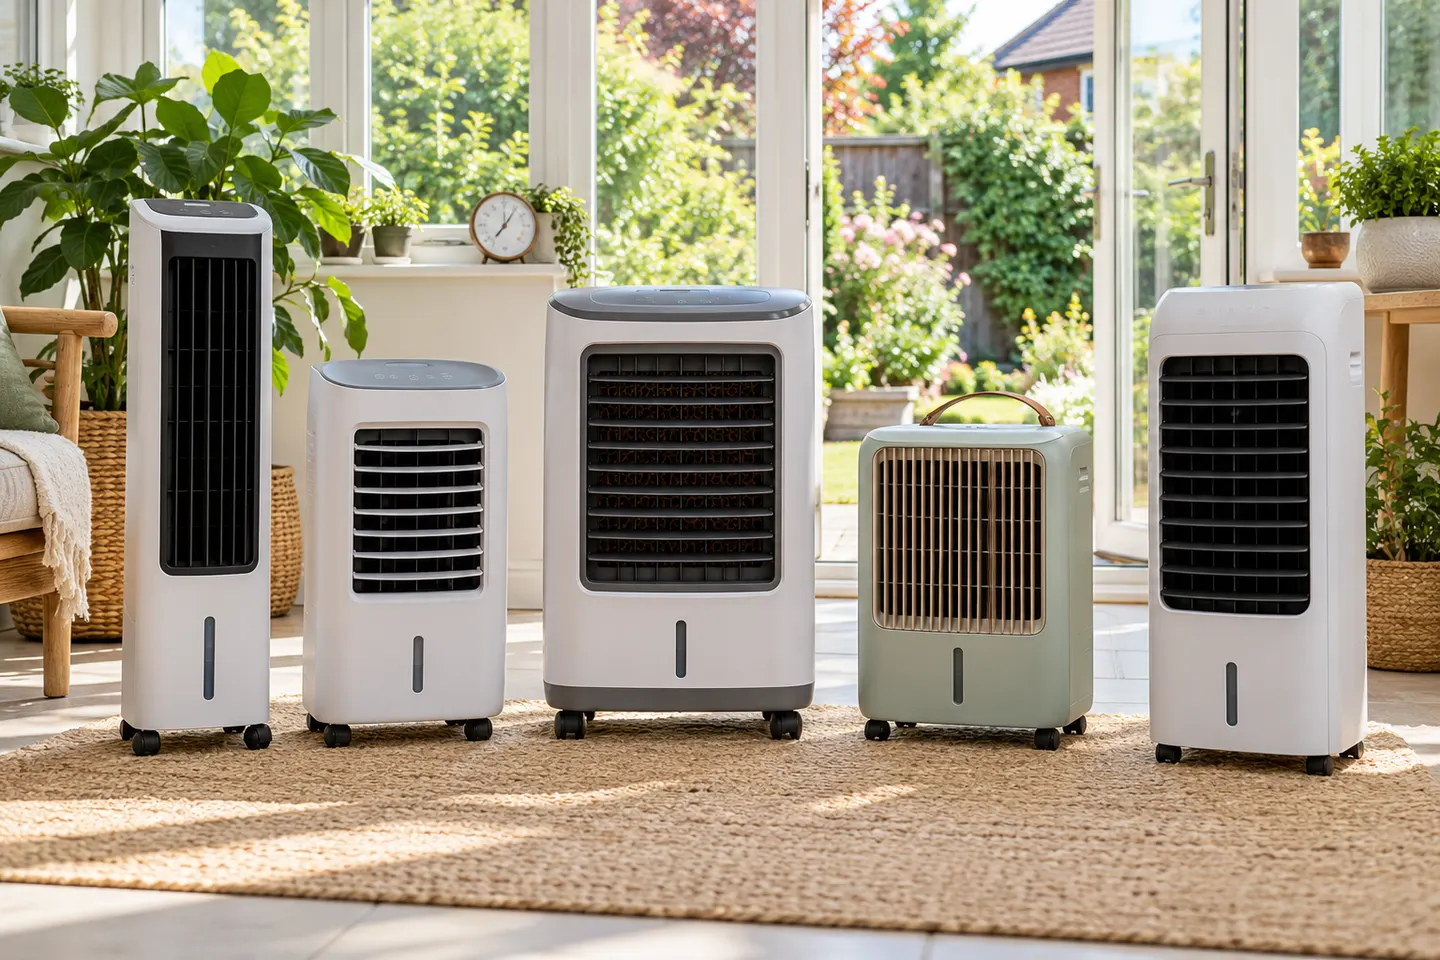 Best picksBest Portable Air Coolers to Consider in 2026
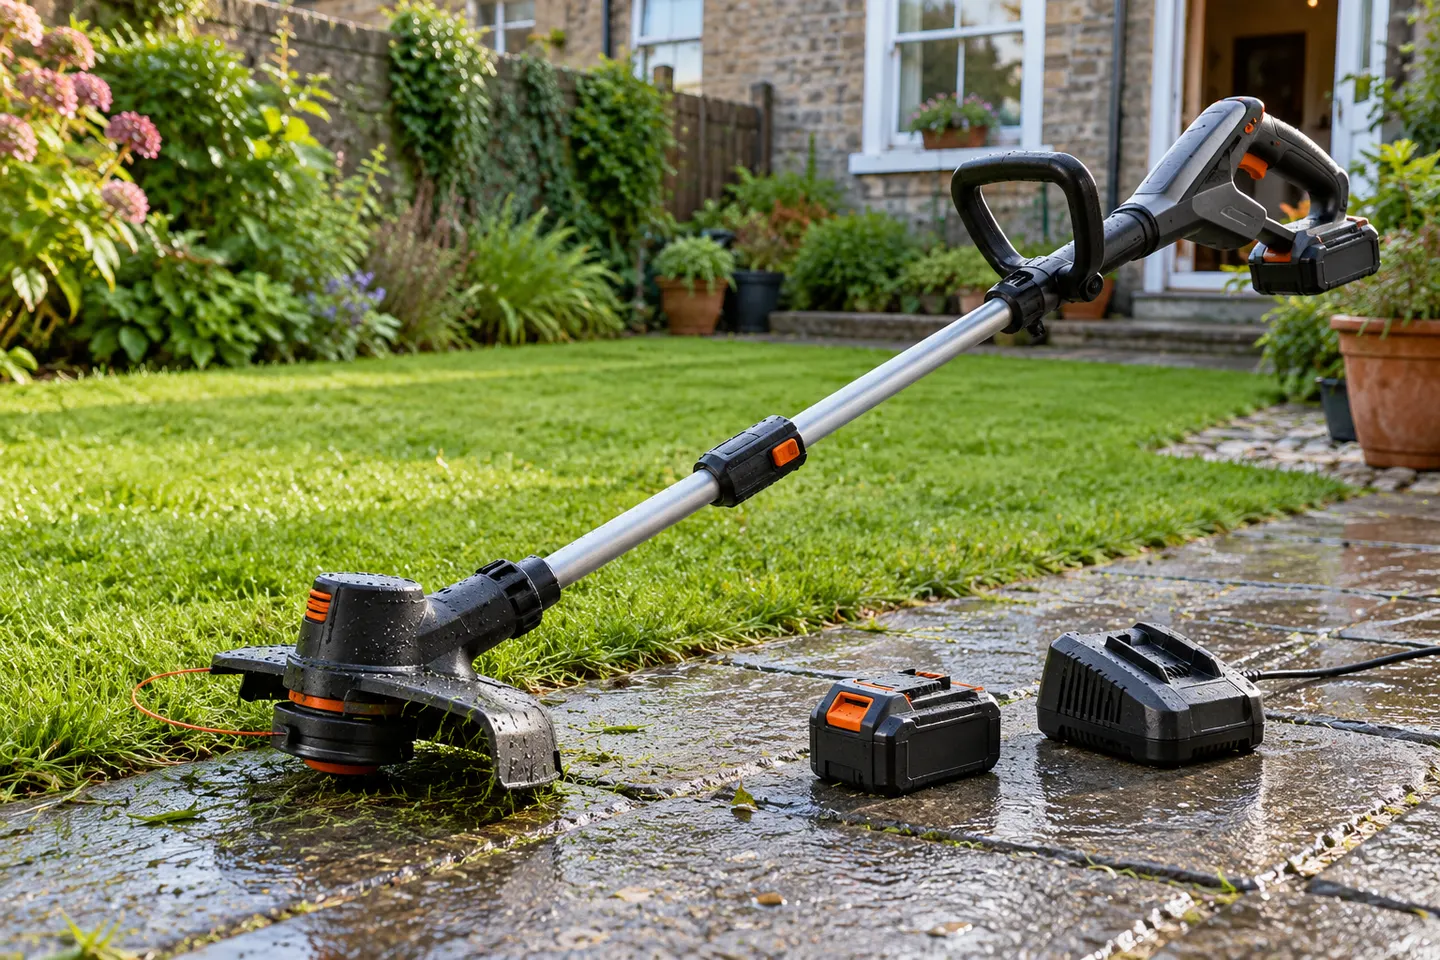 Best picksBest cordless grass trimmers with a battery and charger
 Best picksBest Air Purifier for Bedroom in the Canada: Quiet Models Compared
Gearjury may earn a commission through eligible retailer links. Follow the vehicle and camera manuals for your installation.
Guide
Mount both cameras where they do not block the driver's view, route cables away from airbags and moving trim, then test recordings before fixing everything permanently.
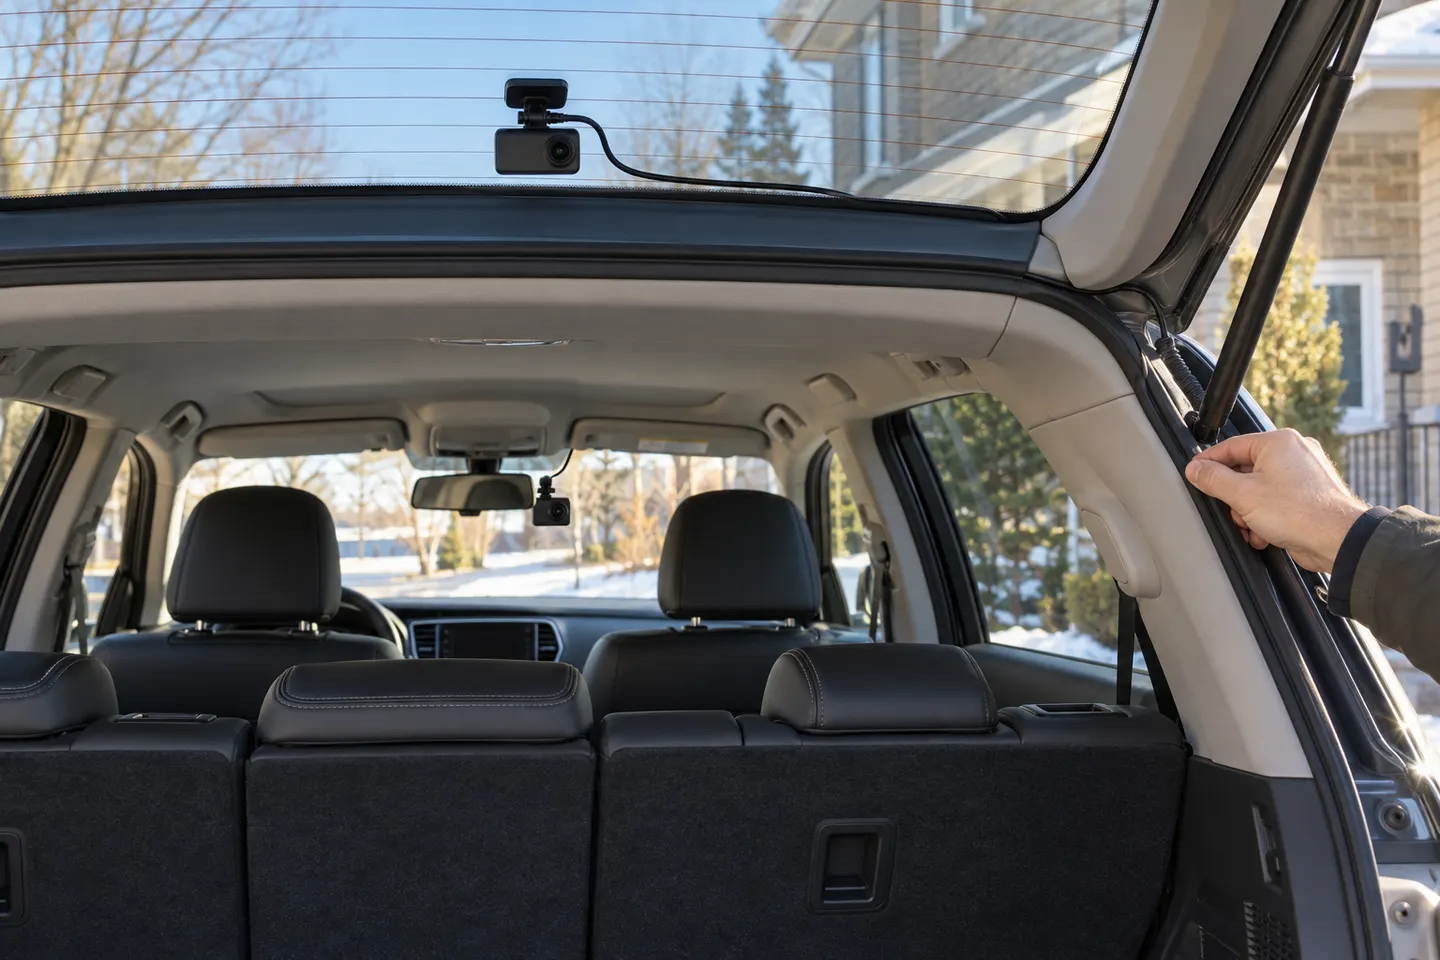
Sit in the driver's seat and identify areas that keep both lenses clear without obstructing the road view. Leave room for wipers, rear defroster lines, hatch movement and access to the memory card.
Clean and dry each mounting area. Power the system temporarily, hold the cameras in place and use the screen or app to check horizon, bonnet and rear-window framing before attaching adhesive mounts.
Apply the mount according to the maker's temperature and curing instructions. Keep the lens inside the swept area of the windshield where practical, and do not place hardware in the driver's critical sightline.
Follow the headliner edge only where the cable will not cross a curtain airbag or interfere with trim clips. A hatchback needs enough protected slack at the hinge; never pinch the lead in weather seals or moving metalwork.
A plug-in installation is simpler. For parking mode, use the specified hardwire kit and suitable fuse locations; if you cannot identify airbags, circuits and grounding points confidently, use a qualified automotive installer.
Format a compatible endurance memory card in the camera. Record a short drive in daylight and darkness, then check front and rear files, timestamps, orientation, audio choice and GPS data before completing cable trim.
Common questions
Place it high enough for a useful view but clear of defroster elements, wiper limits and hatch hardware. Confirm the view with the app or display before fixing it.
Do not route a cable across an airbag deployment path. Follow the vehicle service guidance or use a professional installer.
Not for normal driving if a suitable switched power outlet is available. Parking recording often needs an approved constant-power or hardwire solution.
Time varies with vehicle trim, hatch design, cable length and power method. Allow extra time to test both recordings before hiding the cable.
Use the type, capacity and speed class specified by the camera maker, preferably a card designed for repeated recording cycles.
Keep exploring
The VIOFO A229 Pro 2CH is our broadest all-round choice for front-and-rear detail. Garmin Mini 3 suits a discreet setup, while Thinkware U3000 targets parking surveillance.
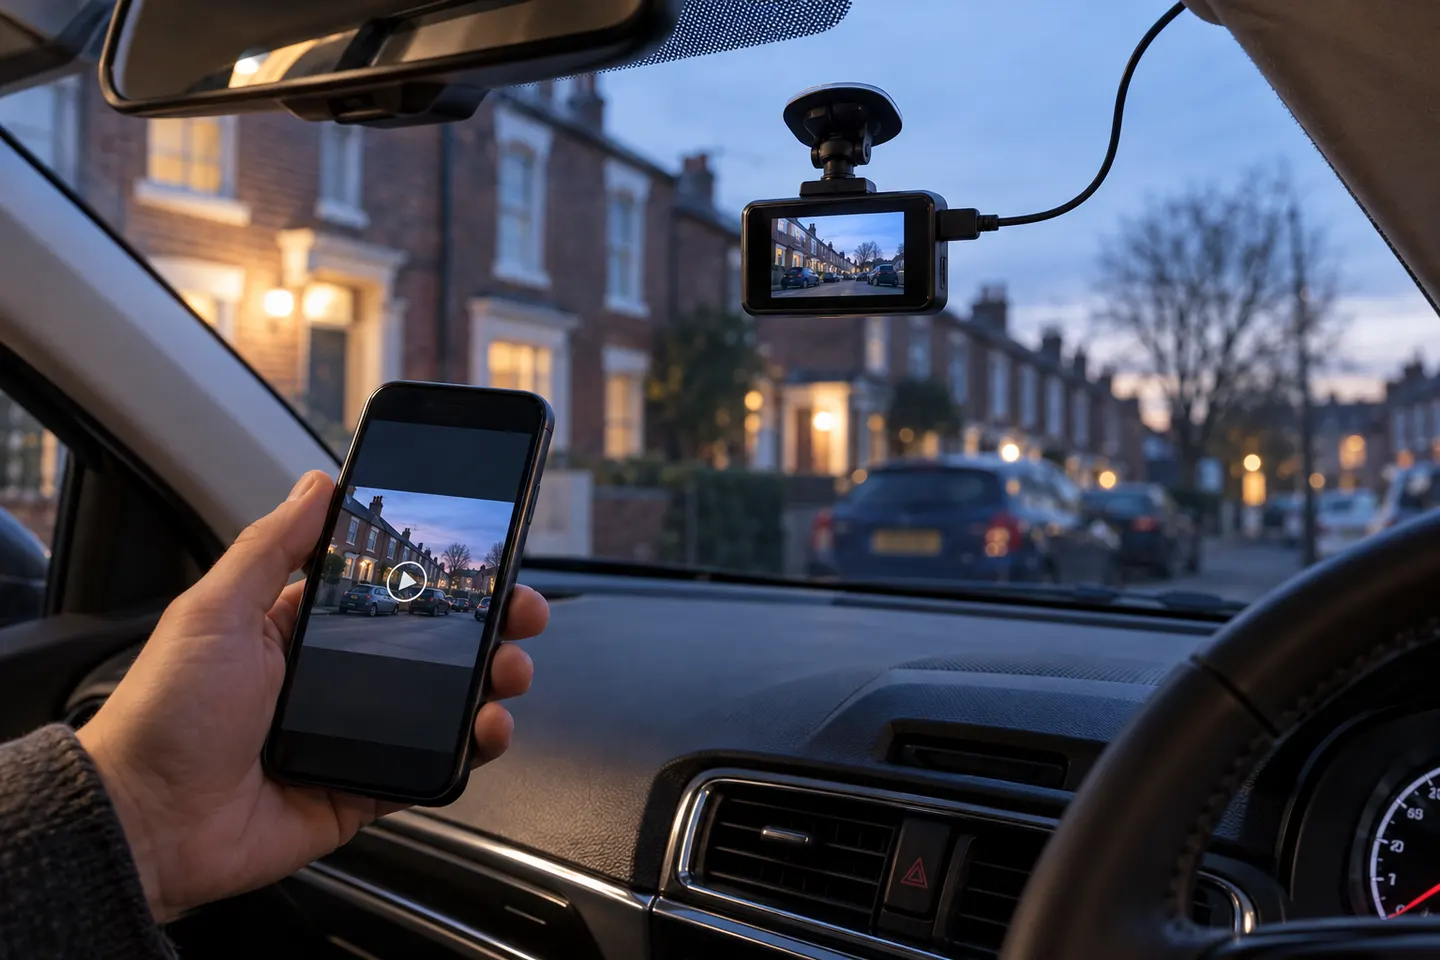
A wireless dash cam normally uses Wi-Fi or LTE to move footage or connect remotely. It still needs power, and a rear camera often still needs a cable.
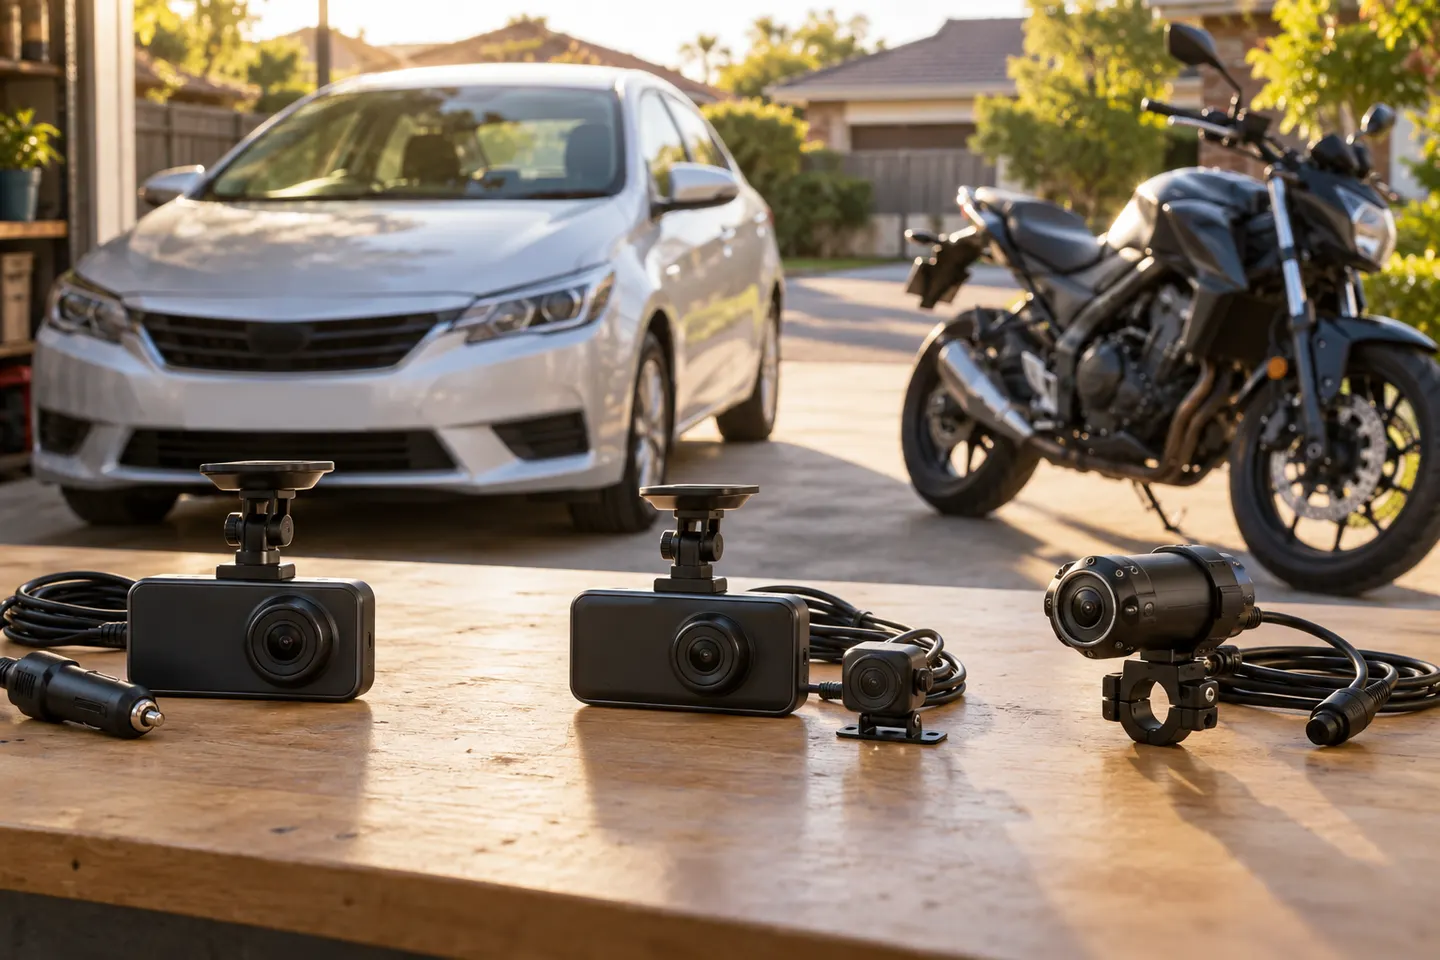
Start with the view you need: front-only for simple evidence, front-and-rear for broader coverage, or parking mode for protection while stopped.
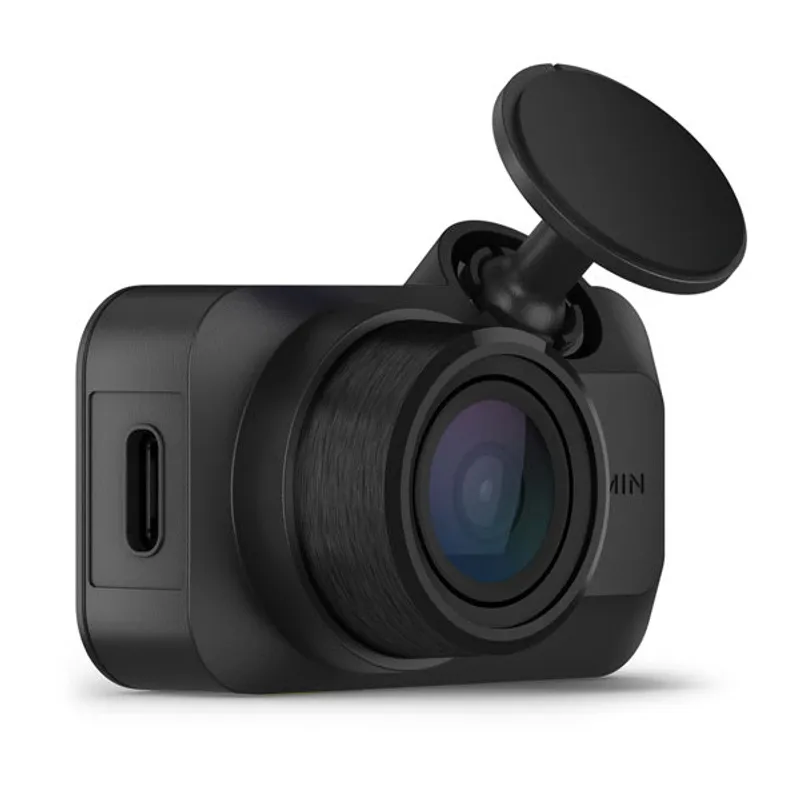
Mini 3 is the smallest choice; X110 adds GPS and a screen, X210 raises resolution, and X310 is the 4K touchscreen option.