Gearjury may earn a commission when you buy through a retailer link. Editorial conclusions are based on cited evidence.
Guide
How to Install a Dash Cam Front and Rear
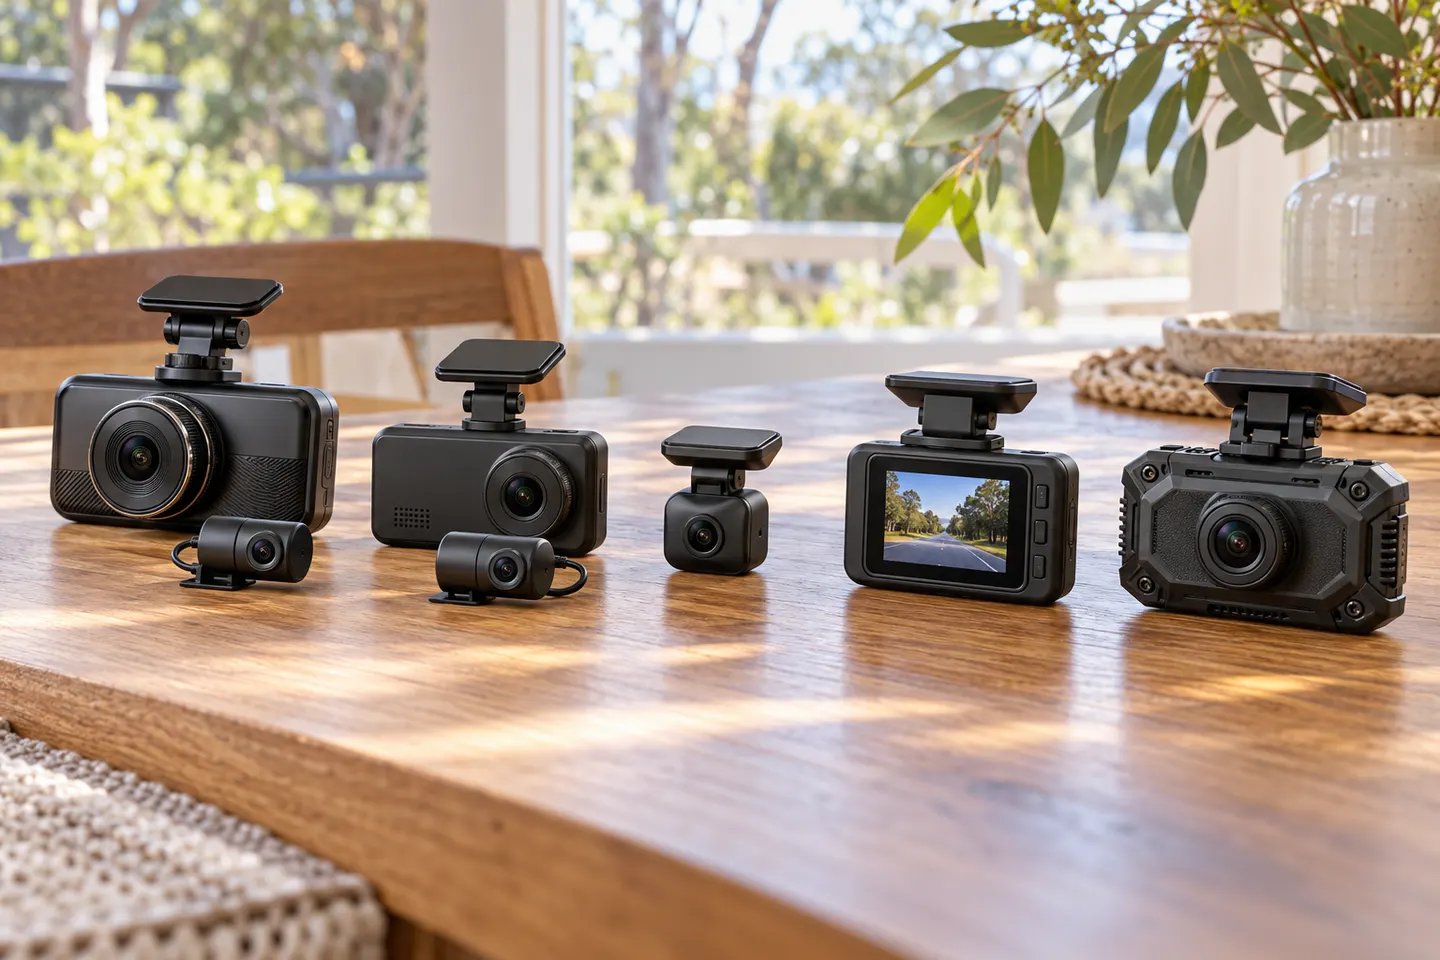
Mount both cameras where they have a clear view, route the rear cable away from airbags and moving trim, then connect power using the kit maker's instructions. Hardwiring should be left to a qualified installer if you are unsure.
GGearjury editorial team · Updated 15 October 2026· 7 min
01
Choose positions for the front and rear cameras
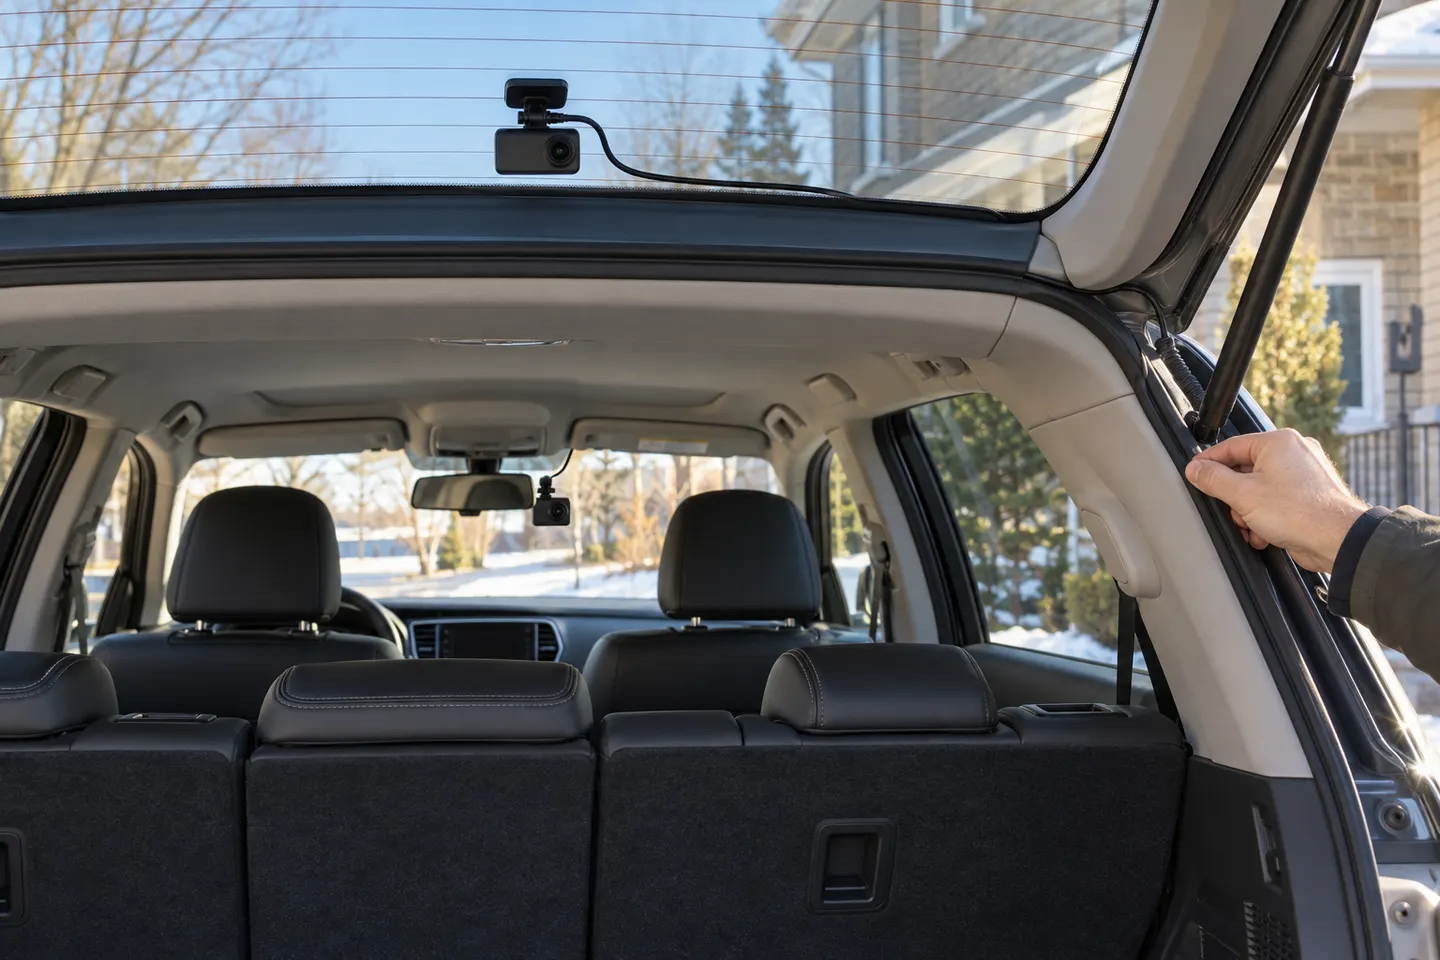
Sit in the driver's seat and identify areas swept by the wipers that do not obstruct your view. Place the front unit high on the windscreen where permitted, then hold the rear camera against the rear glass and confirm that demister lines, spoilers and tint borders do not dominate the image.
02
Clean the glass and test the full kit
Clean and dry each mounting area. Before removing adhesive backing, connect the front camera, rear camera and power lead temporarily, insert compatible storage and confirm that both channels appear and record.
03
Mount the cameras without blocking sensors
Fix each mount in the planned location and allow the adhesive to bond as directed. Keep clear of vehicle cameras, rain sensors and required windscreen sight lines. Aim the horizon near the centre rather than filling the frame with dashboard or headlining.
04
Route the rear-camera cable safely
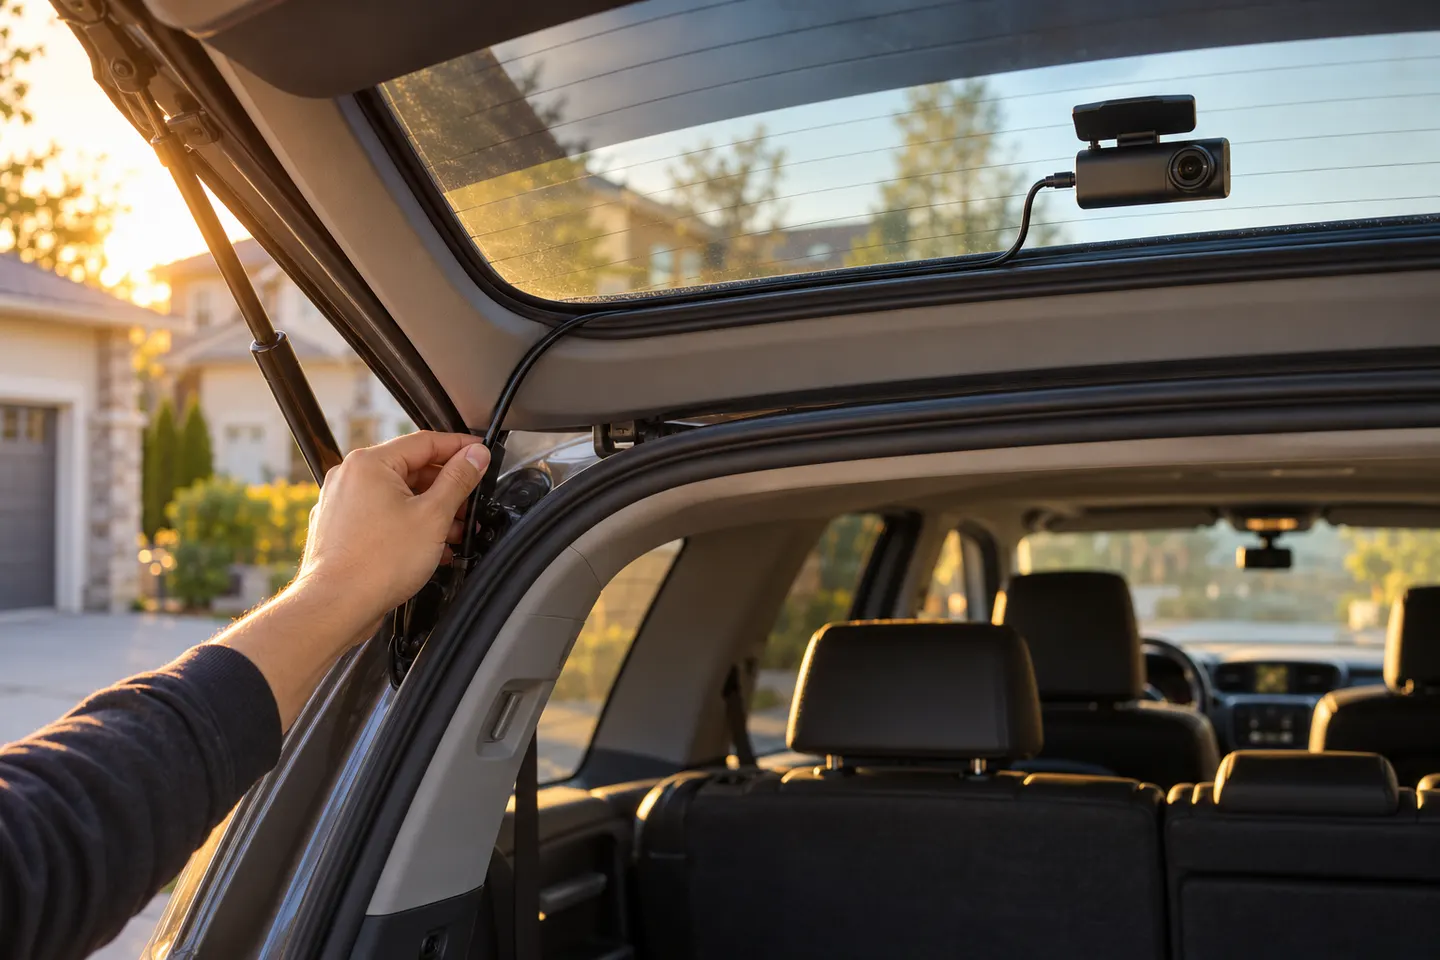
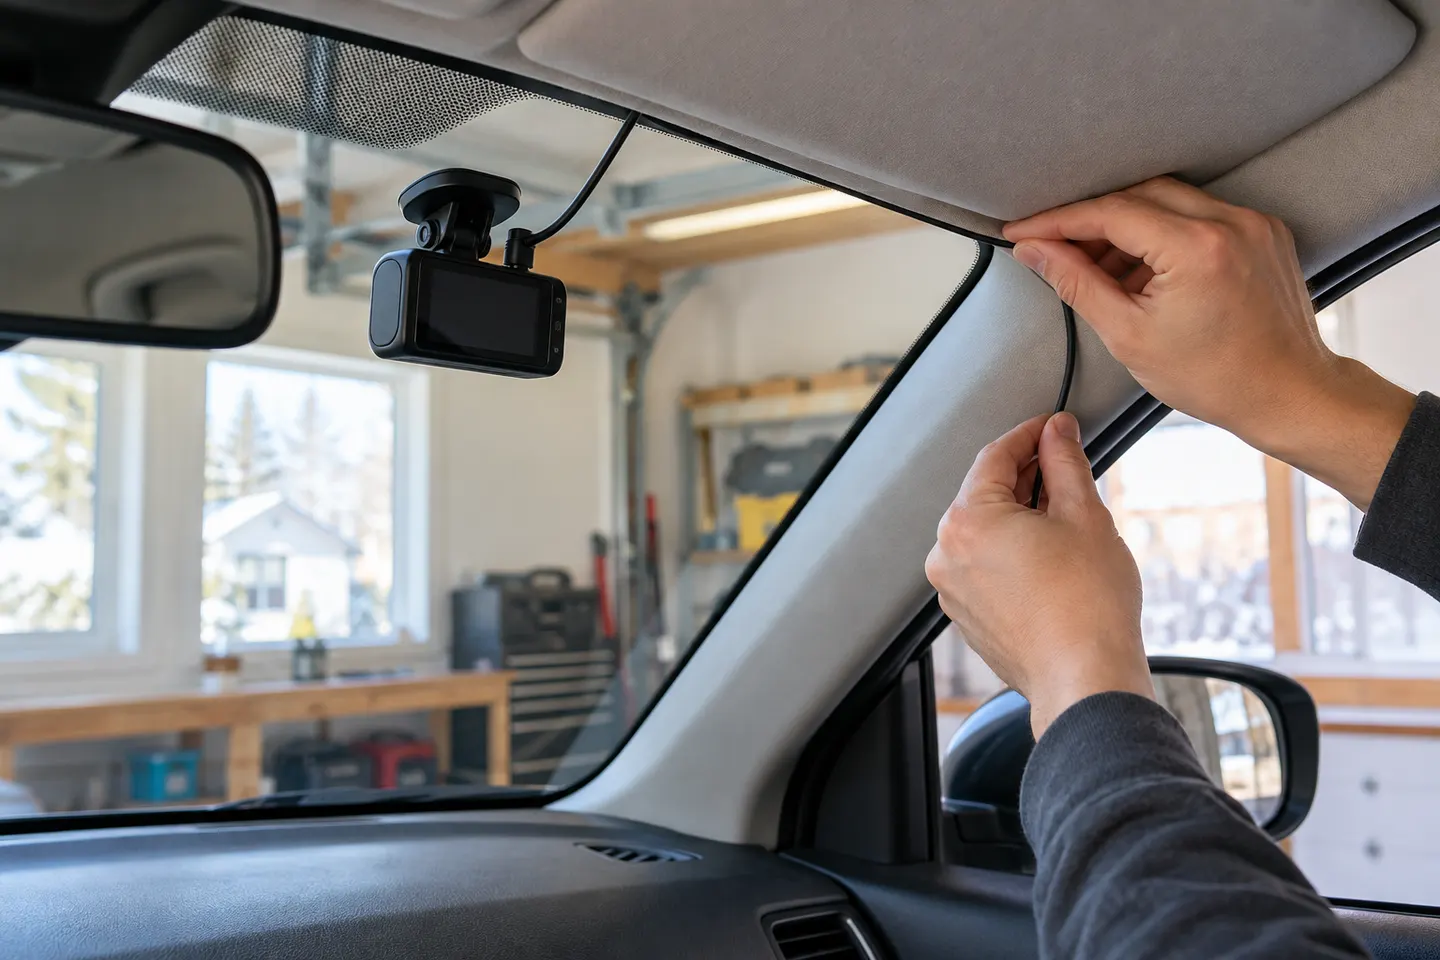
Work from one camera to the other, leaving a small service loop at each end. Follow existing trim edges but do not place cable across curtain-airbag deployment paths. On a hatch or tailgate, use a suitable factory conduit only if the connector fits without damaging wiring or weather seals.
05
Connect accessory power or arrange hardwiring
A socket adaptor is the simplest reversible option. Parking mode commonly needs a manufacturer-approved hardwire kit or battery solution with low-voltage protection. Fuse selection and concealed wiring are vehicle-specific, so use a qualified installer when the instructions or fuse layout are unclear.
06
Format storage and verify the view
Use the camera's own format function, set the correct region and time, then record a short drive. Review both files on the intended phone or computer, check that number plates are not obscured by reflections and confirm that opening the hatch does not pull the cable.
Common questions
Questions before you buy
Where should a rear dash cam be mounted?
Usually high and central on the rear glass, where it has a clear view and does not obstruct the driver. Check the vehicle manual and local requirements before fixing it.
How do you hide the cable for a front and rear dash cam?
Route it behind suitable trim edges and along existing cable paths while staying clear of airbags, sharp metal and moving hinges. Do not force bulky connectors beneath trim.
Does a front and rear dash cam need hardwiring?
Not for ordinary driving recording if the kit supports a vehicle socket adaptor. Hardwiring is commonly used for a neat finish or parking mode, subject to the manufacturer's requirements.
Can I install a rear dash cam on a hatchback?
Yes, but the cable must accommodate tailgate movement without stretching or pinching. Routing through a factory rubber conduit can be difficult and may justify professional installation.
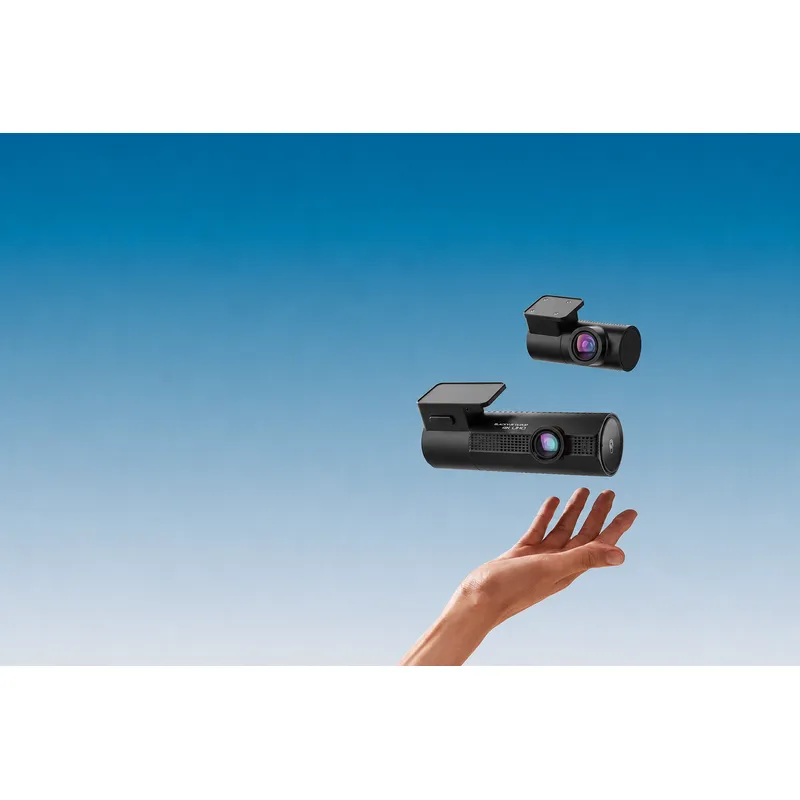
A two-channel system is the clearest choice when you want evidence from both directions. Prioritise rear-camera quality, cable length and an installation that keeps the driver's view clear.
A plug-in installation suits basic driving recording; professional hardwiring is the safer route for neat cabling and parking mode. Keep every camera and cable clear of vision and airbags.
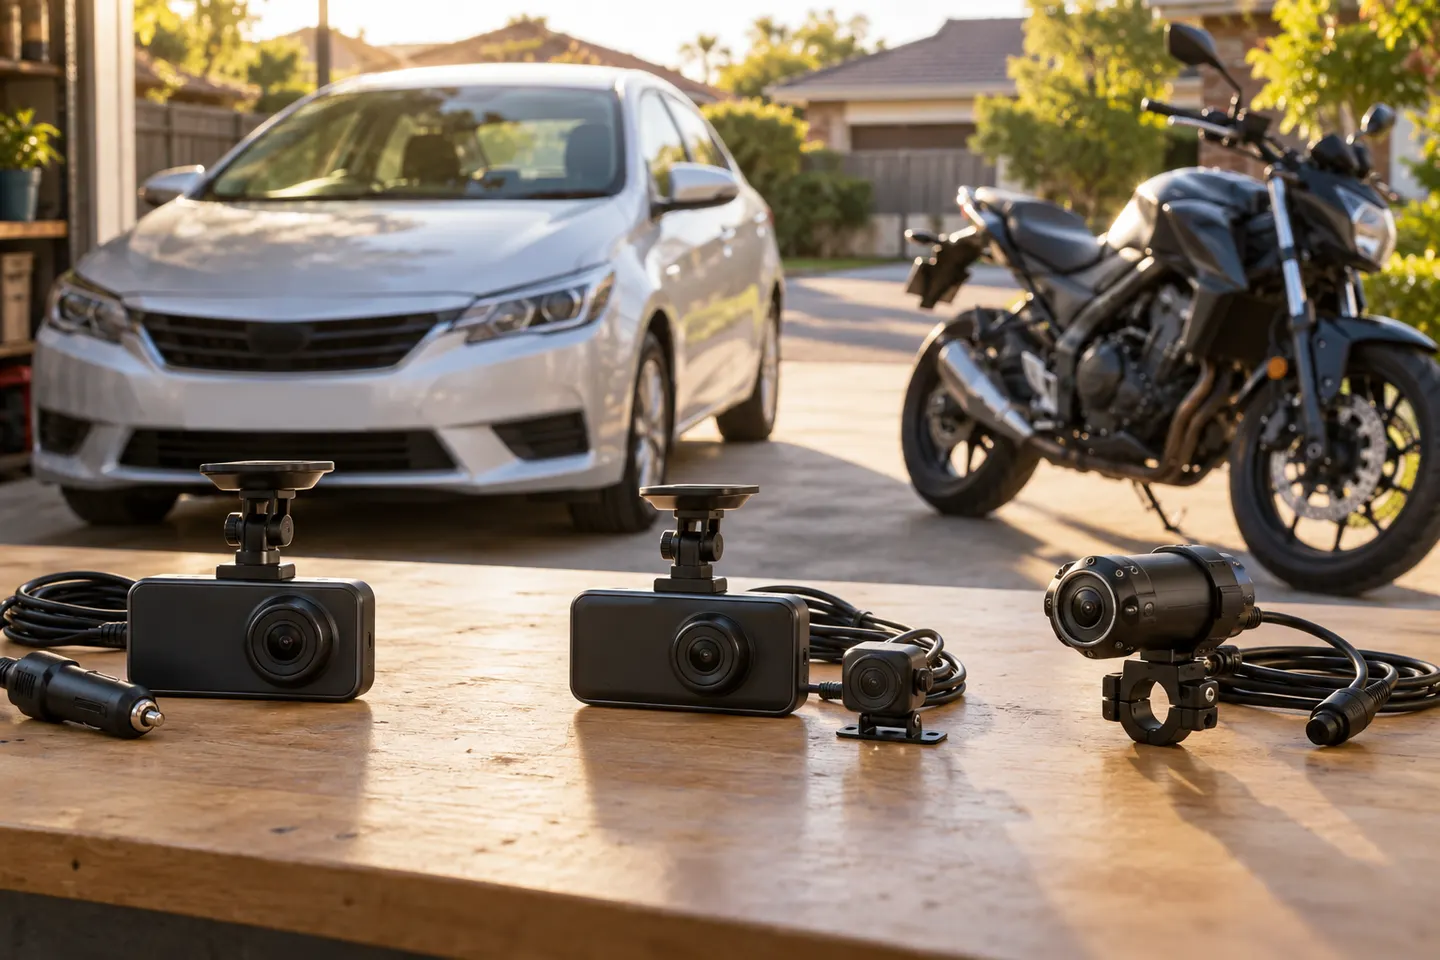
Start with the coverage you need: front-only for simplicity, front-rear for broader evidence, or a dedicated motorcycle system. Then decide how you will power it.
Your privacy
We use cookies and similar technologies. Necessary ones keep the site working. With your permission we also use statistics cookies (Google Analytics and Microsoft Clarity) to understand which guides help readers. You can accept all, reject all or choose. You can change your choice at any time from "Cookie settings" at the bottom of every page. Cookie policy