Before you begin
Identify the extender as the NETGEAR EX5000 AC1200 and check that your router broadcasts the network you intend to extend. NETGEAR recommends doing initial setup in the same room as the router, where its signal is available.

 Best picksGood Meat Thermometers for Every Kind of Cook
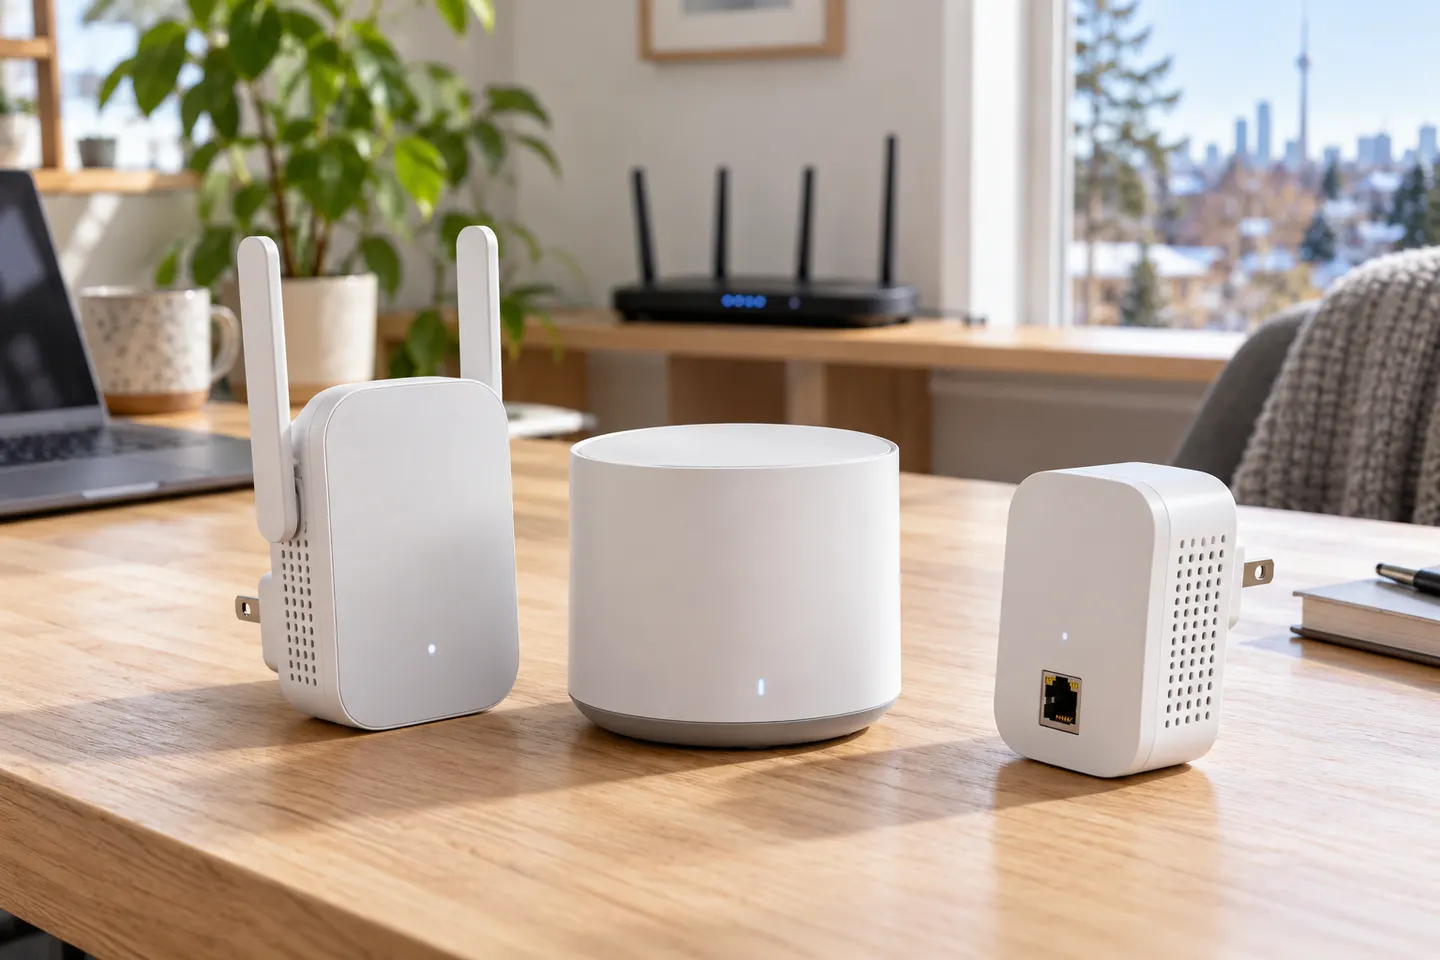 Best picksBest WiFi Extenders: Which Range Extender Should You Buy?
 Best picksBest Dash Cams for Cars in 2026
 Best picksBest Radar Detectors for Cars: Models Compared
 Best picksGood Winter Gloves for Cold Weather: Five Useful Picks
 Best picksBest Headlamps: Six Lights Compared for Different Uses
 Best picksTop 10 Best Battery-Powered Weed Eaters for Different Yards
 Best picksBest Portable Air Coolers for Patios, Workshops and Small Spaces (2026)
 Best picksBest Air Purifier for Bedroom in the US: Quiet Models Compared
Gearjury may earn a commission if you buy through links on this page.
Guide
Set up the EX5000 near your router first, using WPS or NETGEAR’s installation assistant. Move it only after the connection is working.
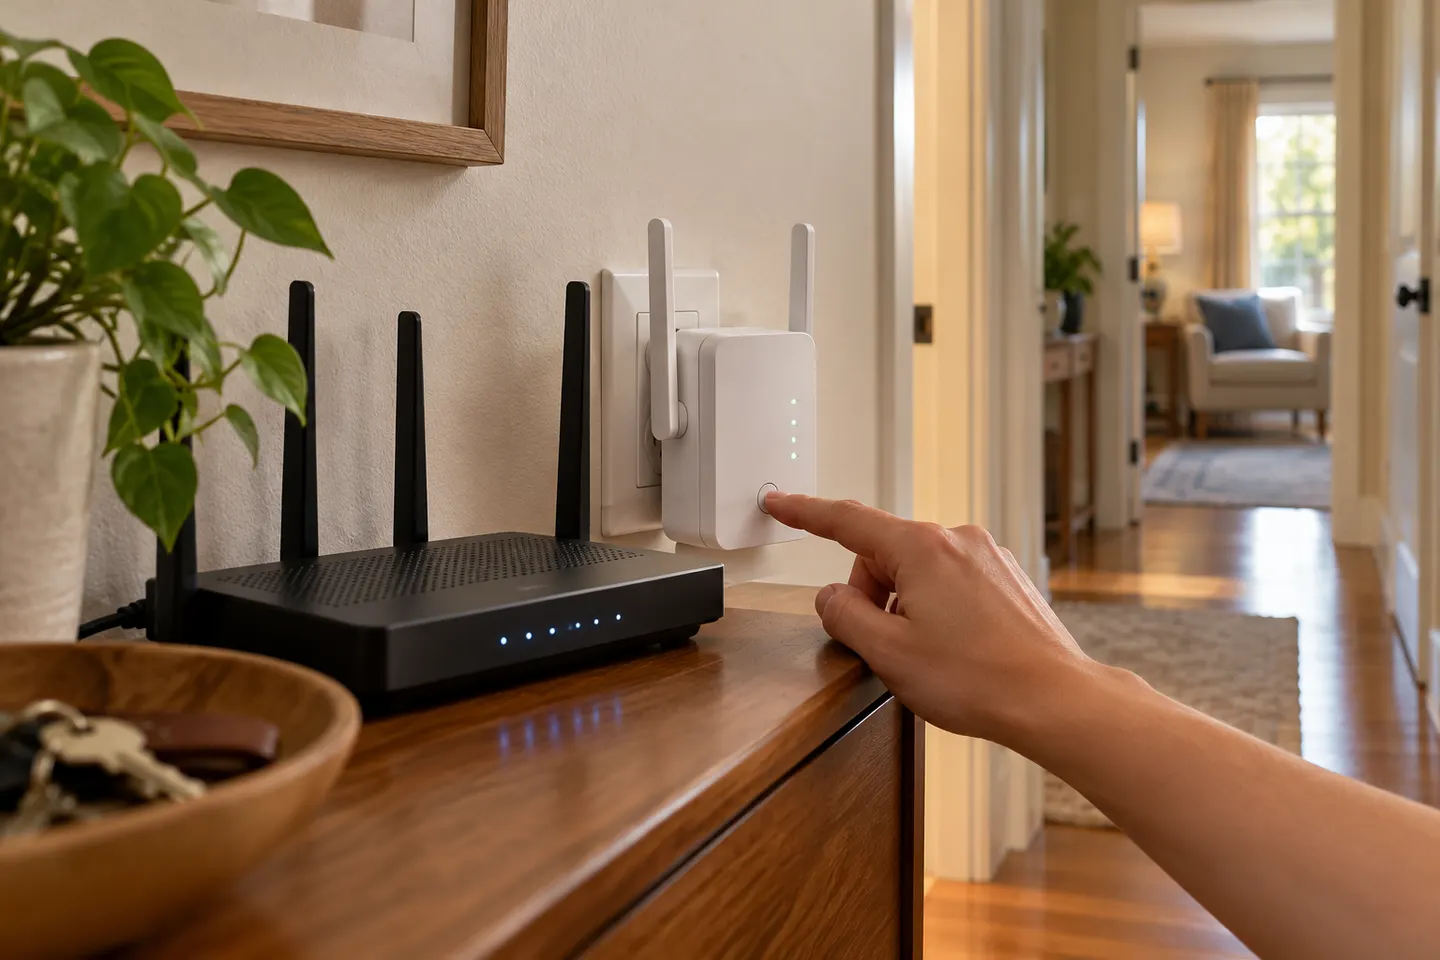
Identify the extender as the NETGEAR EX5000 AC1200 and check that your router broadcasts the network you intend to extend. NETGEAR recommends doing initial setup in the same room as the router, where its signal is available.
Plug in the EX5000 and wait for its Power LED. Press the extender’s WPS button until its WPS light blinks, then press WPS on the router within two minutes. A lit Router LED indicates a connection; if the router has both bands, repeat the pairing for 5 GHz.
If WPS is unavailable, connect a phone or computer to the extender network named NETGEAR_EXT. Open a browser and visit mywifiext.net, then follow the on-screen prompts to join your home WiFi. This route is also required for hidden networks or WEP security, which the quick-start guide says WPS does not support.
After setup succeeds, unplug the unit and try a location roughly halfway between the router and the weak-signal area, while keeping it within the router’s coverage. Power it back on and use the Router LED as the guide to the link quality.
With WPS, the EX5000 may create network names based on your router’s SSID with _2GEXT and _5GEXT suffixes. Join the appropriate extended network from each device. If you configured the extender through the assistant, use the credentials selected during setup.
Move the extender closer to the router and retry pairing; confirm WPS is enabled if using that method. For browser setup, make sure your device is connected to NETGEAR_EXT before opening mywifiext.net. Consult the EX5000 manual for LED meanings and reset instructions specific to the unit.
Common questions
The NETGEAR EX5000 is an AC1200 WiFi range extender. Check the label on the device to confirm the model before following model-specific instructions.
Yes. Connect to NETGEAR_EXT and use the NETGEAR installation assistant at mywifiext.net to follow the setup prompts.
Choose a socket about halfway toward the weak-signal area, but still inside the router’s WiFi range. Use the Router LED to help assess the connection.
NETGEAR’s EX5000 quick-start guide says WPS does not support hidden networks or WEP security. Use the installation assistant instead.
Keep exploring
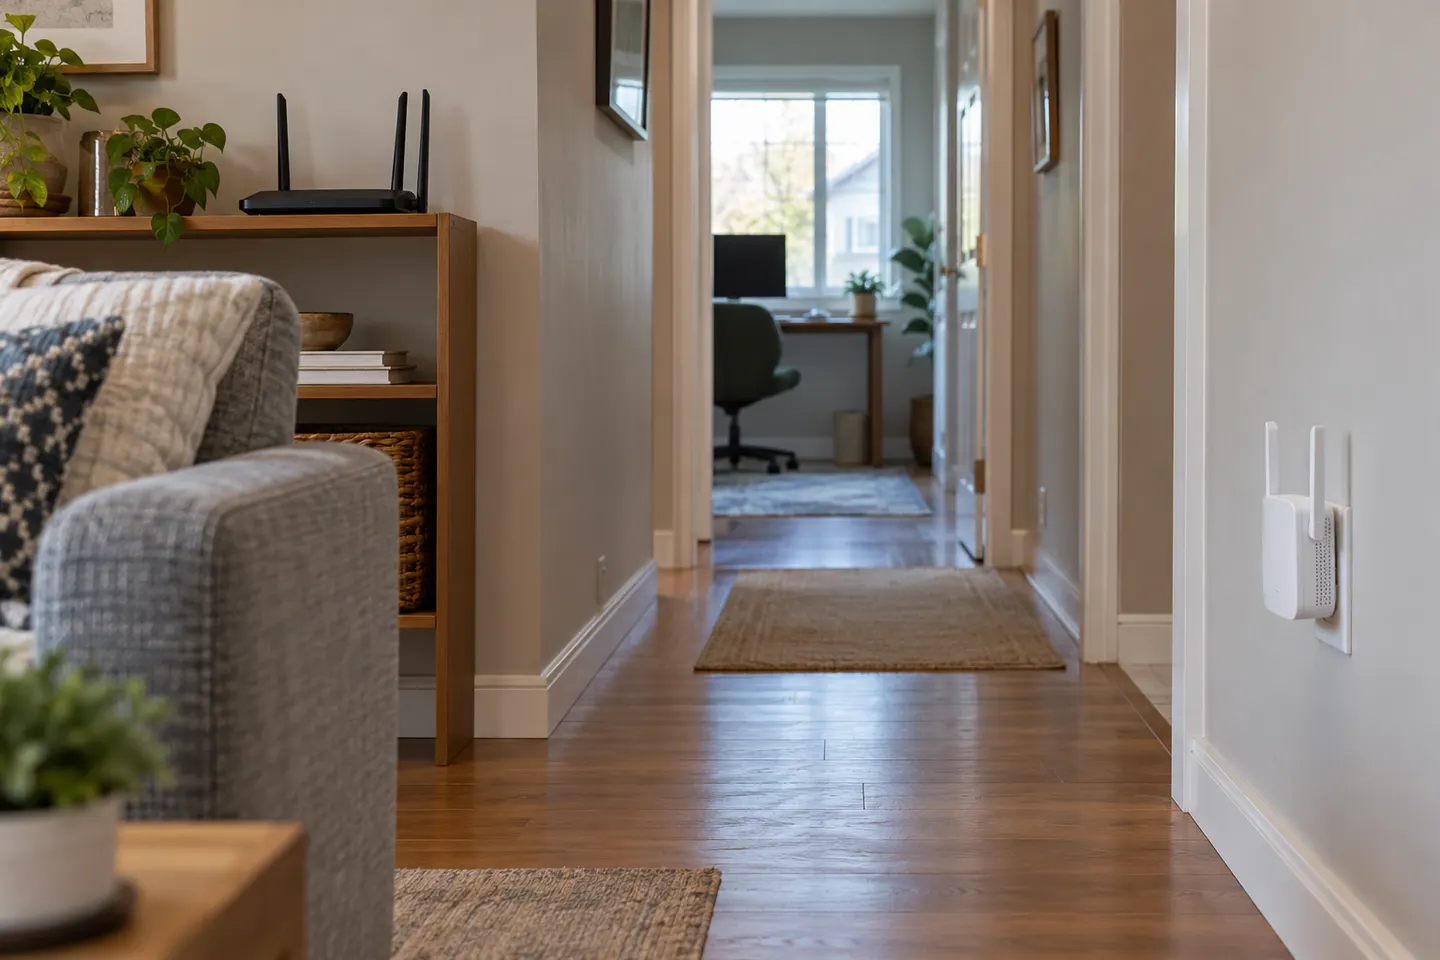
A WiFi extender can carry a router's signal into a nearby weak-signal area. Start by checking compatibility, placement and whether a wireless repeater or wired access point fits your home.
For a versatile WiFi 6 choice, consider TP-Link RE705X, which pairs dual-band WiFi 6 with a Gigabit Ethernet port. NETGEAR EAX15 suits an existing NETGEAR mesh setup, while TP-Link RE550 and NETGEAR EX6120 offer different WiFi 5 feature sets.
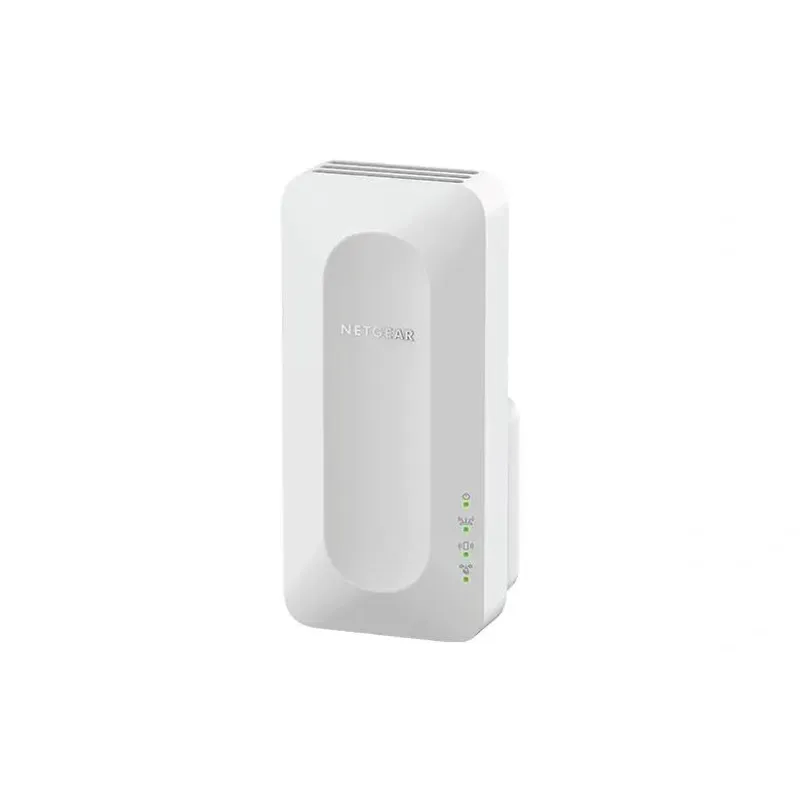
NETGEAR sells plug-in extenders across WiFi generations. Compare exact model features and check whether mesh behavior suits your router.
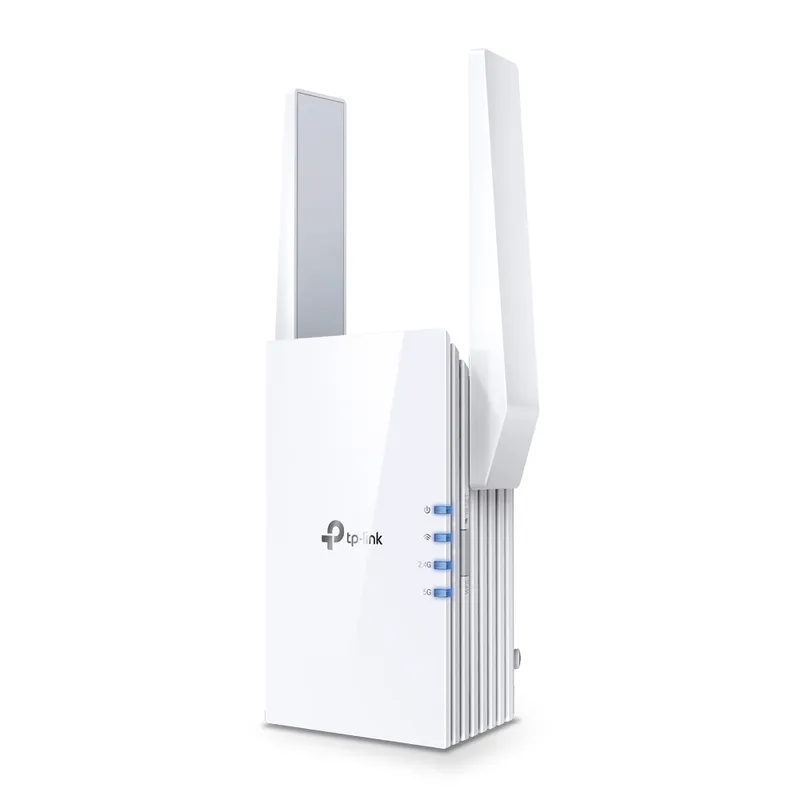
TP-Link offers WiFi 6 and WiFi 5 extenders with different port and mesh features. Check hardware version and router compatibility before choosing.