Gearjury may earn a commission from qualifying purchases made through retailer links.
Guide
How to Install a TP-Link WiFi Range Extender Step by Step
Set up the extender near your router first, using Tether, its web setup page or WPS when supported. Then move it to a midway position where it still receives a reliable signal.
GGearjury editorial team · Updated October 18, 2026· 5 min
01
Before you install a TP-Link range extender
Check the model’s quick installation guide and make sure you know the router’s WiFi name and password. Plug the extender into an outlet close to the router for initial configuration. Setup options and app screens can vary by model and hardware version.
02
Install with the TP-Link Tether app
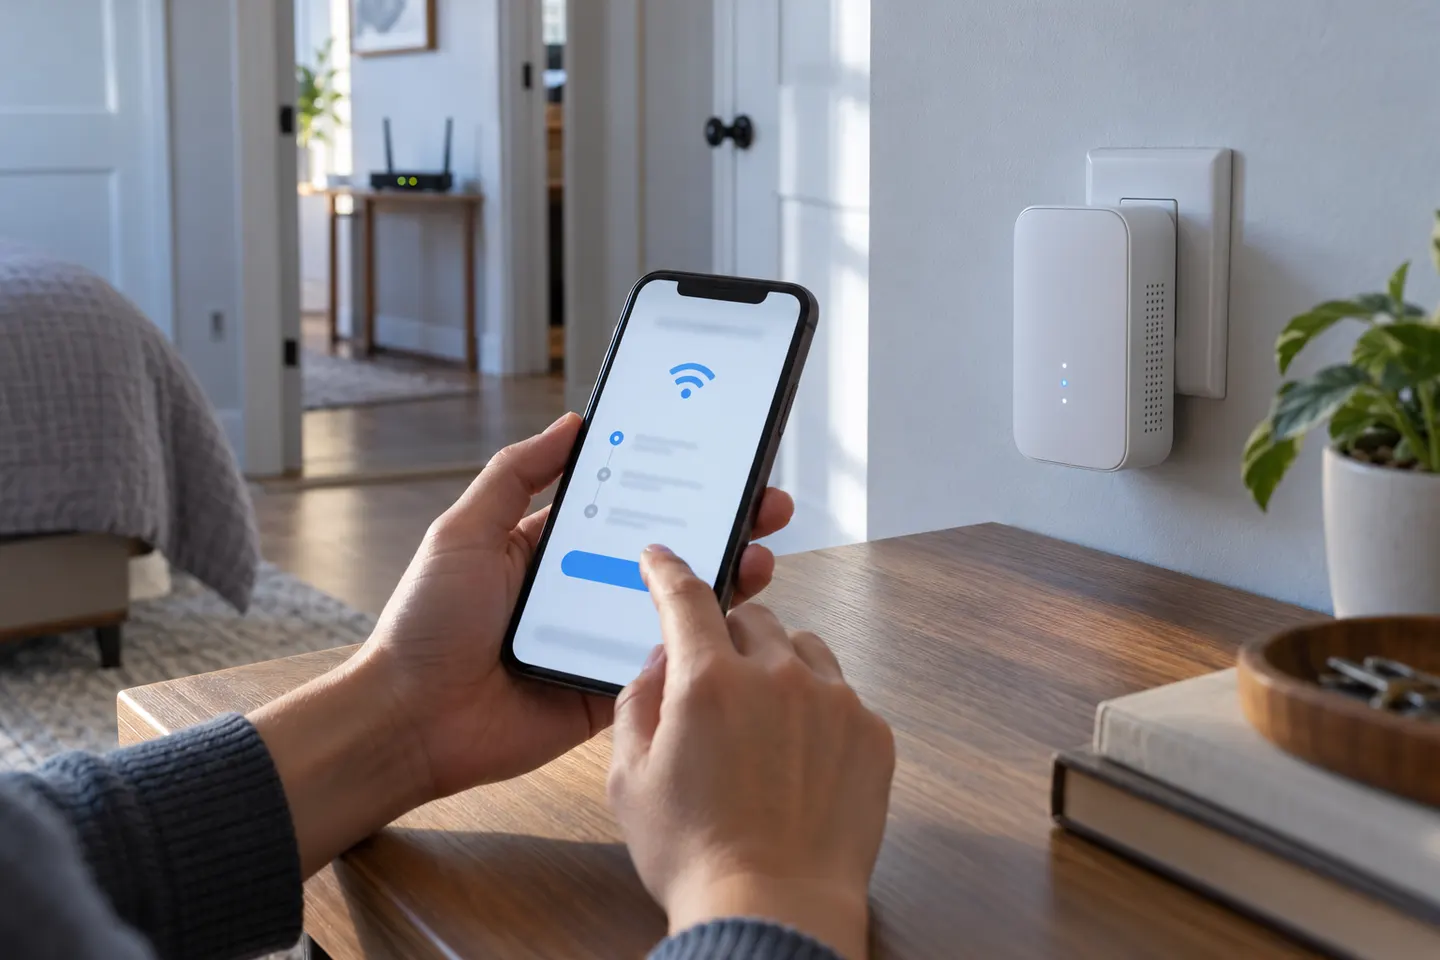
Install TP-Link Tether on a compatible phone, sign in if prompted and choose the option to add a range extender. Follow the on-screen instructions to select your home WiFi network and enter its password. The app may ask you to configure each band separately.
03
Set it up in a web browser
Connect a phone or computer to the extender’s temporary WiFi network, often named TP-Link_Extender, then open the address specified in that model’s manual. Follow the quick setup wizard to select the router network and save the settings. Reconnect your device after the extender restarts.
04
Use WPS if your router and extender support it
Press the router’s WPS button and then the extender’s WPS button within the timing window in their manuals. Wait for the connection indicator described for your model. If pairing fails or the router has no WPS button, use app or browser configuration instead.
05
Move the extender to its working location
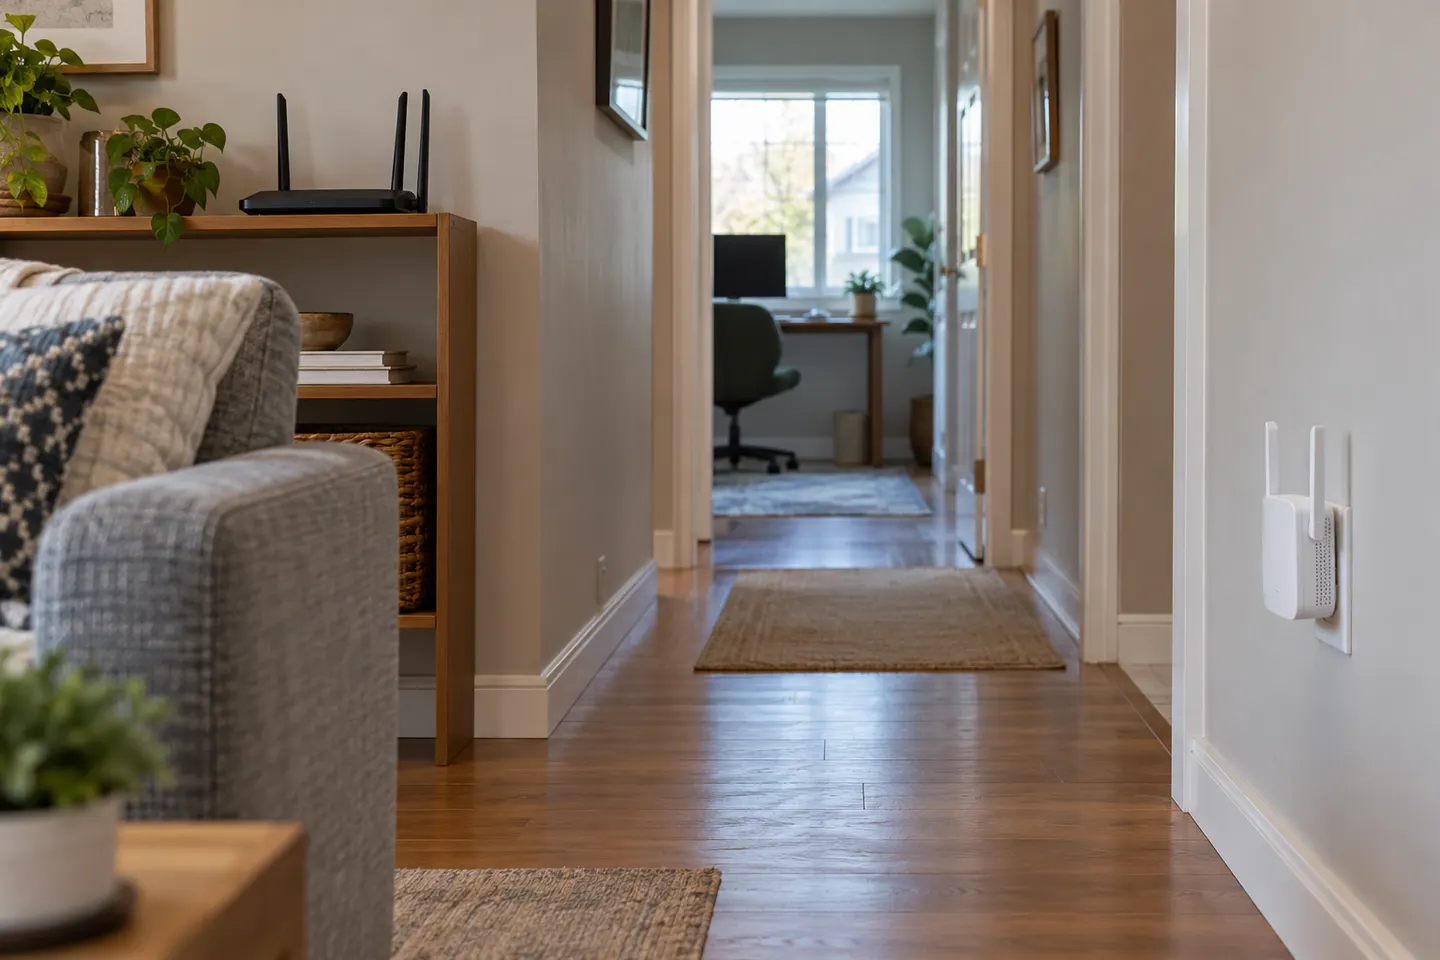
Unplug it and try a position between the router and the weak-coverage area. Avoid placing it behind dense obstacles or so far away that it loses a useful router signal. Use the model’s signal indicator or app placement tool, then adjust closer to the router if the connection is poor.
06
Connect devices and check the result
Connect a device to the extended network and check coverage in the room that needed help. Some compatible mesh products share network settings with the router; other configurations may show an extender network name. If needed, revisit the setup page and verify the selected host network and password.
07
Troubleshoot a failed setup
Confirm the extender is within range during setup, re-enter the router password carefully and check that the router broadcasts a compatible band. Restart both units if the manufacturer recommends it. A factory reset clears saved settings, so consult the model guide before using the reset control.
Common questions
Questions before you buy
How do I install a TP-Link WiFi range extender with my phone?
Use the TP-Link Tether app where supported: add a range extender, select the router network, enter its password and follow the relocation prompts. Check your model’s guide for the exact menu names.
Can I set up a TP-Link extender without the Tether app?
Many models support browser setup, and some can pair through WPS. The available methods depend on the model; use its quick installation guide for the correct instructions.
Where should I plug in the extender after setup?
Choose a point between the router and the area with weak coverage where the extender still receives a good router signal. Use its signal indicator or the manufacturer’s placement feature.
Why is my TP-Link extender not connecting to the router?
Common causes include a weak signal during setup, an incorrect WiFi password, incompatible settings or a router band the extender cannot use. Retry close to the router and follow the model-specific troubleshooting guide.
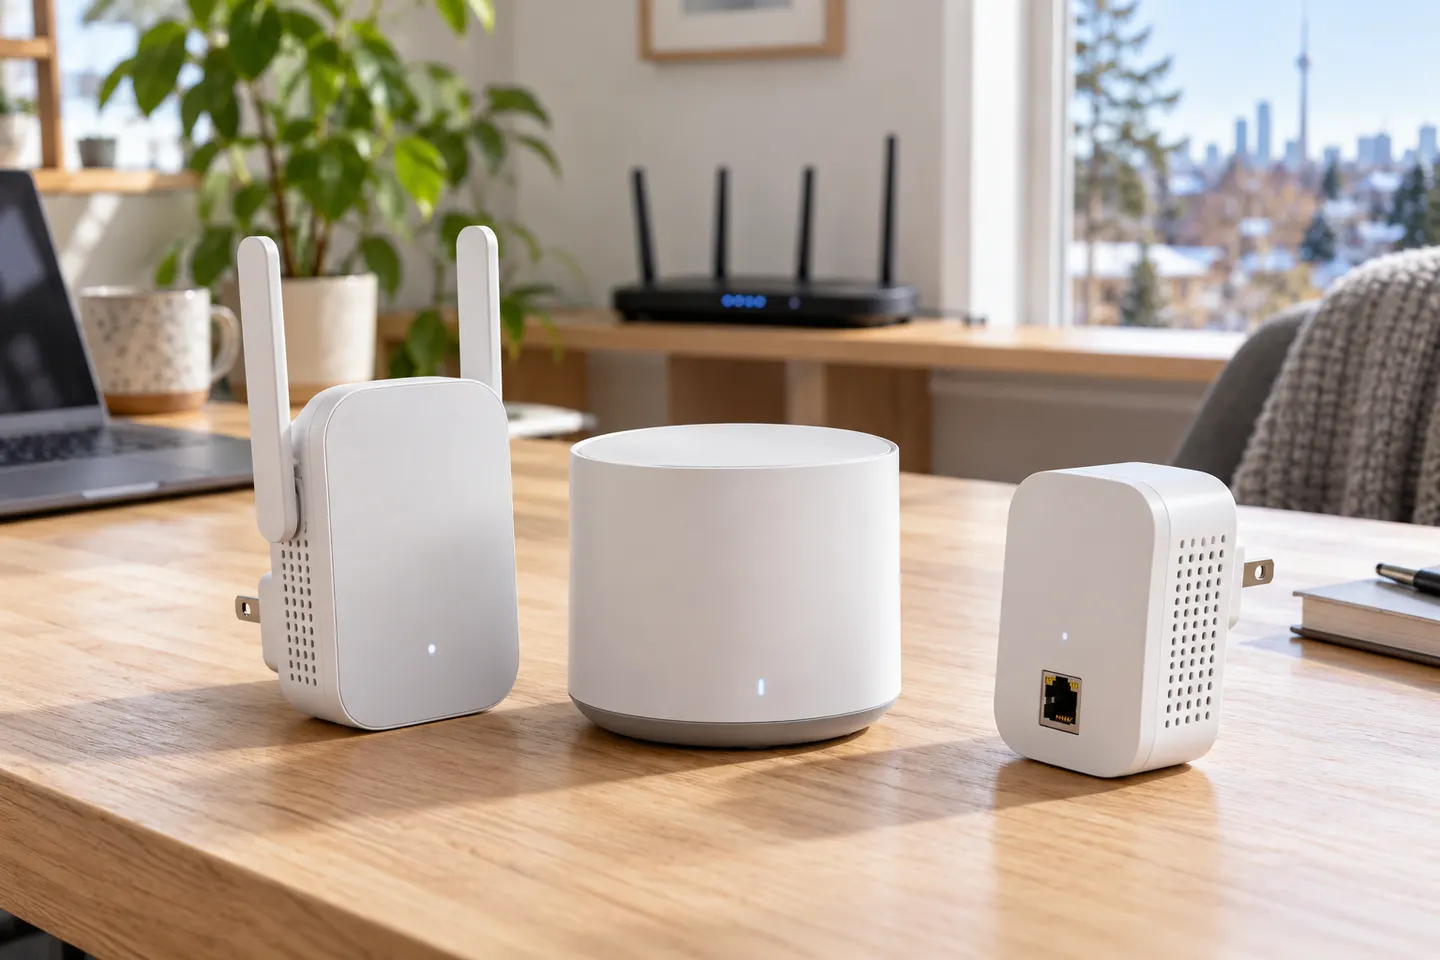
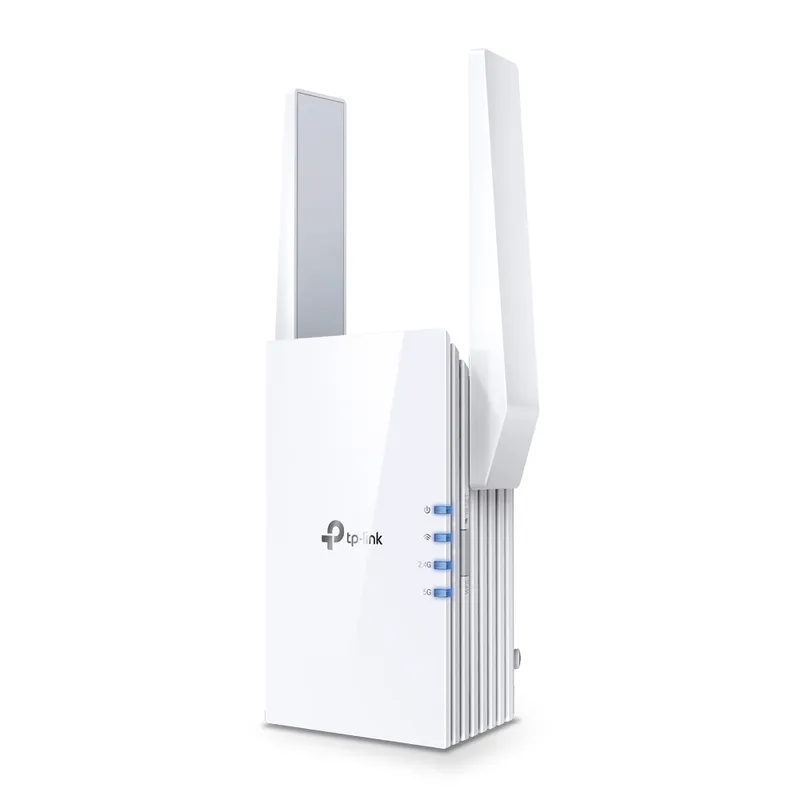
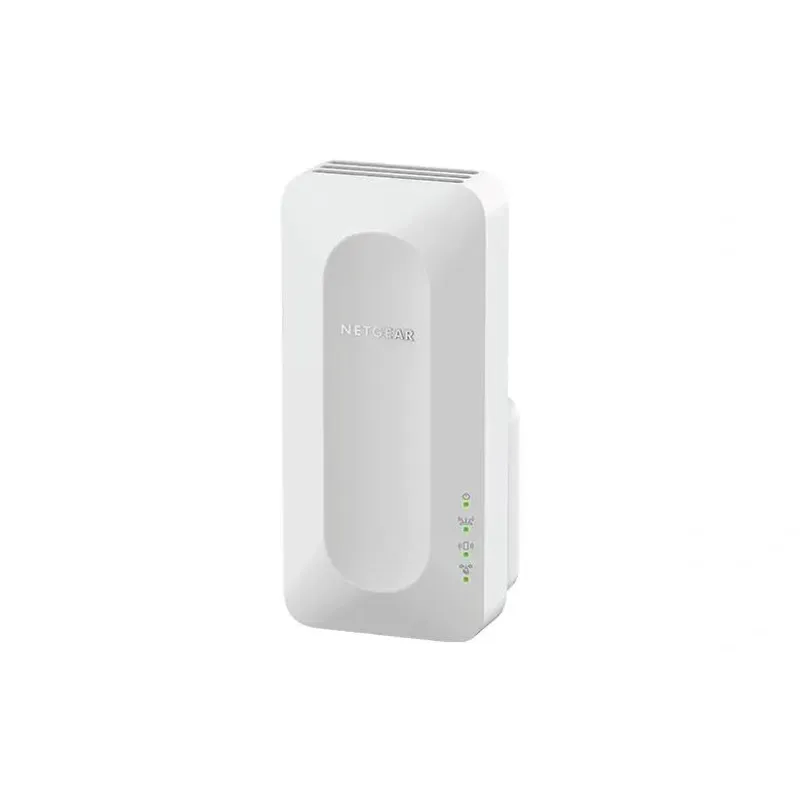
For a versatile WiFi 6 choice, consider TP-Link RE705X, which pairs dual-band WiFi 6 with a Gigabit Ethernet port. NETGEAR EAX15 suits an existing NETGEAR mesh setup, while TP-Link RE550 and NETGEAR EX6120 offer different WiFi 5 feature sets.
A WiFi extender can carry a router's signal into a nearby weak-signal area. Start by checking compatibility, placement and whether a wireless repeater or wired access point fits your home.
NETGEAR sells plug-in extenders across WiFi generations. Compare exact model features and check whether mesh behavior suits your router.
Your privacy
We use cookies and similar technologies. Necessary ones keep the site working. With your permission we also use statistics cookies (Google Analytics and Microsoft Clarity) to understand which guides help readers. You can accept all, reject all or choose. You can change your choice at any time from "Cookie settings" at the bottom of every page. Cookie policy