Gearjury may earn a commission when you buy through a retailer link. Editorial guidance is based on cited evidence.
Guide
How to Remove a Dashcam from Your Windshield
Disconnect the camera, release the device from its mount and work on the adhesive slowly. Gentle warmth and a plastic line are safer than levering against the glass.
GGearjury editorial team · Updated October 15, 2026· 5 min
01
How do you disconnect a dash cam before removal?
Park safely, turn the vehicle off and unplug the power lead from the camera. If the cable is hardwired, remove only the visible camera and mount unless you understand the circuit; an installer can remove concealed wiring without disturbing airbags or trim.
02
Separate the camera from its mount
Use the release tab or sliding mechanism described in the model manual. Taking the camera body off first reduces weight and gives you a clearer view of the adhesive pad or suction lock.
03
Soften an adhesive mount without overheating the glass
Warm the cabin or apply mild, even warmth to the pad. Avoid boiling water, open flame and abrupt temperature changes, particularly on cold or chipped glass.
04
Cut through the adhesive pad
Work clean dental floss or plastic line behind the pad with a slow sawing motion. Keep it nearly parallel to the windshield and never pry with a metal screwdriver.
05
Remove residue from the windshield
Lift remaining foam with a plastic scraper, then use a glass-safe adhesive remover on a cloth. Keep solvent away from the dashboard, tint film, camera lens and painted trim, and follow the product label.
06
Check the glass and prepare for remounting
Clean and dry the area, inspect for damage and replace the adhesive pad rather than reusing a distorted one. Use the mount maker’s approved replacement and observe its curing instructions.
Common questions
Questions before you buy
How do I remove a stuck dash cam adhesive mount?
Remove the camera body, warm the pad gently and work dental floss or plastic line behind it. Do not lever the mount against the glass.
Can a hair dryer crack a windshield?
Concentrated heat or a rapid temperature change can stress glass. Use only mild, even warmth and avoid heating damaged or very cold glass.
Will adhesive remover damage windshield tint?
Some solvents can mark aftermarket film or surrounding trim. Check the product label and test an inconspicuous area, or have a tint installer remove the mount.
Can I reuse the dash cam adhesive pad?
A removed pad may no longer provide a reliable bond. Use the correct new pad or manufacturer replacement before remounting.
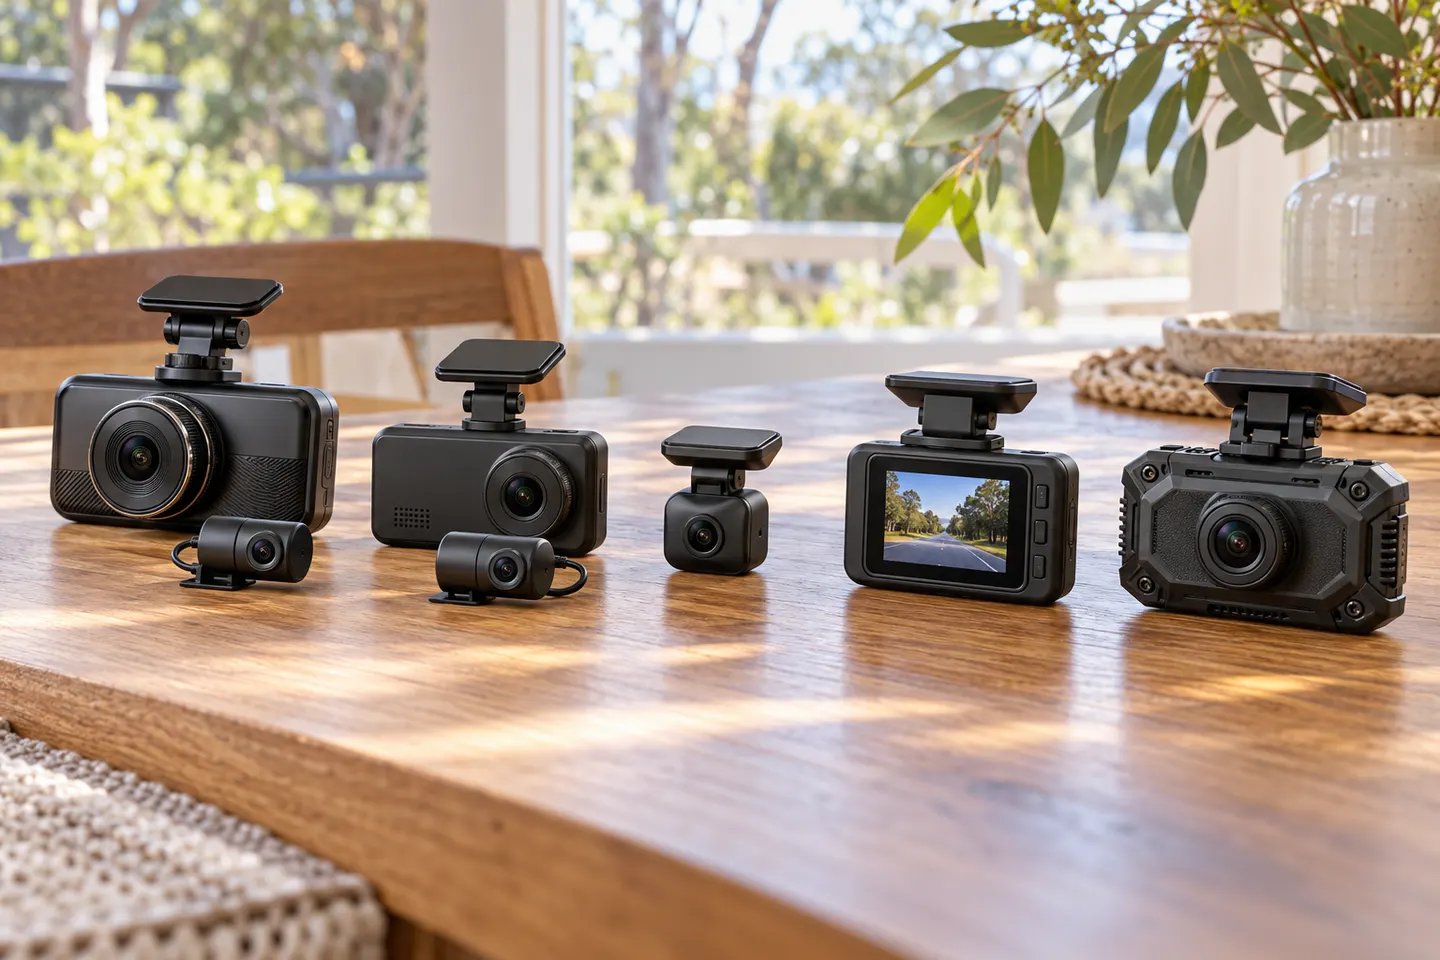
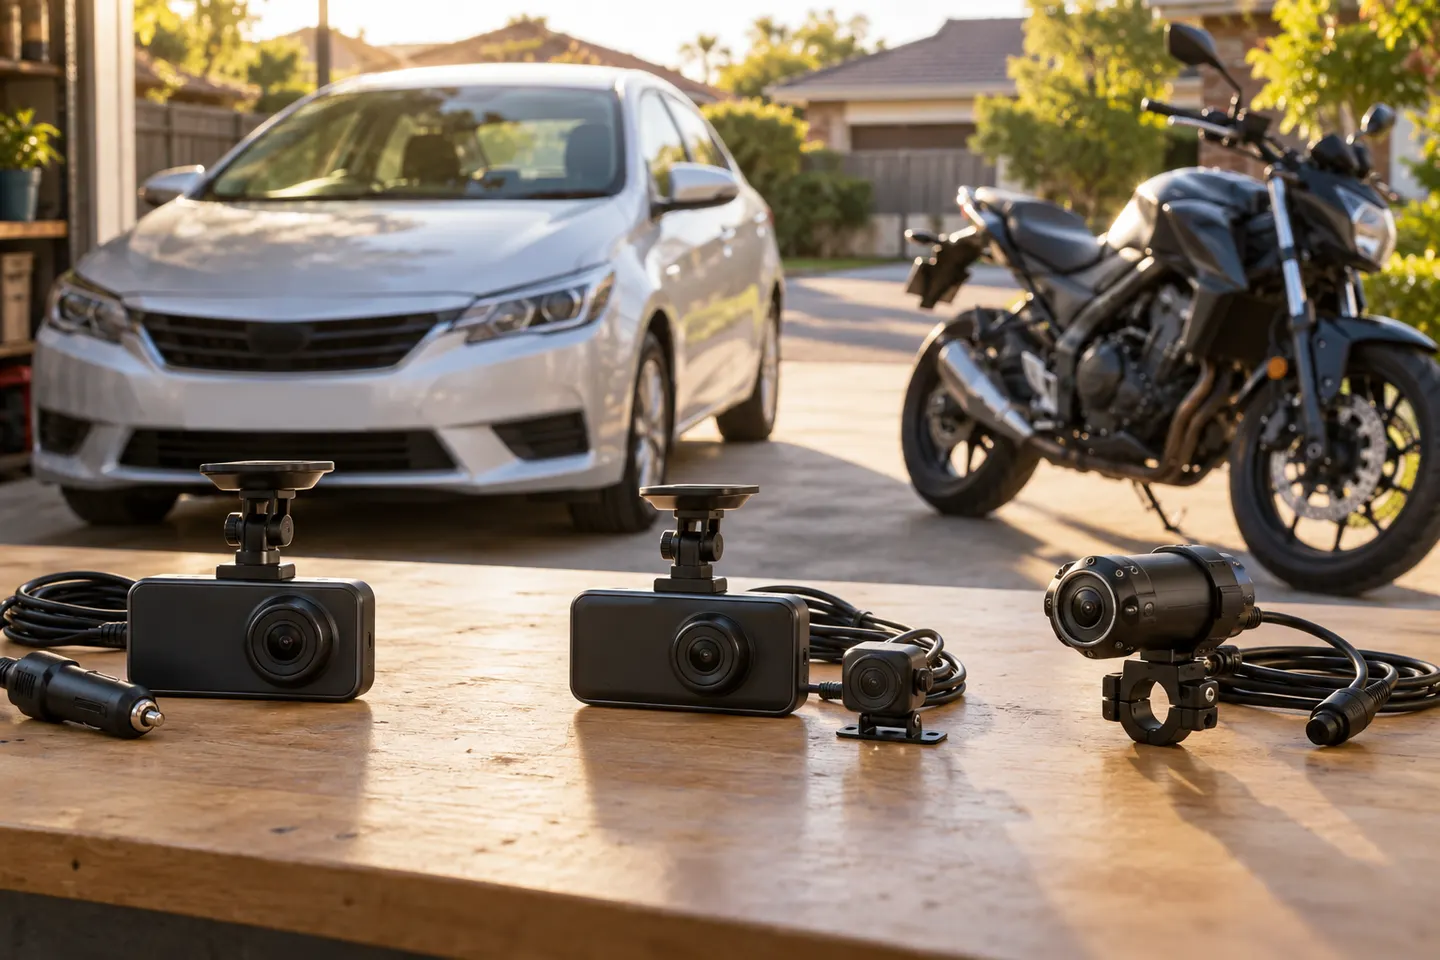
Start with the coverage you need: front-only, front and rear, cabin or a wider multi-camera view. Then compare recording detail, storage and power requirements.
VIOFO A229 Pro 2CH is our broad recommendation for detailed front and rear coverage. Garmin Mini 3 favors discretion, while Garmin X310 is the sharper single-camera choice.
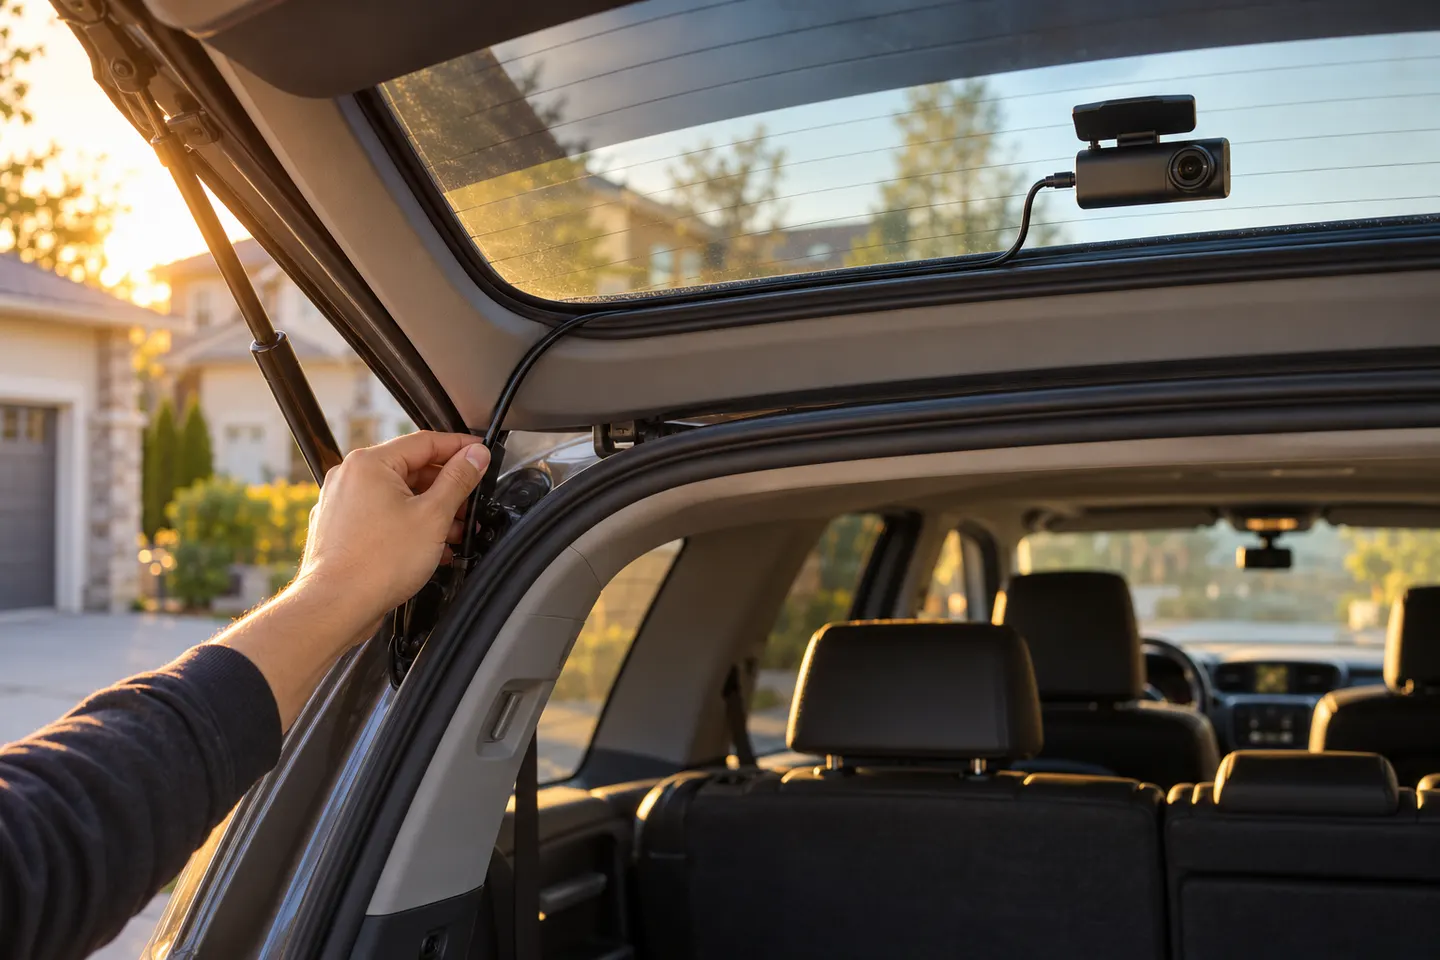
A front and rear dash cam records both directions and can provide context a single lens misses. Check the rear-camera cable route and simultaneous recording resolution before buying.
The A329S serves buyers seeking high-detail multichannel recording; A229 models cover more moderate dual-camera needs, while A119 Mini 2 is the compact front-only option.
Your privacy
We use cookies and similar technologies. Necessary ones keep the site working. With your permission we also use statistics cookies (Google Analytics and Microsoft Clarity) to understand which guides help readers. You can accept all, reject all or choose. You can change your choice at any time from "Cookie settings" at the bottom of every page. Cookie policy