Gearjury may earn a commission from qualifying retailer links. This does not affect our editorial guidance.
Guide
How to Connect a Virgin WiFi Booster to Your Hub
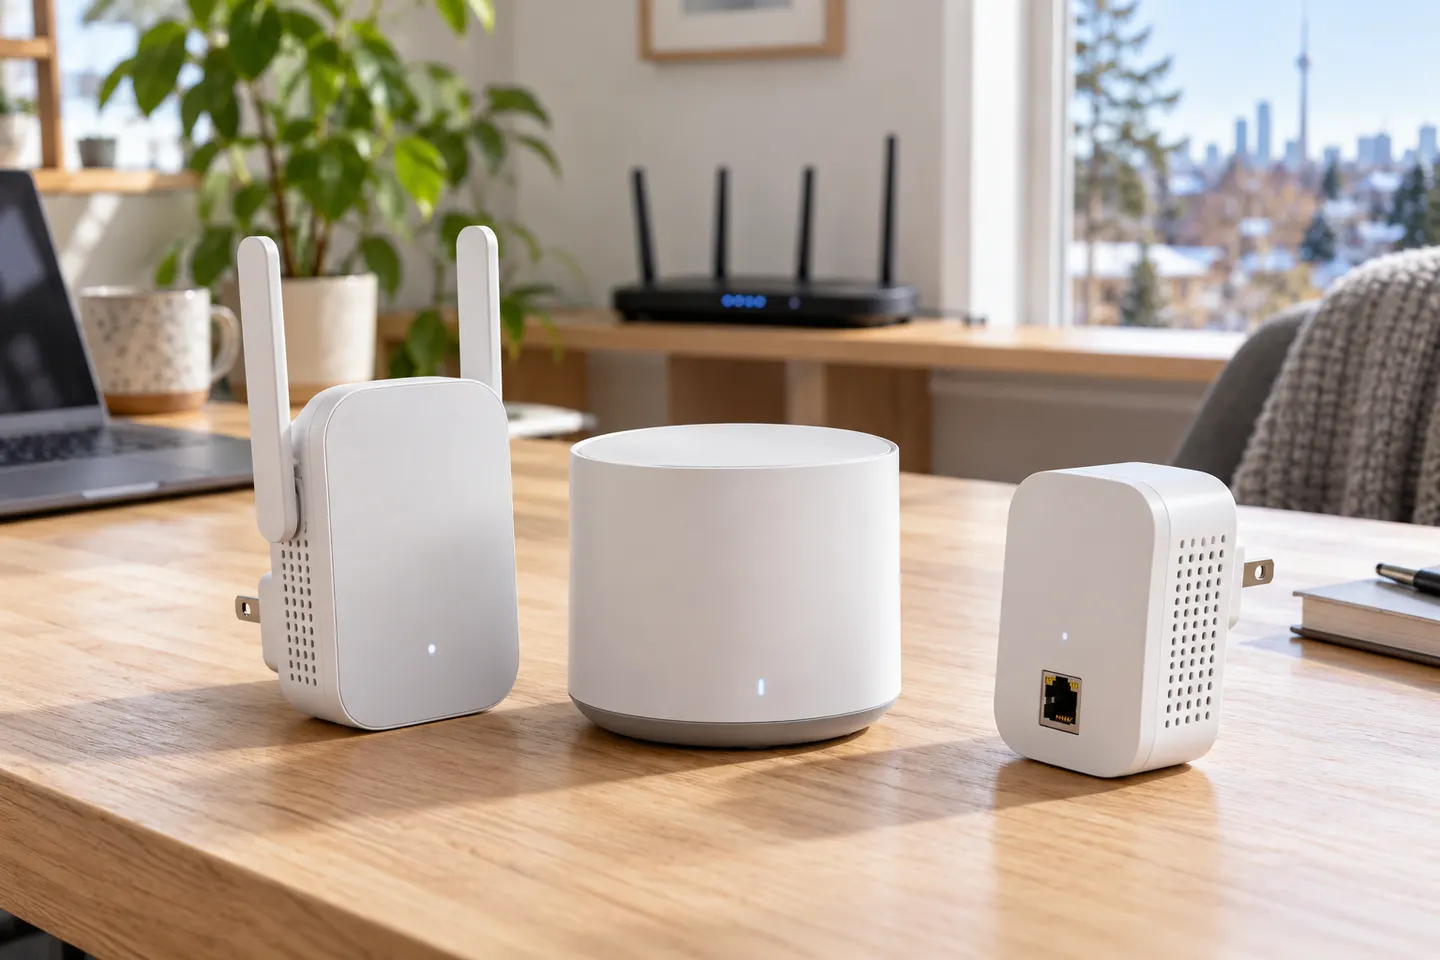
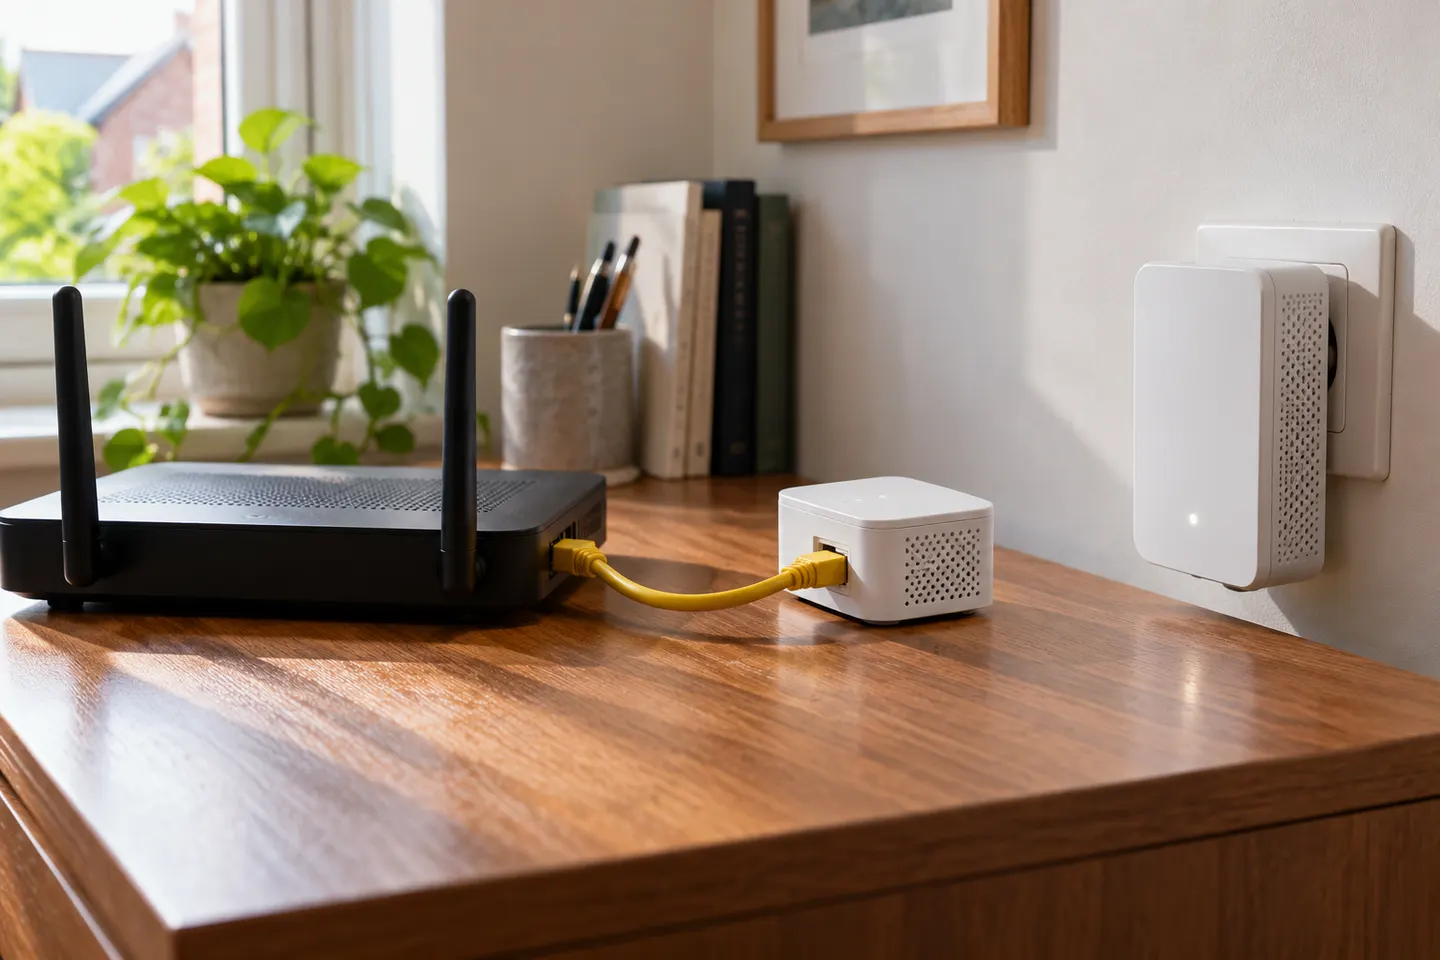
For Virgin Media’s wired booster kit, connect the smaller unit to the Hub by Ethernet first, then power and pair the larger unit using the WPS controls. Follow the instructions for your exact booster model, as Pods use a different setup.
GGearjury editorial team · Updated 18 October 2026· 5 min
01
Check whether you have a booster or a WiFi Pod
Virgin Media’s wired booster kit uses a small unit connected to the Hub and a larger unit elsewhere. WiFi Pods are mesh devices with their own setup process. Identify the equipment before following steps; the two systems should not be mixed.
02
Connect the smaller booster to the Hub
Plug the smaller booster directly into a mains socket near the Hub. Once its lights have flashed, use the supplied Ethernet cable to connect it to the Hub. Virgin Media advises against using an extension lead, power strip or surge protector for this unit.
03
Power the larger booster and allow it to initialise
Place the larger booster in the same room for the initial setup, connect it directly to a socket and switch it on. Virgin Media says to leave the units undisturbed while they pair and install any software updates; allow the time specified in its current setup guide.
04
Pair the booster with the Hub
Press and hold the WPS button on the larger booster until its wireless and power lights blink. Then press and hold the WPS or Virgin Media button on the Hub until its lights begin blinking. Wait for the status lights to show that pairing has completed.
05
Move the booster to a useful position
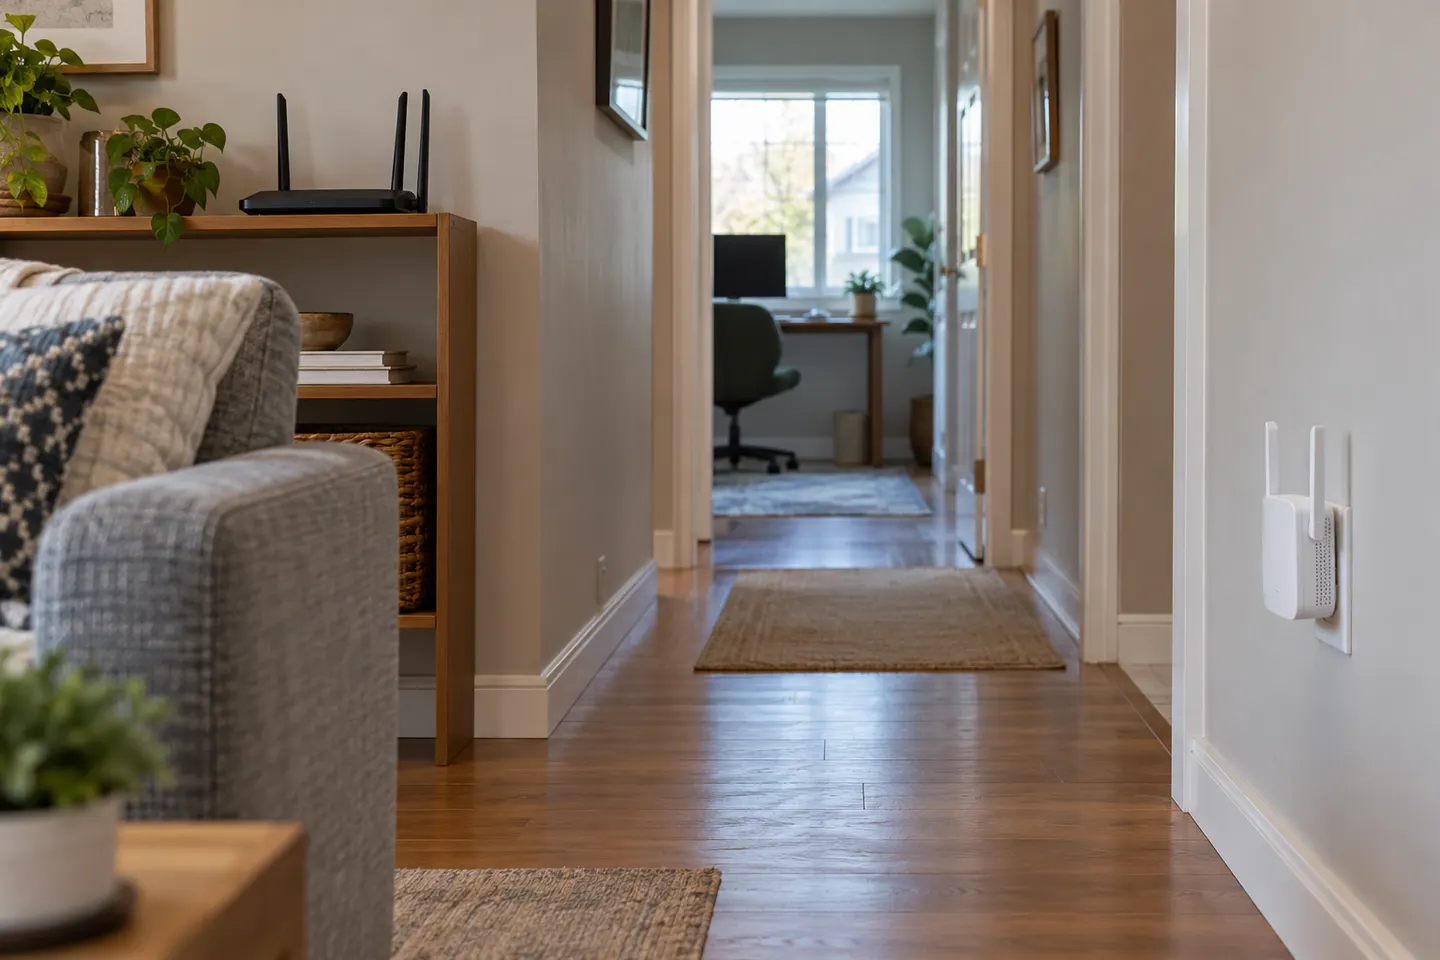
After pairing, unplug the larger unit and place it between the Hub and the room with poor coverage, where it can still receive a good signal. Avoid sockets beside appliances with motors or behind large obstructions; check the status again after moving it.
06
Check your device connection
Connect a phone or laptop to your home WiFi and test it in the target room. If the booster does not appear to help, restart setup from the official instructions, verify the Ethernet connection and check Virgin Media service status before changing network settings.
Common questions
Questions before you buy
Virgin Media WiFi booster: how do I connect it?
Connect the smaller booster to the Hub by Ethernet, power the larger booster nearby, then pair it with the Hub using the WPS controls. Wait for pairing to finish before relocating the larger unit.
Do Virgin Media WiFi Pods connect in the same way as boosters?
No. Pods are mesh nodes and use Virgin Media’s Pod setup and account process. Disconnect older WiFi Boosters before using a Pod, as Virgin Media advises against running both systems together.
Why is my Virgin booster not pairing?
Check that the wired unit is connected directly to the Hub and that both units are powered. Repeat the WPS sequence using the model-specific instructions, then check whether a Hub or broadband fault is affecting setup.
Where should I place a Virgin WiFi booster?
Pair it beside the Hub first, then move it to an intermediate socket where the Hub signal is still usable. Putting it at the edge of a dead zone leaves little connection for it to extend.
A WiFi extender can carry your router signal further, but placement and backhaul matter. Choose a plug-in repeater for a nearby dead zone, powerline WiFi for difficult layouts, or an outdoor-rated unit for a garden.
Sky has different booster products for different broadband generations. Sky Max customers may use a Max Pod; check your account and hub-specific help before seeking a third-party extender.
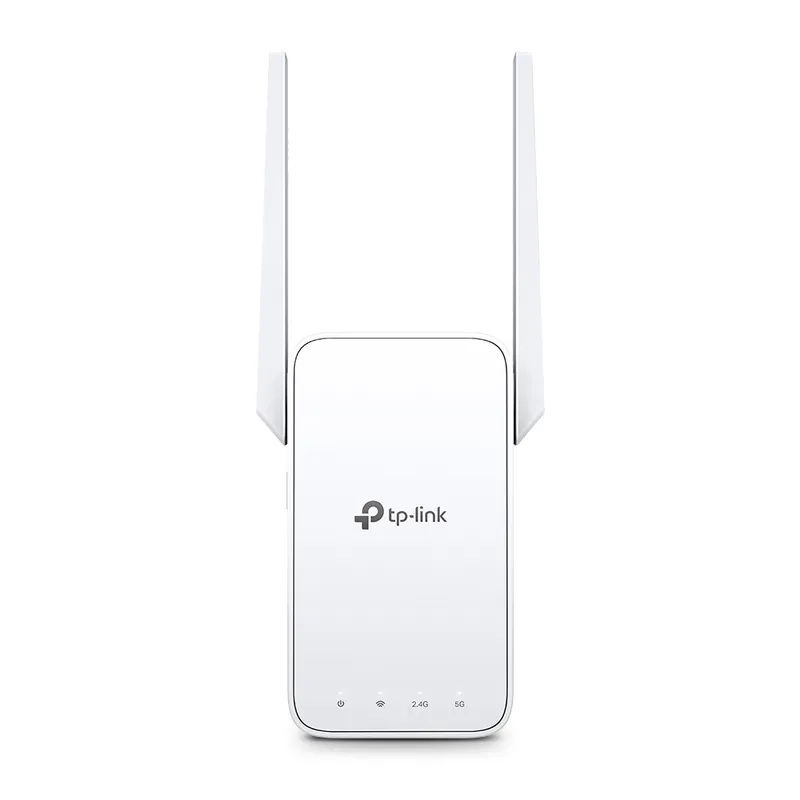
TP-Link RE315 is a practical starting point for a standard indoor dead zone. Consider a Wi-Fi 6 device for newer kit, outdoor-rated hardware for a garden, or powerline where a wireless hop struggles.
TP-Link sells plug-in repeaters and powerline kits. Check EasyMesh support, Ethernet needs and the exact UK hardware revision before buying.
Your privacy
We use cookies and similar technologies. Necessary ones keep the site working. With your permission we also use statistics cookies (Google Analytics and Microsoft Clarity) to understand which guides help readers. You can accept all, reject all or choose. You can change your choice at any time from "Cookie settings" at the bottom of every page. Cookie policy