

Independent buying guidance · Australia editionHow we work
Gearjury
All categories
All categories
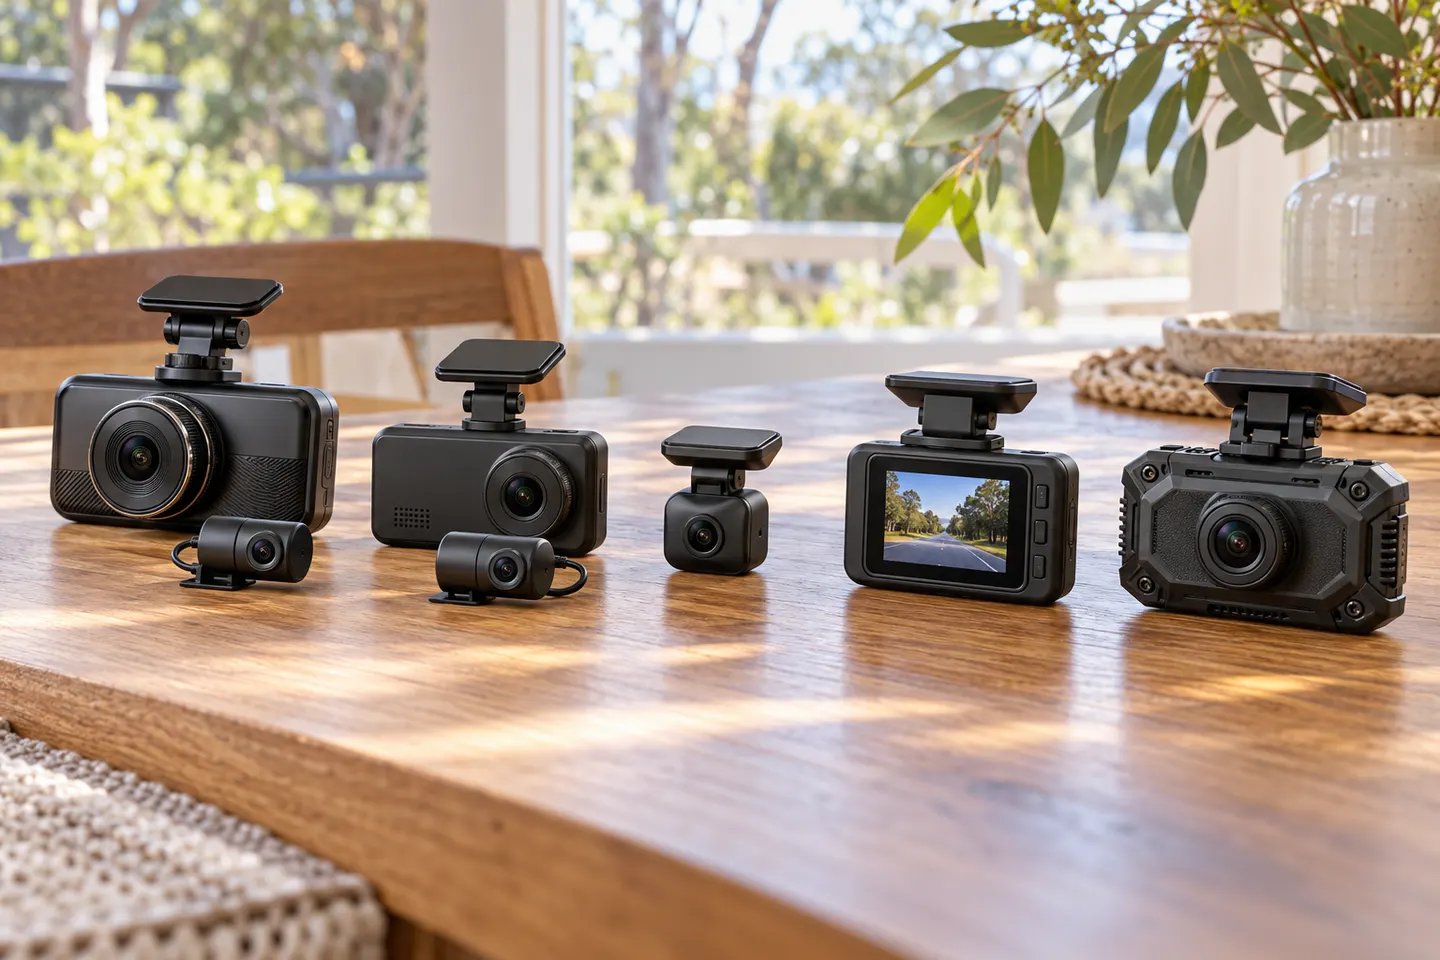
Best picksBest Dash Cam in Australia: Five Models Compared
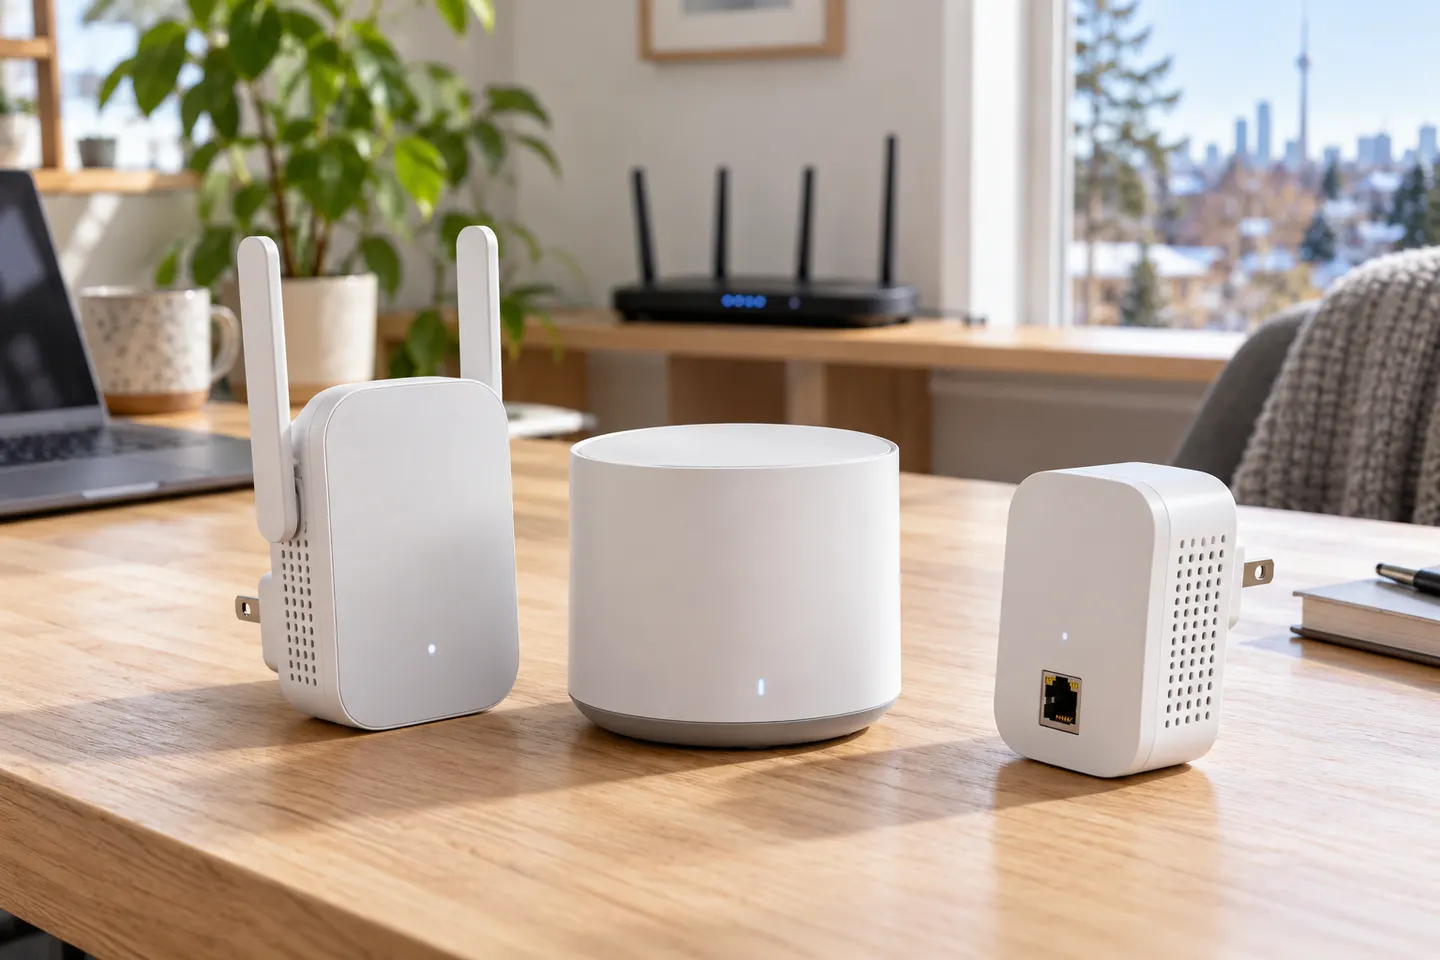
Best picksBest Wi-Fi Extenders in Australia for Different Homes
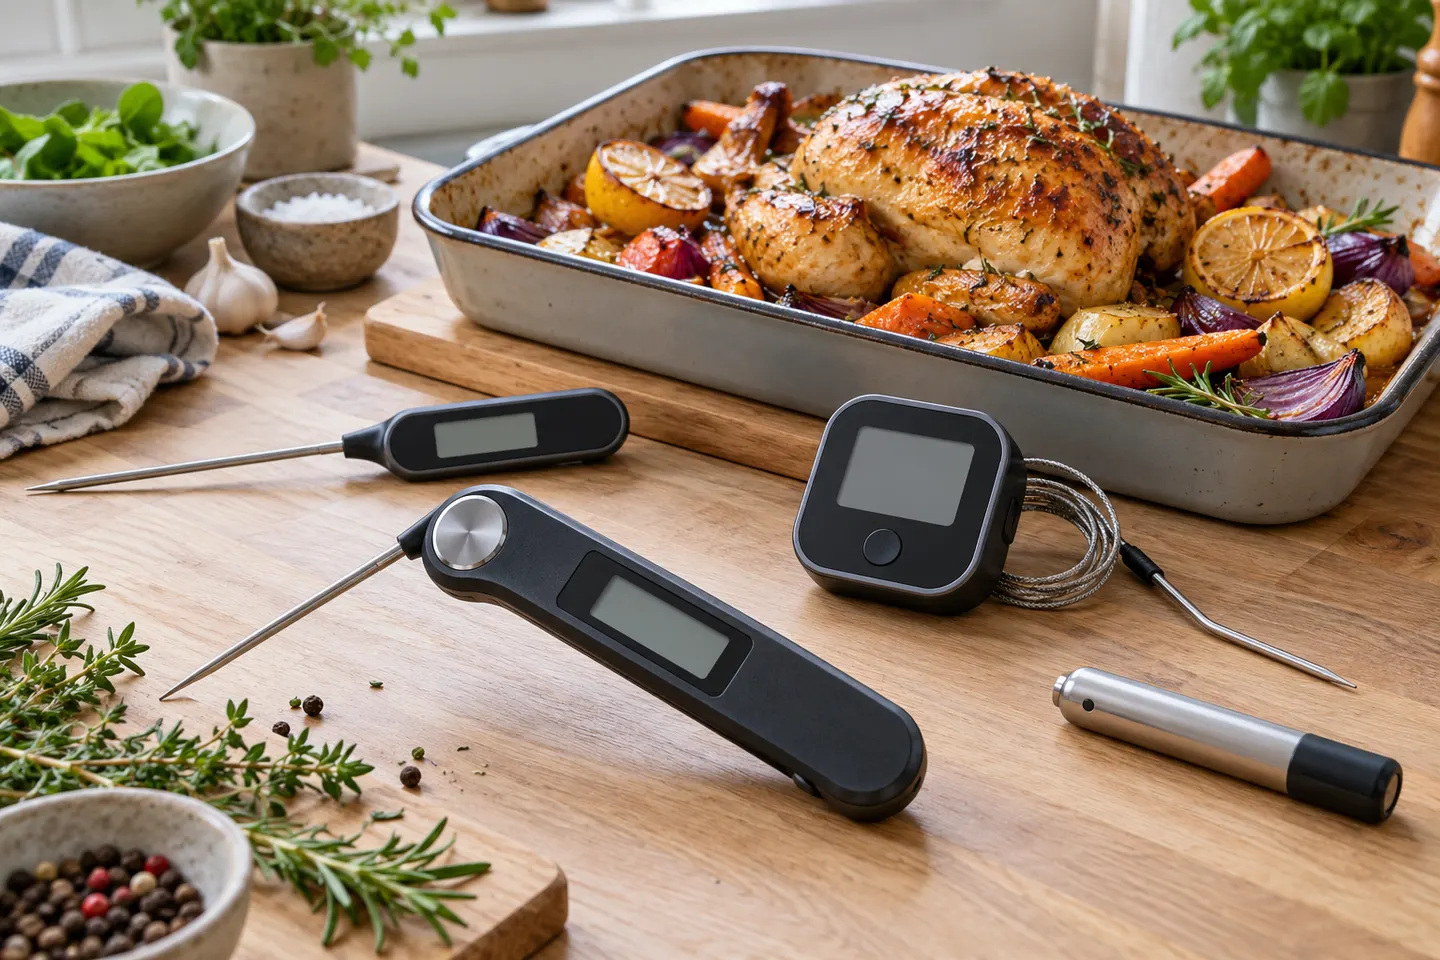
Best picksThe Best Meat Thermometer for Every Kind of Cook
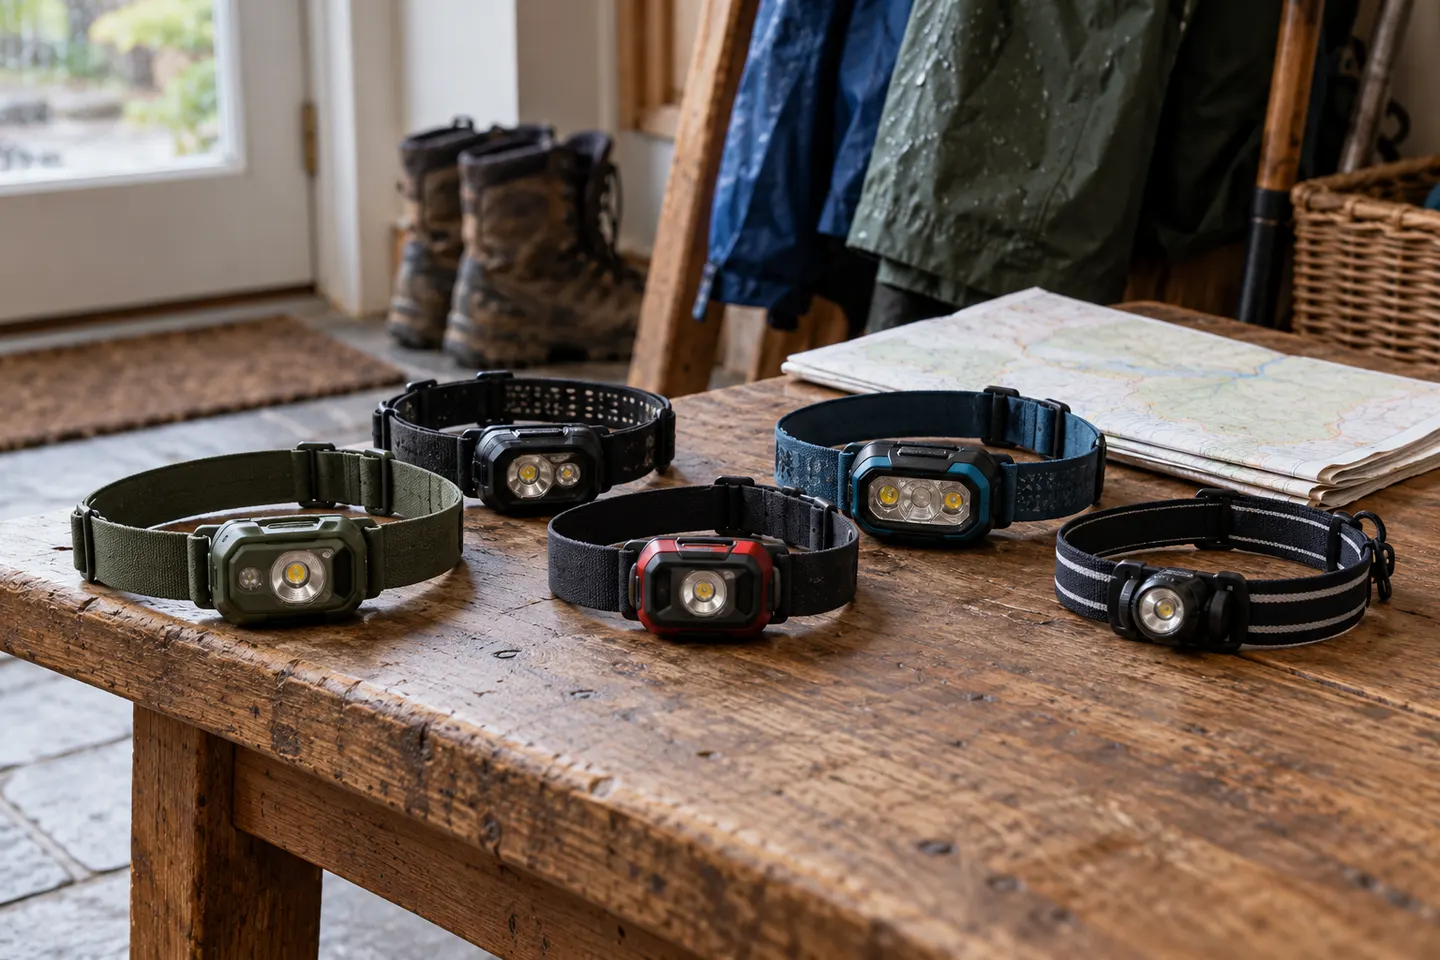
Best picksBest Headlamp Torches for Different Uses in 2026
Best picksBest Portable Air Coolers to Consider in Australia (2026)
Best picksBest Winter Gloves for Everyday Wear and Outdoor Use
Best picksBest Cordless String Trimmers for Australian Gardens (2026)
Best picksBest air purifier for bedroom in Australia: five models compared
AustraliaEnglish

Category hub

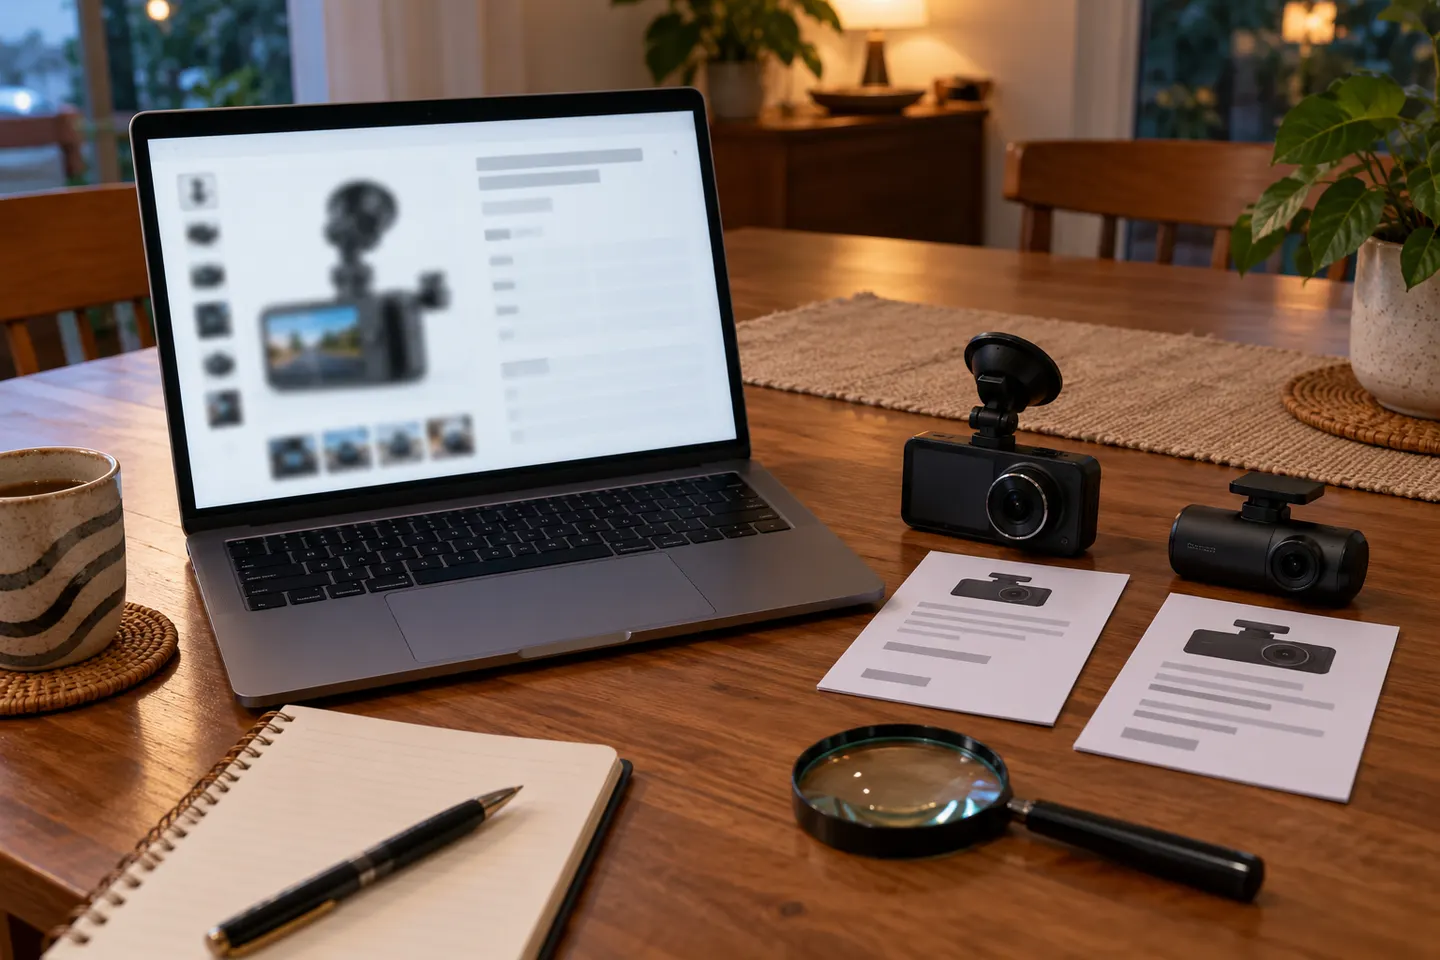
DriveVision 4K Dash Cam Installation Guide

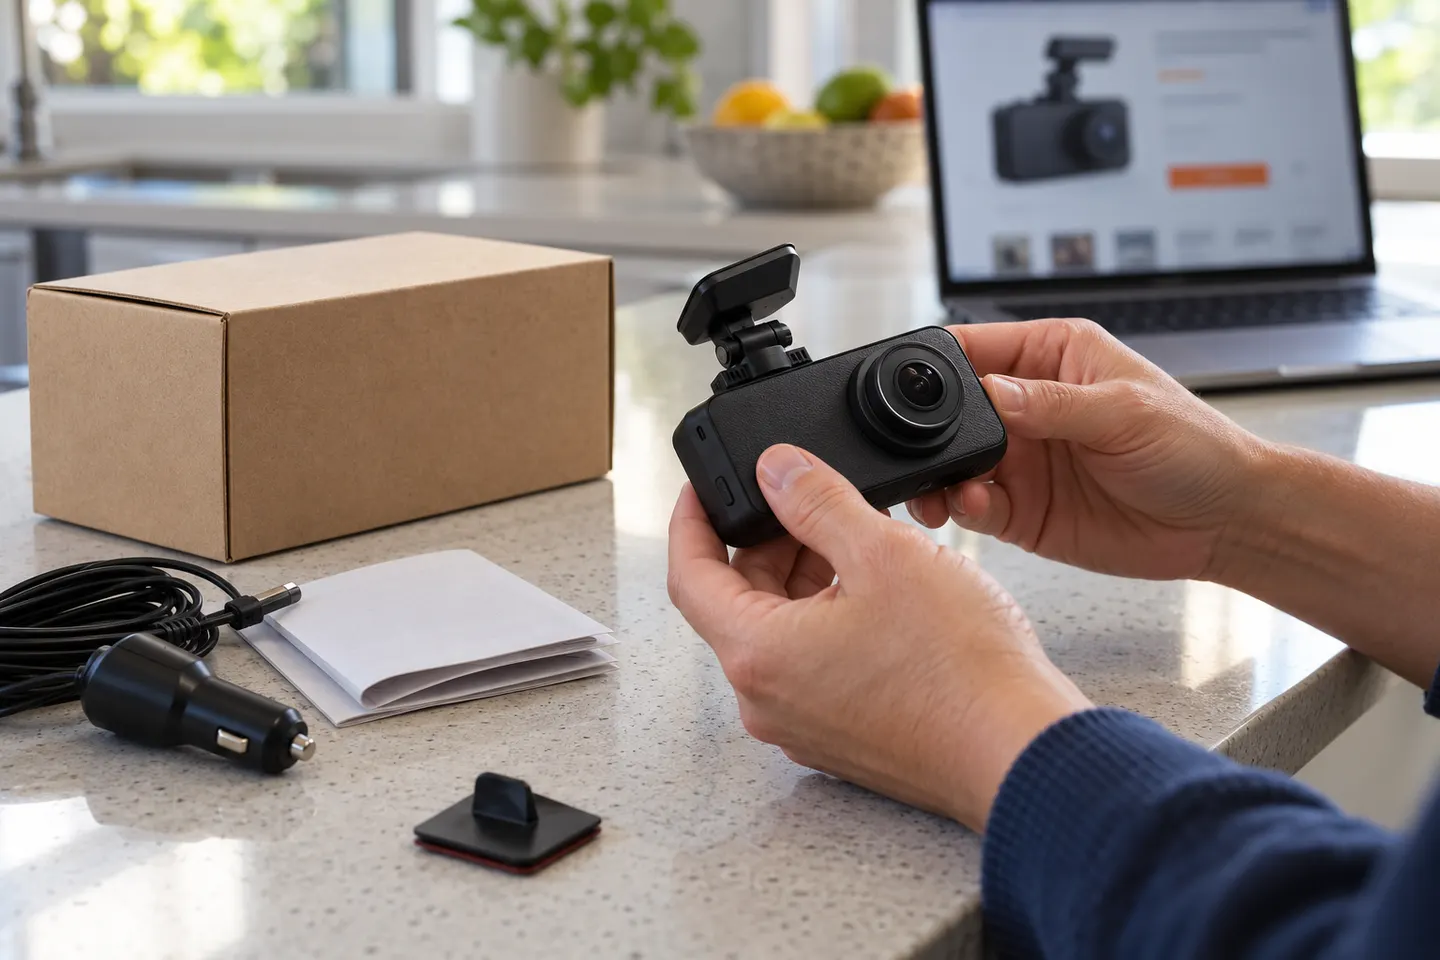
Insert the card before mounting, confirm the camera works from the supplied vehicle adaptor, then route cables and complete app alignment. Hardwiring adds fuse-box decisions.

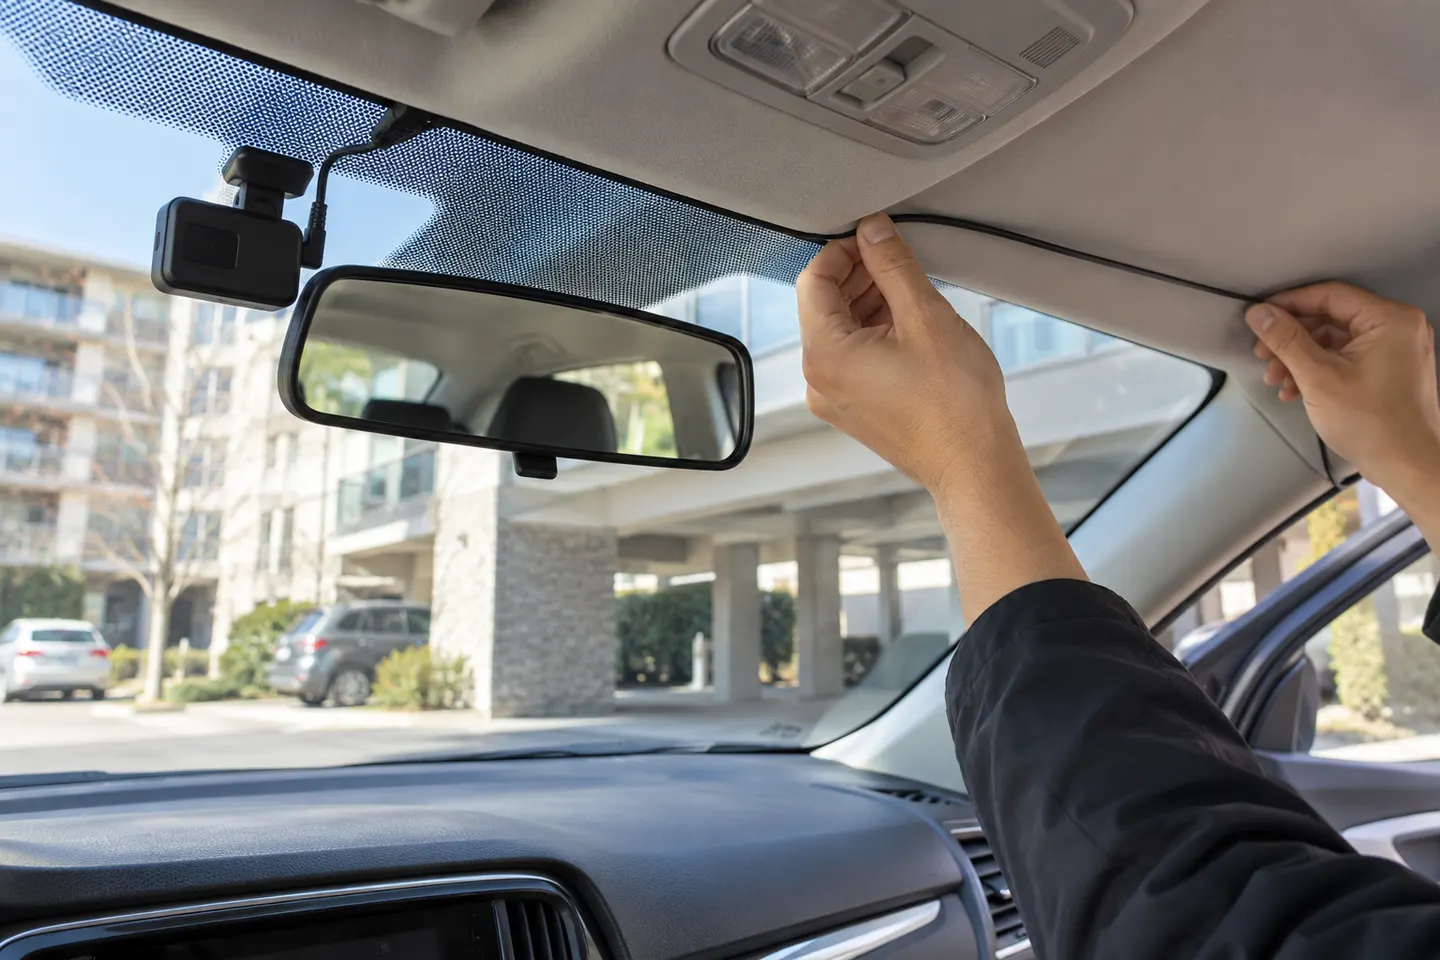
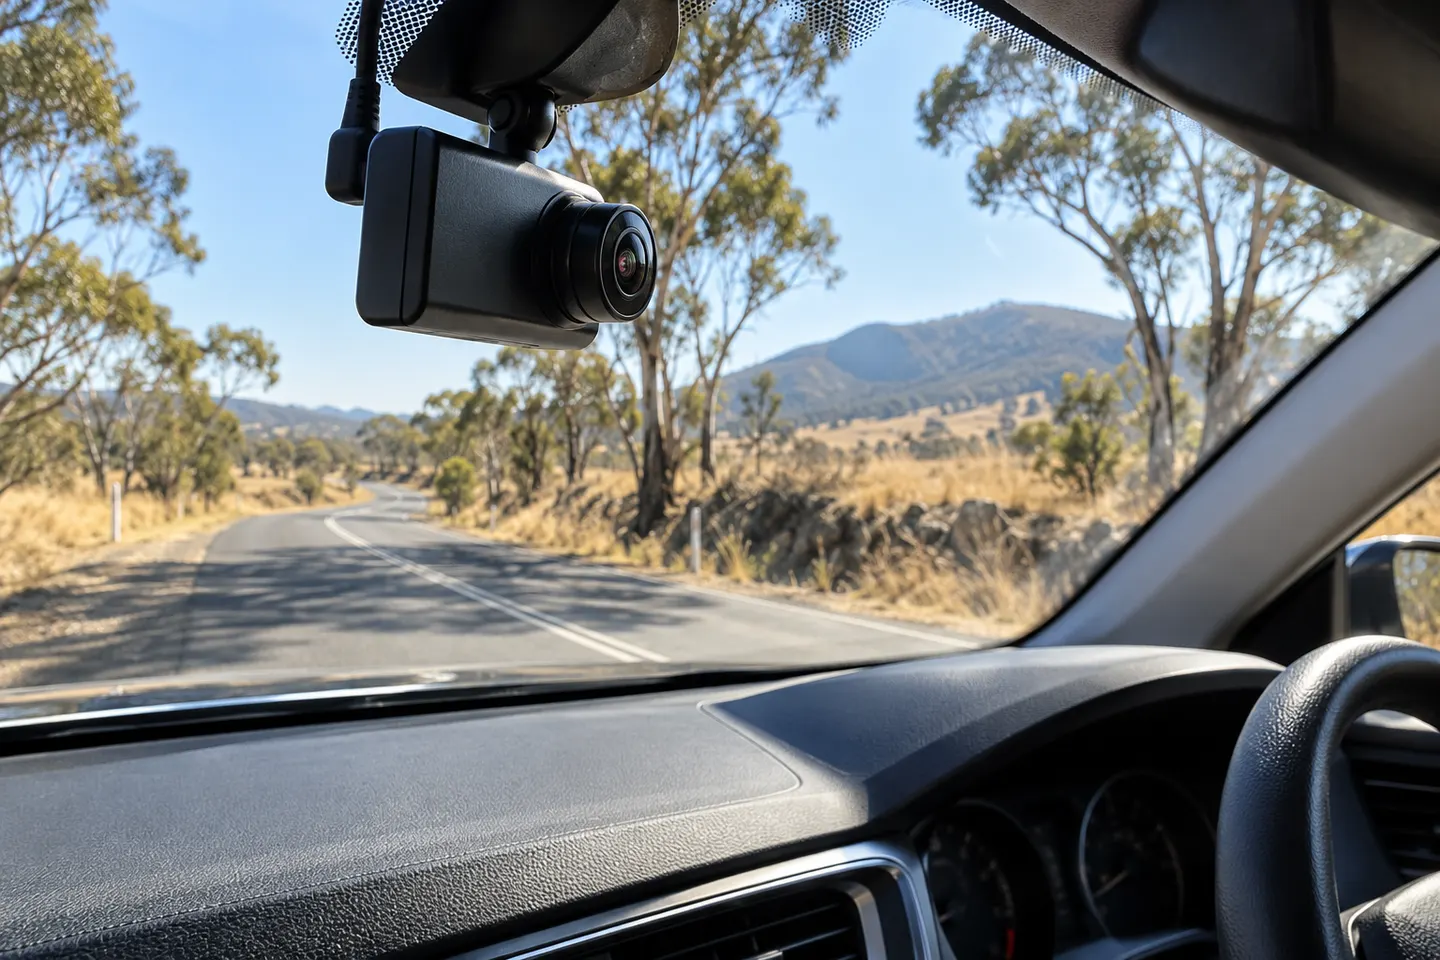
A DriveVision 4K dash cam install should begin before the adhesive touches the glass. DriveVision's support guide says to insert the included microSD card first. Power the camera temporarily, connect to its app and use the live view to identify a position that sees the road without obstructing the driver.

Start here

The essentials

By feature

2

Installation and accessories

4

How-to guides

1

Common questions

Questions before you buy

How do I install a DriveVision 4K dash cam?

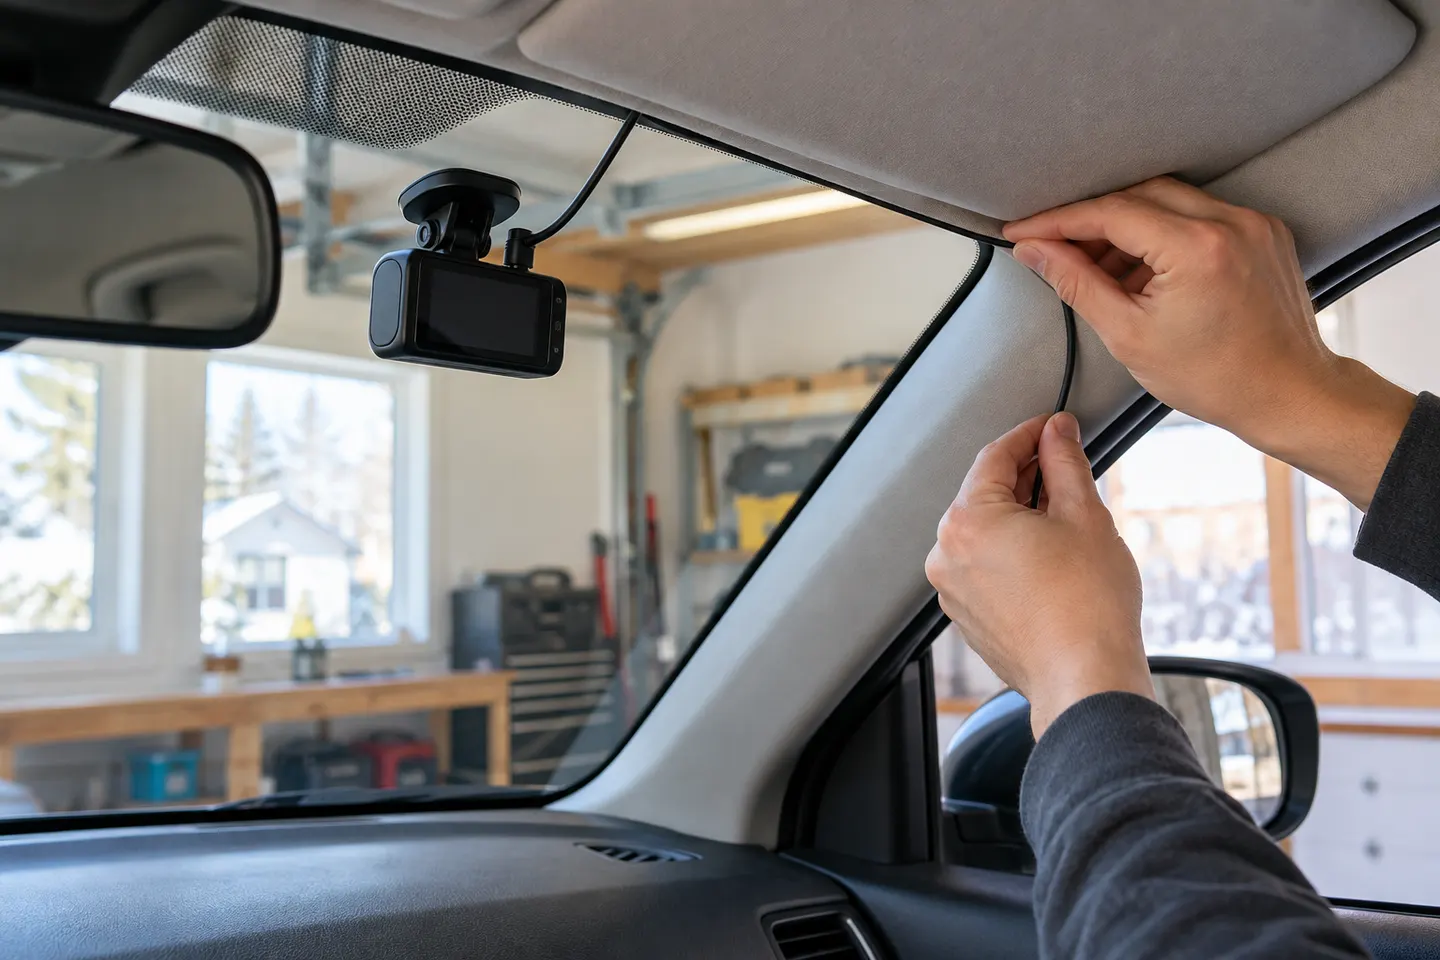
Insert the memory card, test power and app connection, choose a legal position, clean the glass, secure the mount and route the cable safely. Recheck framing after the trim is replaced.

Can DriveVision 4K plug into a vehicle power socket?

The manufacturer lists a 12 V power connection and supplies an adaptor for a straightforward setup. Parking features may require a different power arrangement.

Does DriveVision 4K need professional installation?

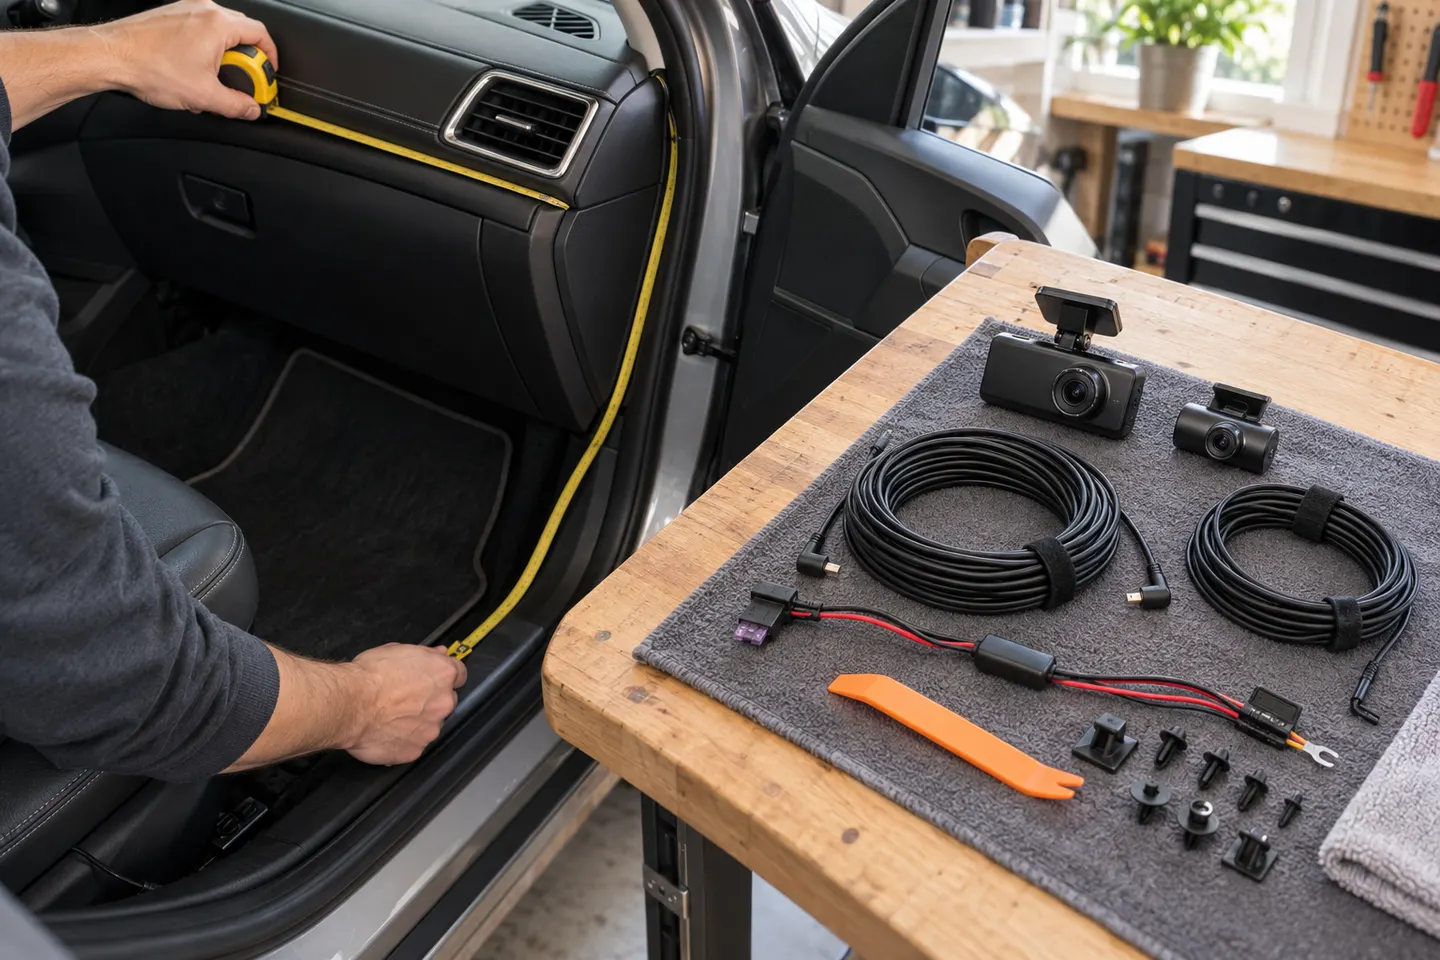
A plug-in front-only setup may suit confident DIY installation. Hardwiring or routing a rear lead around airbags and complex trim is a sensible point to consider a professional.

When should I stick the DriveVision mount to the windscreen?

Only after powering the camera and checking the live view. This avoids committing the adhesive before the lens position and horizon are correct.