Gearjury may earn a commission when you buy through retailer links. Our editorial conclusions follow the cited evidence.
Guide
How to Connect a Telstra WiFi Booster to a Smart Modem
First confirm that your Telstra Smart Modem supports the booster generation. Telstra Booster Gen 2 works only with Smart Modem Gen 2 and 1.1; the setup sequence depends on the model.
GGearjury editorial team · Updated 15 October 2026· 4 min
01
Check the booster and modem generation
Read the modem model on its base or rear label and confirm the booster generation. Telstra says Smart Wi-Fi Booster Gen 2 is compatible only with Smart Modem Gen 2 and 1.1. The newer Gen 3 booster has a different compatibility list, so do not apply Gen 2 instructions to every model.
02
Pair the units near each other
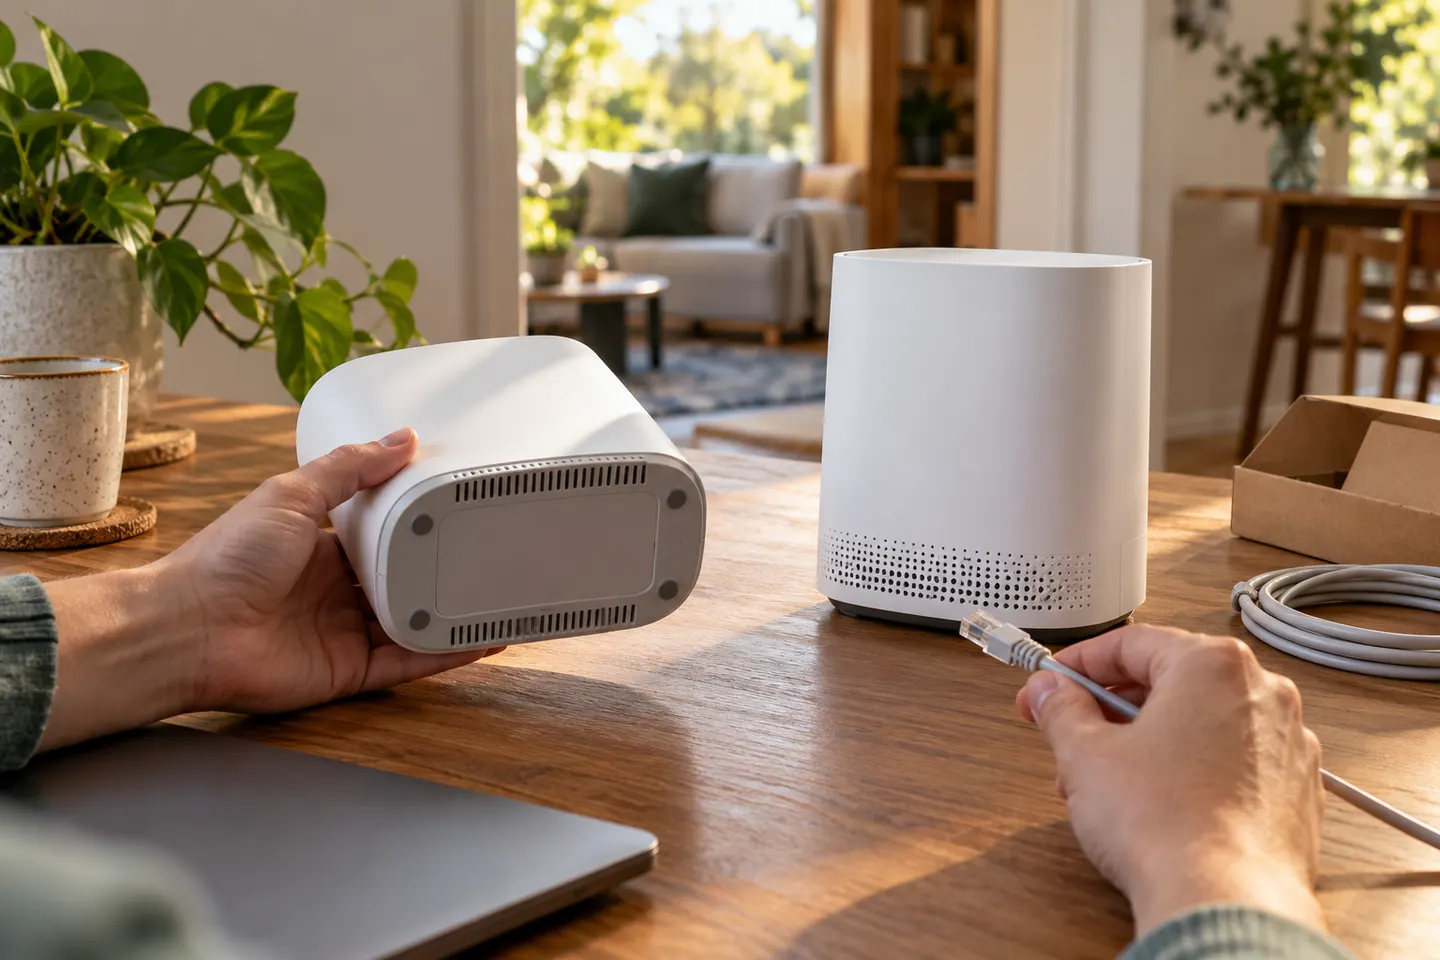
Use the official setup guide for the booster generation. For the Gen 2 guide, connect the booster to the compatible modem with the supplied Ethernet cable and wait for the status light to confirm pairing. Some Telstra booster generations also support app or WPS setup; follow the model-specific guide.
03
Move the paired booster
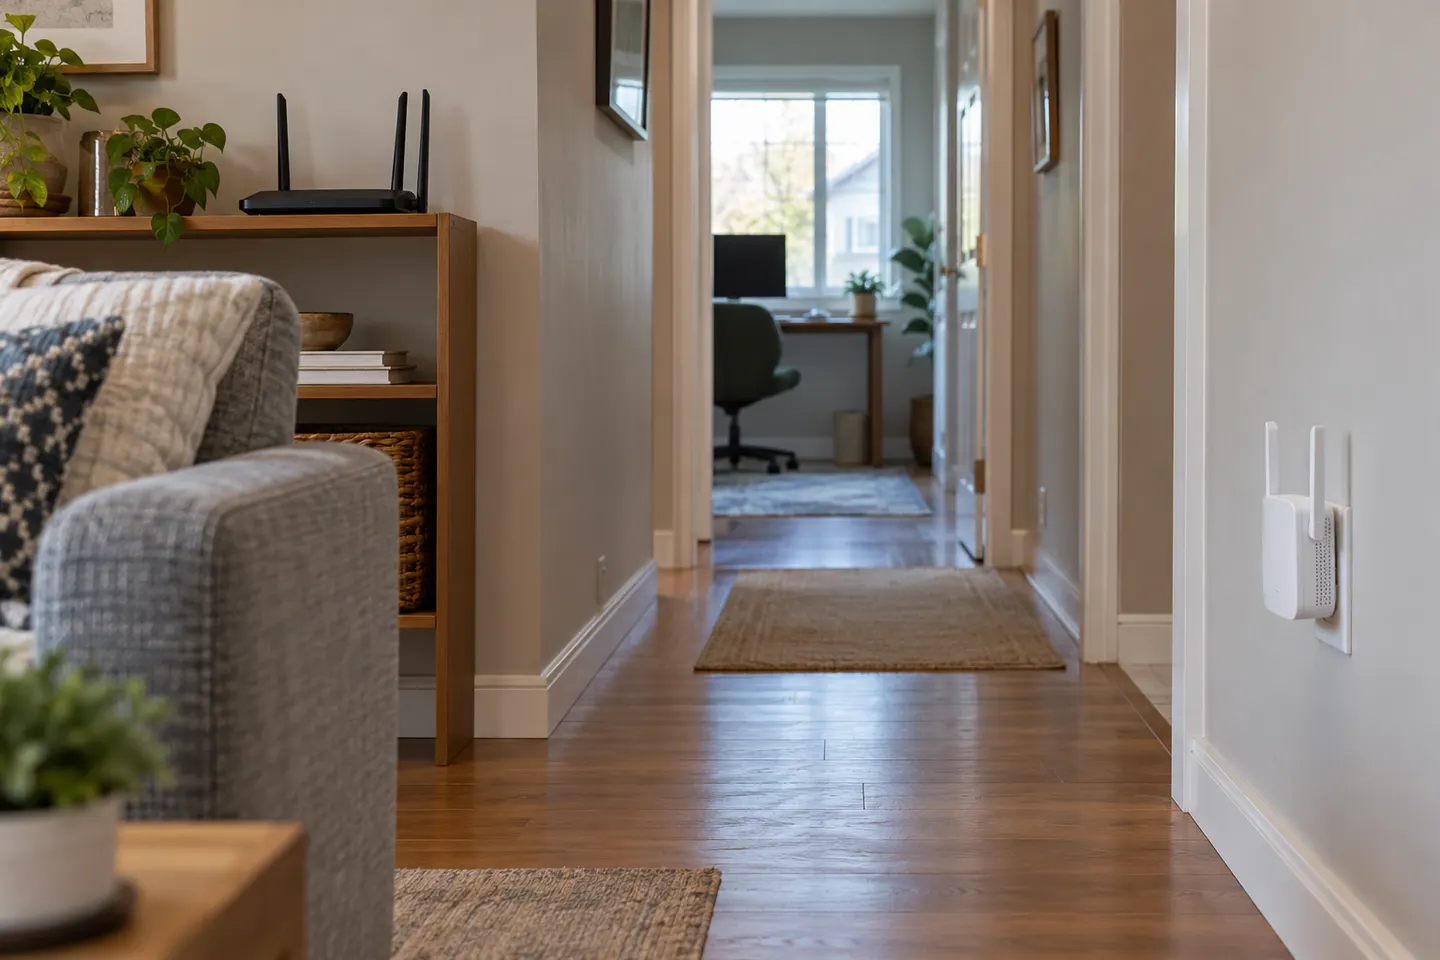
After pairing, unplug the unit and move it to a power point between the modem and the area with weak Wi-Fi. Telstra advises placing it roughly halfway and away from thick walls or other obstacles. Allow the mesh connection to settle before checking the light.
04
Read the status lights
Telstra says a solid green or blue light indicates successful setup with a strong connection. Amber indicates the booster is too far away; move it closer to the modem or another booster. Red indicates no connection, so repeat pairing and reboot both devices if needed.
05
Troubleshoot a failed connection
Check compatibility first, then restart the modem and booster and repeat the official pairing steps. If the indicator stays red, reset the booster using its instructions and pair again. Contact Telstra if the modem model or service eligibility is unclear.
Common questions
Questions before you buy
Will a Telstra WiFi Booster Gen 2 connect to any modem?
No. Telstra says Gen 2 is compatible only with Smart Modem Gen 2 and 1.1. It is not a universal extender for other providers’ routers.
How do I connect a Telstra Smart WiFi Booster Gen 2?
Use Telstra’s Gen 2 setup guide and pair it with a compatible modem while the units are close together. The guide specifies an Ethernet cable for initial pairing; wait for confirmation before moving the booster.
What does an amber light mean on a Telstra booster?
Telstra identifies amber as a poor signal, usually because the booster is too far from the modem. Move it closer until the connection indicator becomes solid green or blue.
Where should I put my Telstra WiFi booster?
Place it roughly halfway between the modem and the area with poor coverage, while maintaining a good link to the modem. Avoid thick walls and large obstructions.
Can I use a Telstra booster with a non-Telstra modem?
Telstra states its Smart Wi-Fi Boosters are exclusive to Telstra home internet customers and compatible Telstra Smart Modems. Check the current compatibility page before attempting setup.
The Optus Ultra WiFi Booster Gen 2 works with specified Optus modems, including the Ultra WiFi 5G Internet Modem and NBN Ultra WiFi Modem Gen 2. It is not a universal Wi-Fi extender.
The right Wi-Fi extender depends on the router signal at its location, your home layout and whether you need Ethernet, outdoor placement or powerline networking.
Choose an access point when you can run Ethernet to the coverage area. Choose a wireless extender when cabling is impractical and the router signal still reaches the installation spot.
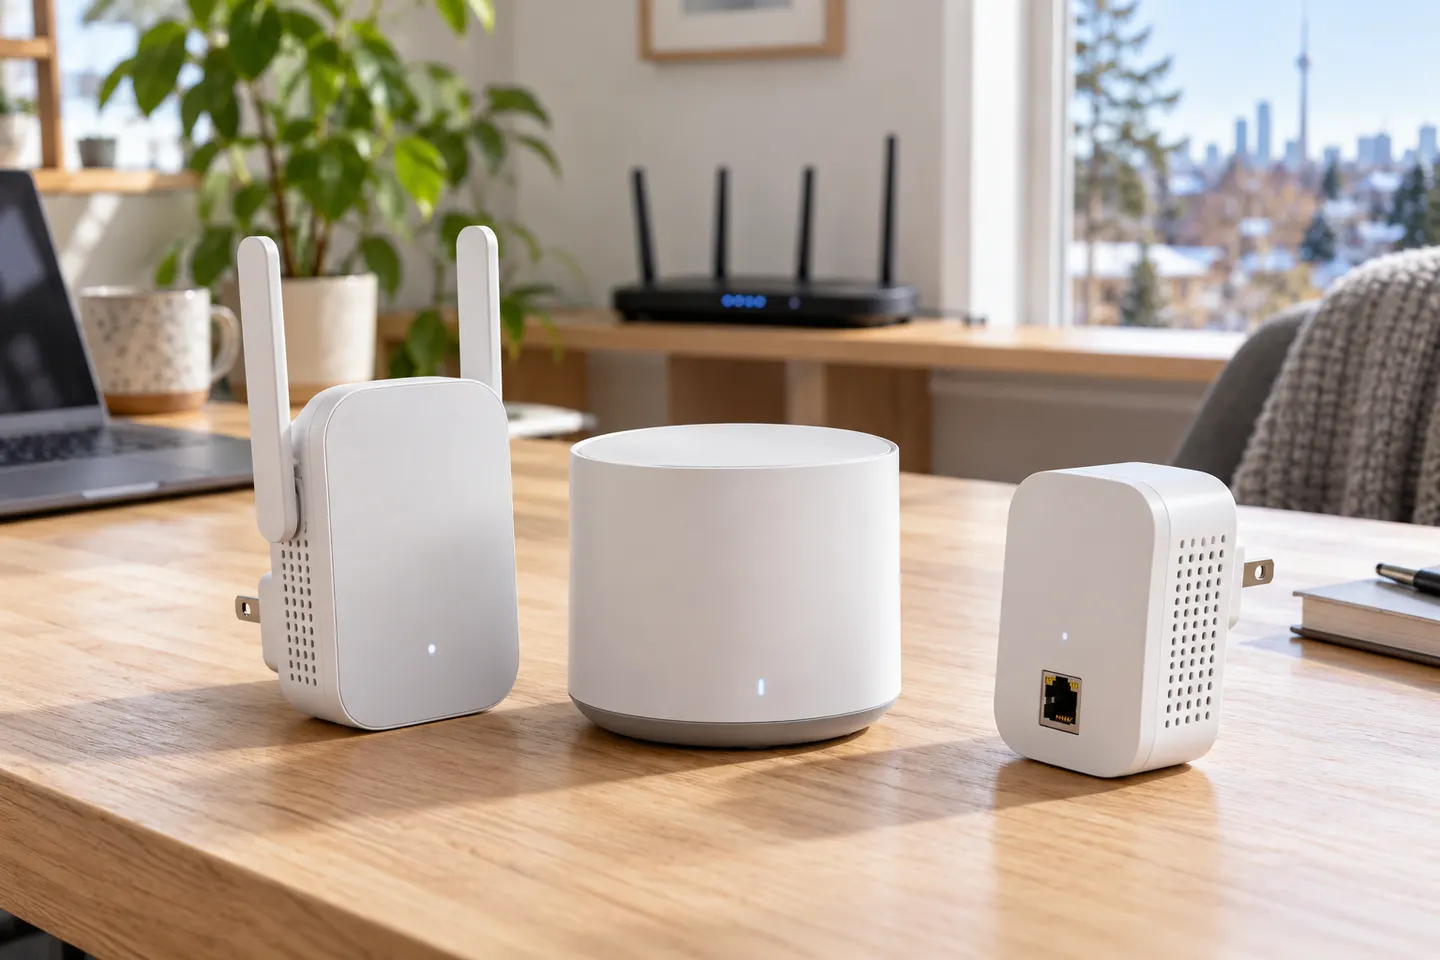
A Wi-Fi extender can help reach a weak-signal room when positioned within range of your router. Compare plug-in repeaters, mesh-compatible models, outdoor units and powerline kits by how they connect.
Your privacy
We use cookies and similar technologies. Necessary ones keep the site working. With your permission we also use statistics cookies (Google Analytics and Microsoft Clarity) to understand which guides help readers. You can accept all, reject all or choose. You can change your choice at any time from "Cookie settings" at the bottom of every page. Cookie policy