Gearjury may earn a commission when you buy through a retailer link. Editorial guidance is based on the cited sources.
Guide
How to Install a Dash Cam with a Cigarette Lighter
Mount the camera where it has a clear road view, route its supplied power lead around the windscreen and plug the correct adaptor into the vehicle socket. Check the cable, camera angle and recording before driving.
GGearjury editorial team · Updated 16 October 2026· 5 min
01
Check the power lead and vehicle socket
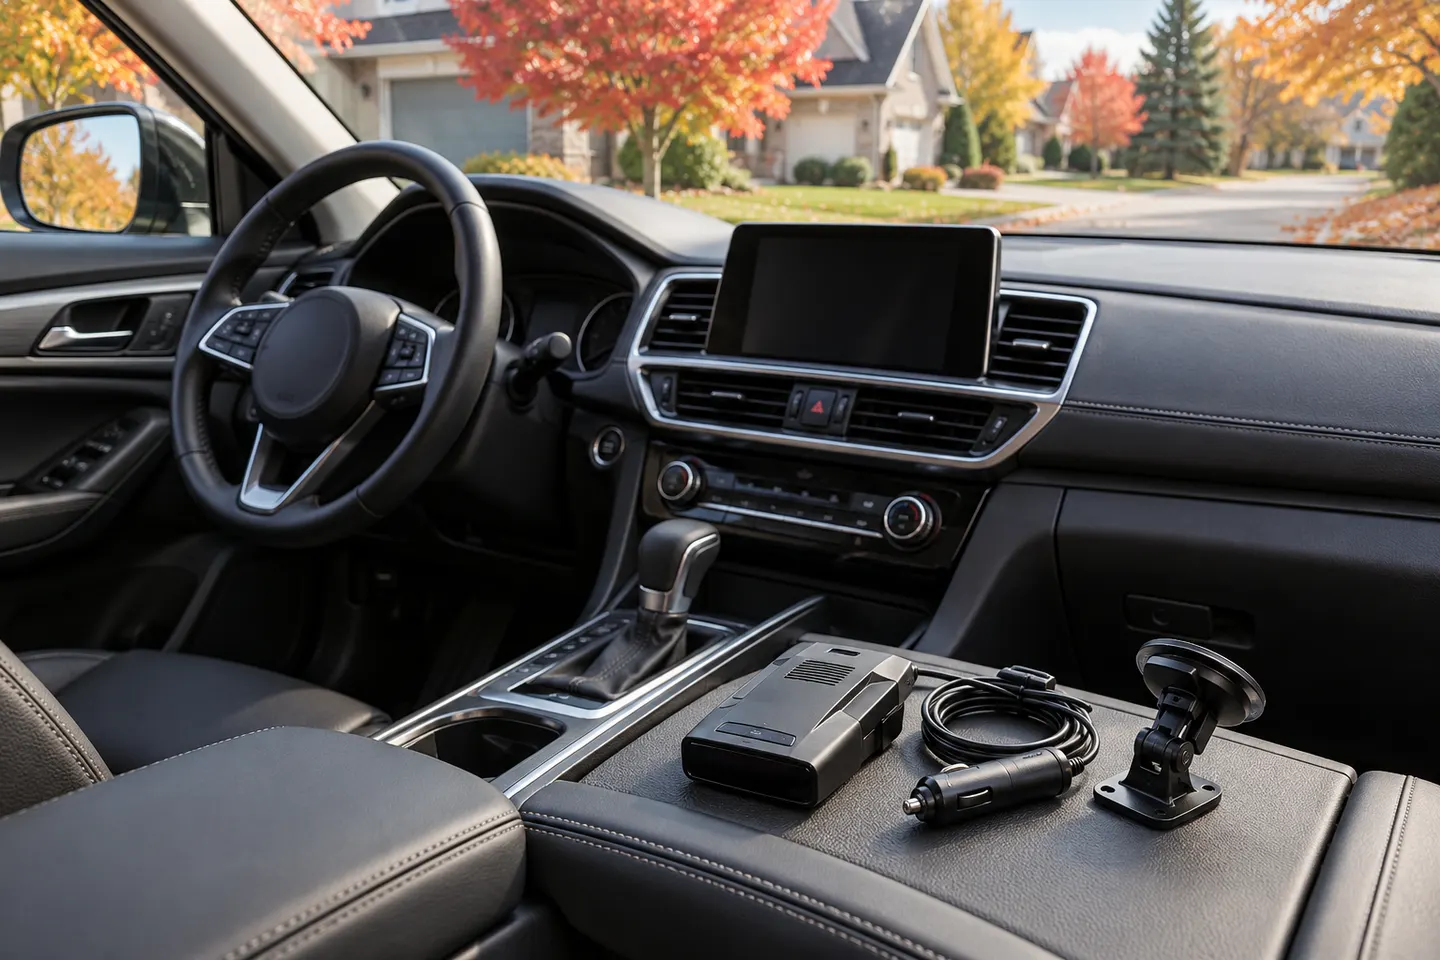
Use the car power adaptor supplied or approved for your dash cam, and confirm that the vehicle socket matches its instructions. Some sockets stay live after the ignition is switched off; test yours so the camera does not continue drawing power unexpectedly.
02
Choose a legal, unobstructed mounting position
Sit in the driving position before fixing the mount. Place the camera high on the windscreen, commonly behind or close to the rear-view mirror, without blocking the driver's view or placing it where it could interfere with vehicle sensors. Follow the camera and vehicle manuals if their placement advice differs.
03
Clean the glass and attach the mount
Clean and dry the chosen area, remove any protective film from the lens and secure the adhesive or suction mount as directed. Attach the camera firmly, then aim it so the road is centred and only a modest amount of bonnet or sky is visible.
04
Route the cable without crossing an airbag
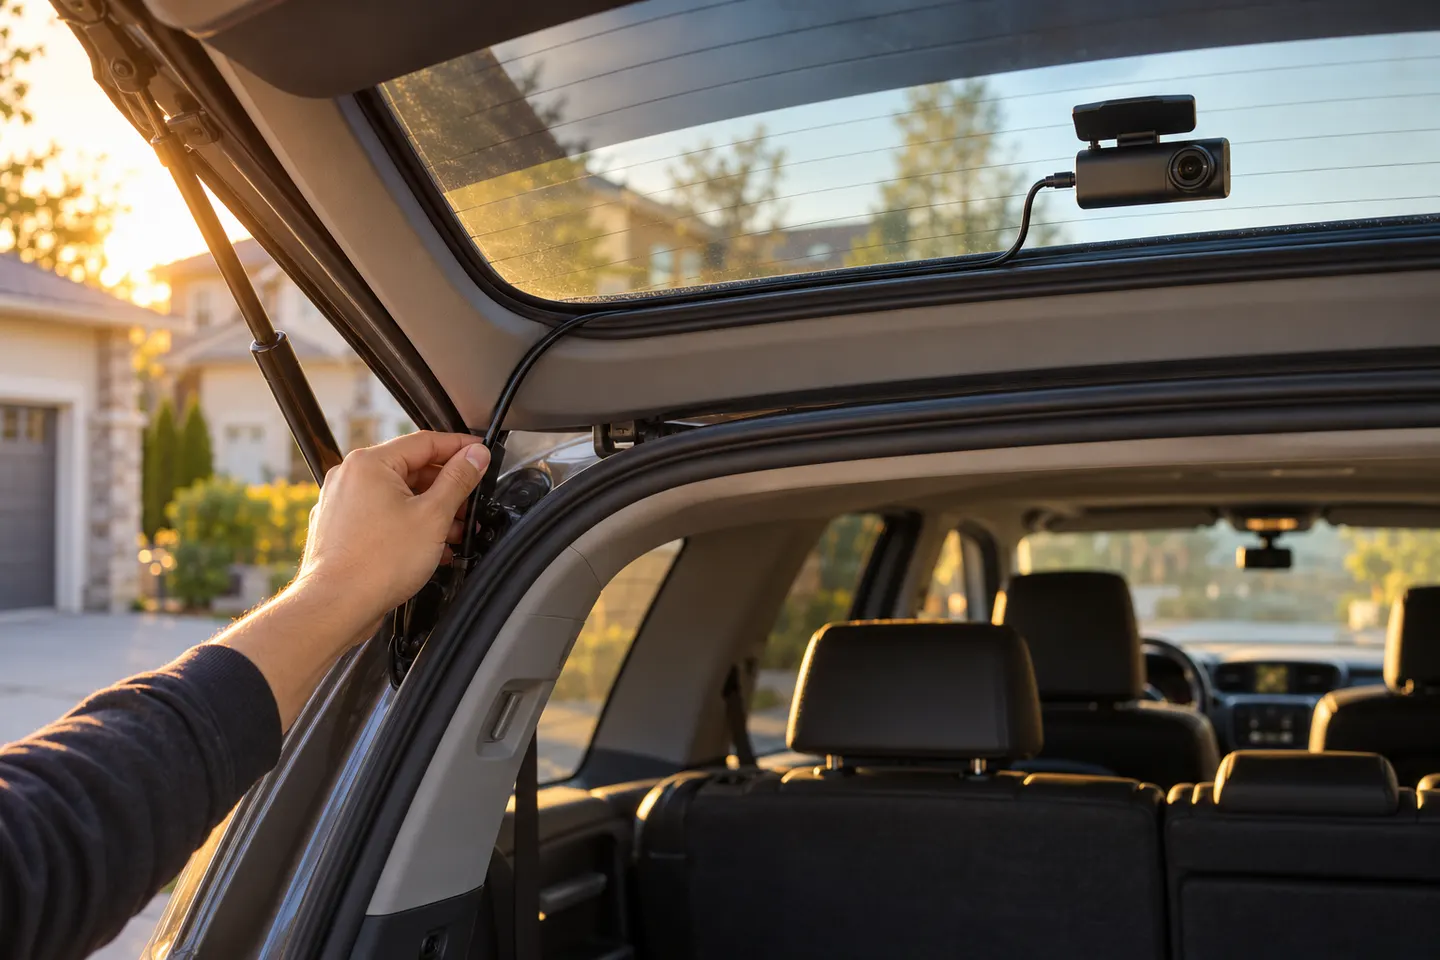
Run the supplied cable along the top of the windscreen and down the passenger side towards the socket. Keep it clear of the driver's controls, pedals and sightline. Do not tuck cable across an airbag deployment path; if the trim or airbag route is unclear, ask a qualified installer.
05
Plug in and confirm automatic recording
Connect the lead to the camera and plug the adaptor into the cigarette-lighter socket. Start the vehicle, check that the dash cam powers on and confirm that recording has begun on a compatible memory card. Correct the date, time and camera angle before setting off.
06
Test what happens when the ignition is off
Switch off the vehicle and observe whether the socket loses power. A plug-in installation normally records only while that socket is live. Parking recording may require a compatible hardwire kit or another approved power arrangement rather than leaving a live socket connected indefinitely.
07
Our methodology
We reviewed published fitting guidance and road-safety rules for this guide; we did not physically install or test a dash cam. Always give the instructions for your camera and vehicle priority.
Common questions
Questions before you buy
Can I plug a dash cam into the cigarette lighter?
Yes, if the dash cam is designed for the supplied or approved car adaptor and the vehicle socket is compatible. Check whether the socket switches off with the ignition.
Will a dash cam drain the car battery through the cigarette lighter?
It can draw power while connected if the socket remains live when the vehicle is off. Unplug it when parked or use an approved low-voltage-protected installation specified for the camera.
Where should the dash cam power cable go?
Route it around the edge of the windscreen and down the passenger side, away from the driver's view, controls and pedals. Keep it out of every airbag deployment path.
Does cigarette-lighter installation support parking mode?
Only if the socket supplies power while parked and the camera supports that arrangement. Many parking modes instead require a compatible hardwire kit with battery protection.
Do I need to hardwire my dash cam?
No for ordinary recording if a compatible plug-in adaptor meets your needs. Hardwiring is mainly considered for concealed power or supported parking features and is best handled professionally when vehicle wiring is unfamiliar.
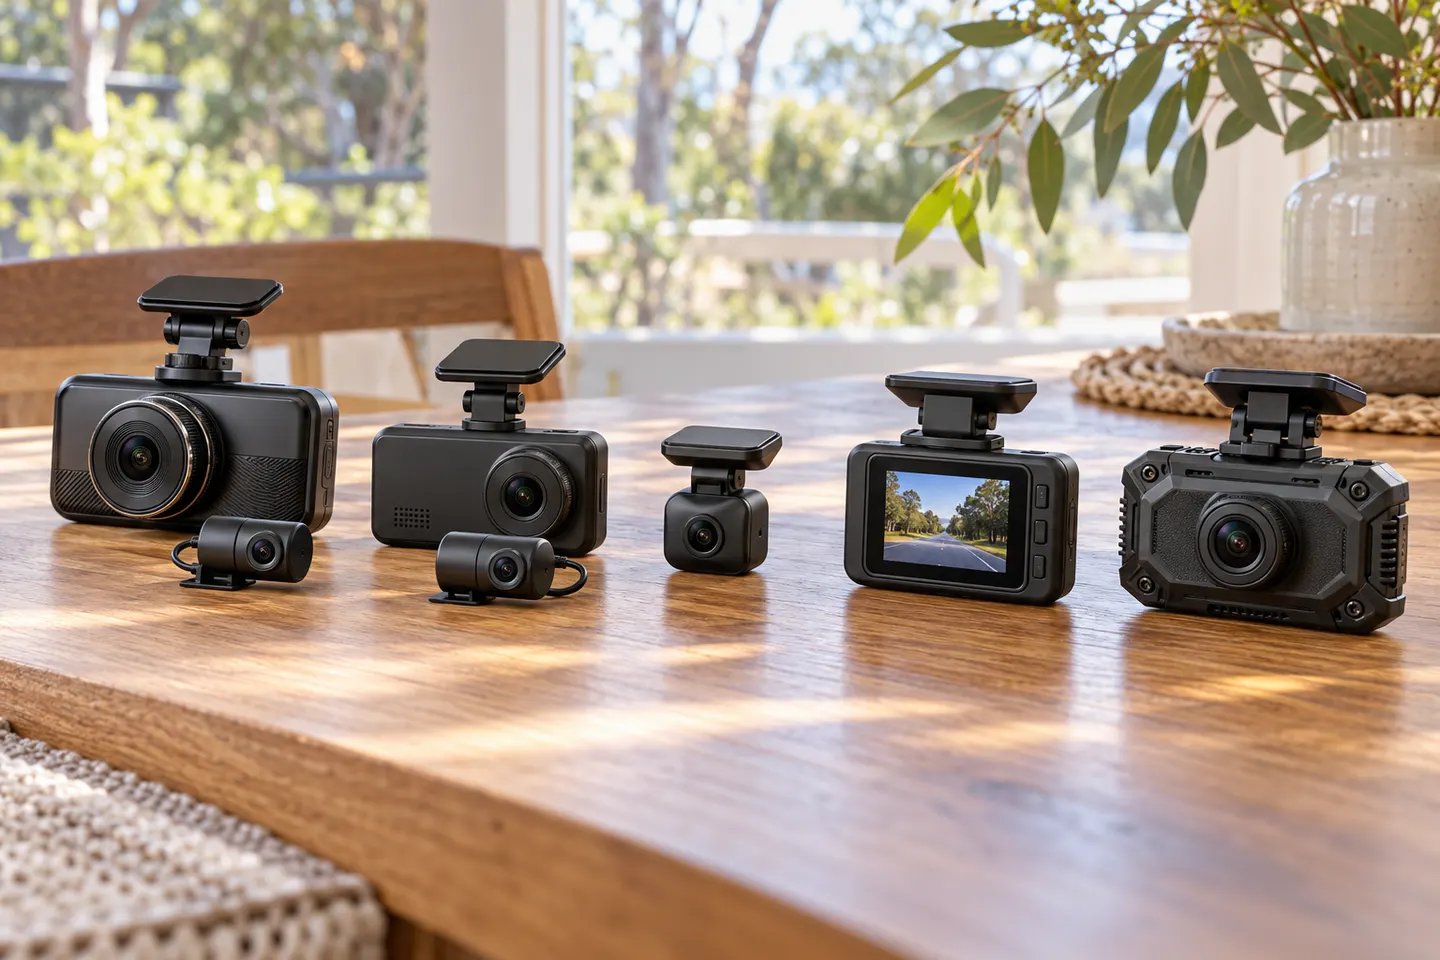
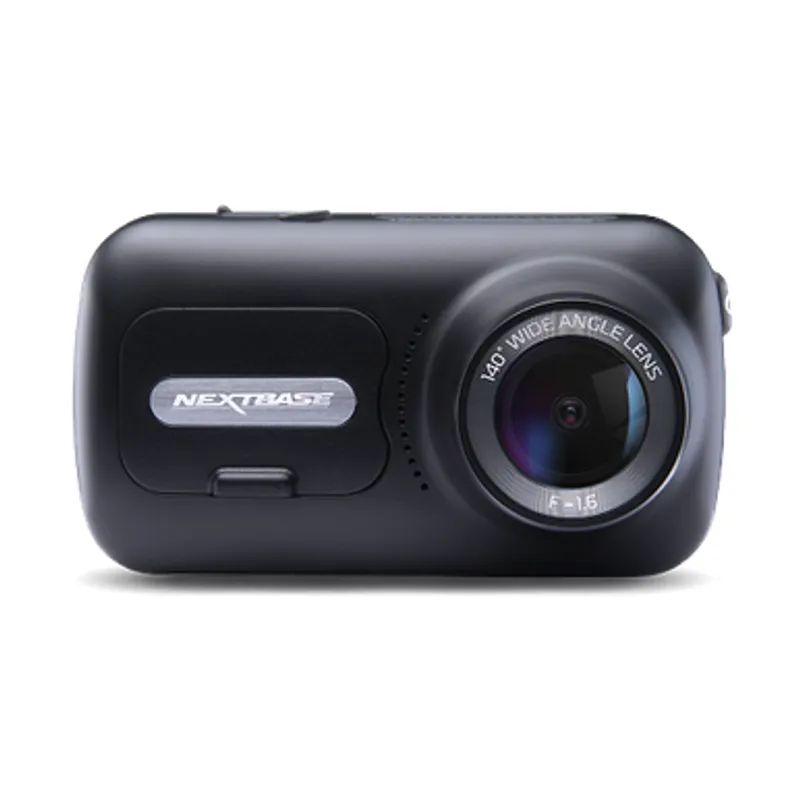
The Nextbase 622GW is our balanced UK pick for its detailed recording, stabilisation and accessible touchscreen. Garmin Mini 3 suits a discreet fit, while VIOFO A329S covers the front and rear at high resolution.
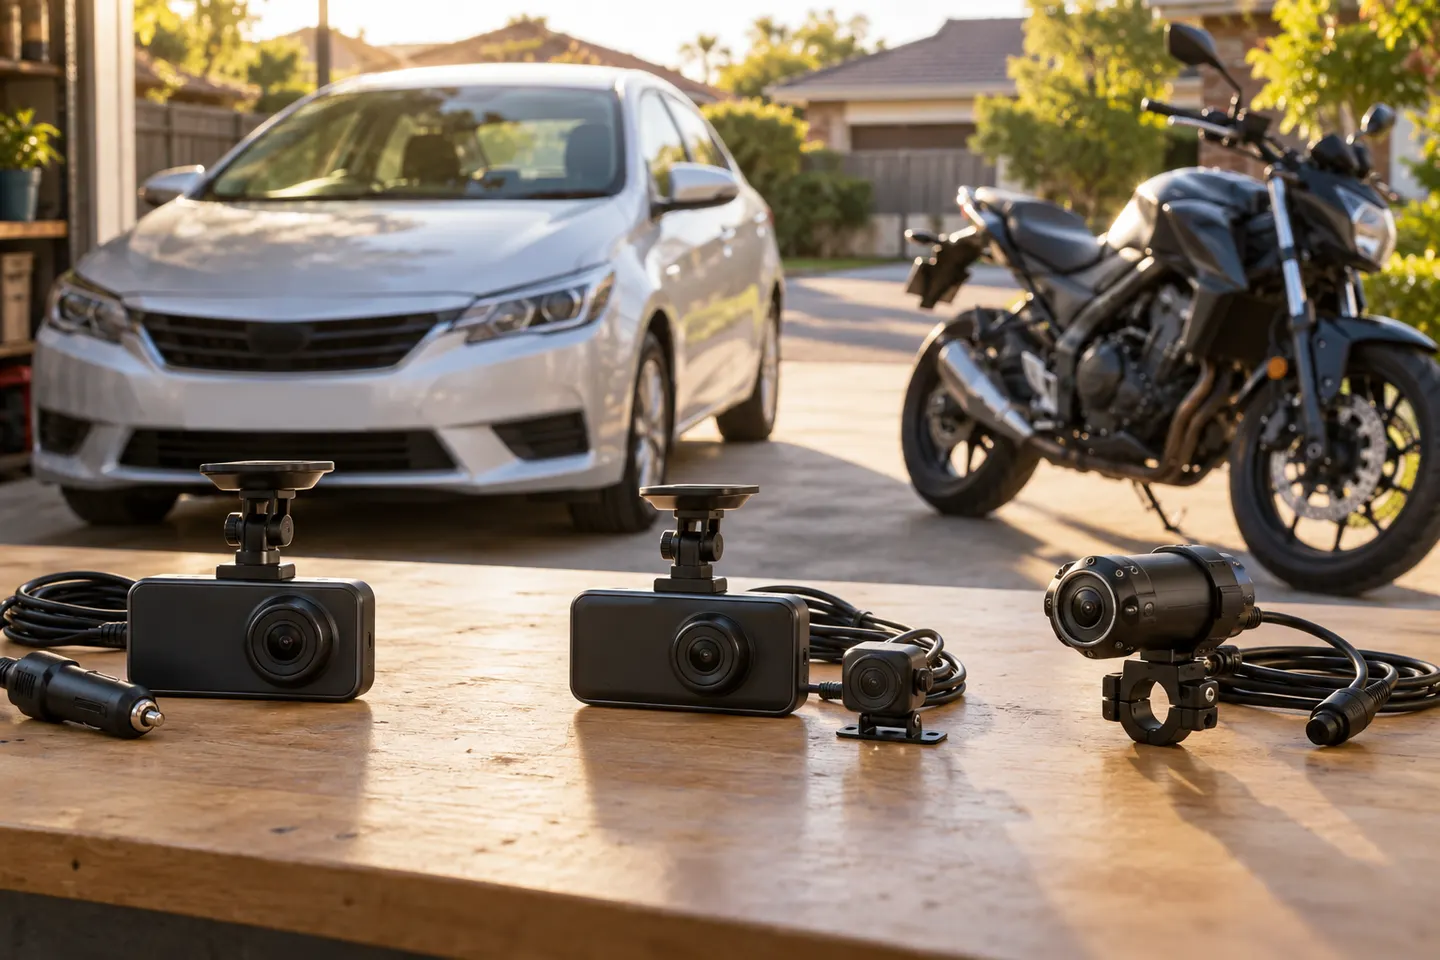
A dual-camera kit is the direct choice when you want the road ahead and traffic behind in the same recording system. Check rear resolution and cable length, not just the headline front-camera specification.
The 622GW has the strongest recording specification in this trio; the 522GW keeps the large touchscreen and polarising filter at 2K, while the 322GW covers the essentials.
Start with the coverage you need: a discreet front camera for the road ahead, or a front-and-rear system for evidence from both directions. Our guides then narrow the choice by installation, connectivity and brand.
Your privacy
We use cookies and similar technologies. Necessary ones keep the site working. With your permission we also use statistics cookies (Google Analytics and Microsoft Clarity) to understand which guides help readers. You can accept all, reject all or choose. You can change your choice at any time from "Cookie settings" at the bottom of every page. Cookie policy