Gearjury may earn a commission from retailer links. This guide is based on cited manufacturer instructions.
Guide
How to Setup a Virgin WiFi Booster Correctly
The right setup depends on whether your kit is a powerline Booster or a mesh WiFi Pod. Check the device first, then use the corresponding Virgin Media setup route.
GGearjury editorial team · Updated 18 October 2026· 4 min
01
Identify the Virgin kit you have
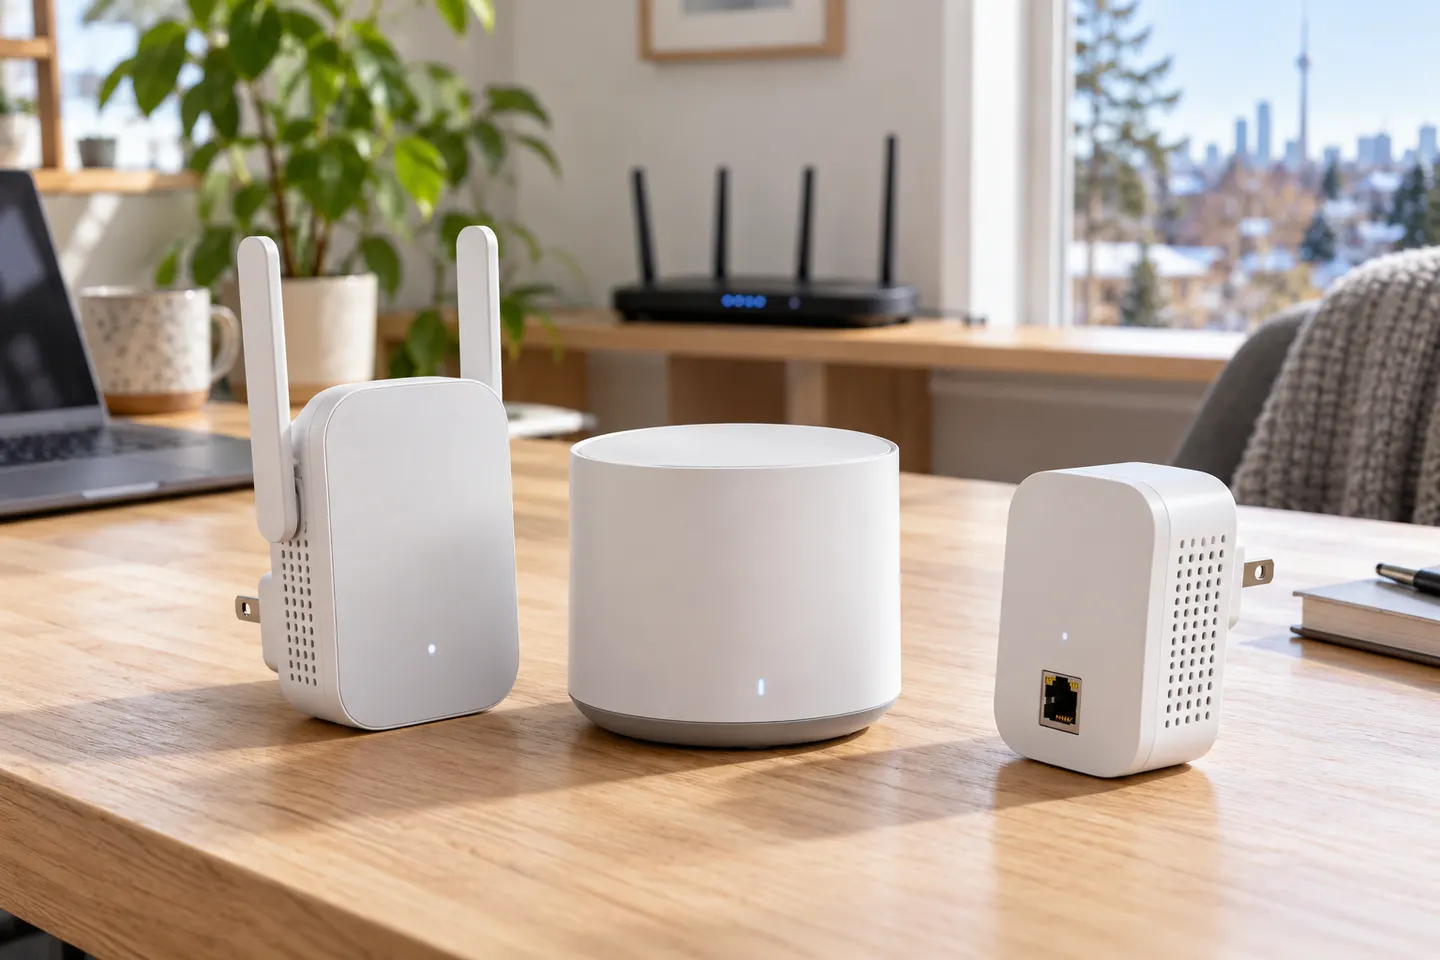
A Virgin powerline Booster and a white WiFi Pod are different products. The Booster kit sends the network through your home’s electrical wiring; a Pod joins Virgin’s mesh system and is managed through the Virgin Media Connect app. Read the label or original leaflet so you use the matching procedure.
02
Connect the powerline Booster to the Hub
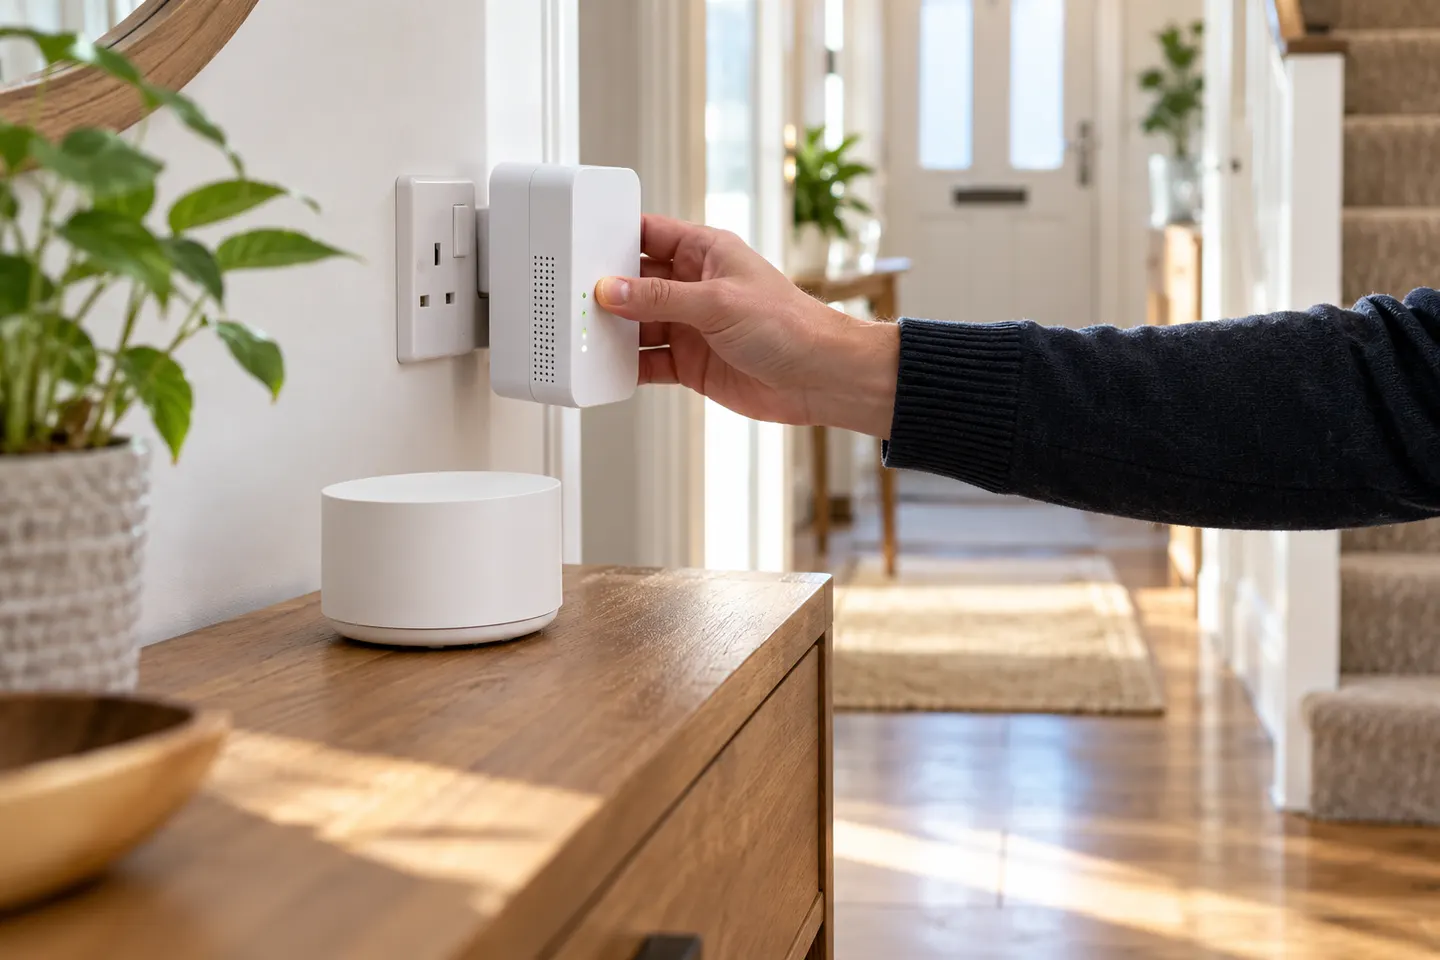
For the older powerline kit, plug its main unit into a wall socket close to the Hub and connect the supplied Ethernet cable between them. Add another unit using the pairing controls and order described in the kit guide. Keep each unit directly in a suitable wall socket as directed by Virgin Media.
03
Add a Virgin WiFi Pod in the app
For a white Pod, open Virgin Media Connect and follow its installation prompts. Virgin says Pods pair with supported Hub models; the app can also show the Pod’s connection health, signal and speeds. If you cannot see the setup option, check that your broadband account includes or supports the Pod service.
04
Choose a position that can relay a good signal
Place a Pod upright in a wall socket roughly halfway from the Hub to the room with poor reception. Leave it visible and clear of large furniture. For a powerline unit, choose a working socket and consult the kit leaflet for placement requirements; a location with a poor source connection cannot improve the far room reliably.
05
Check the connection after setup
Use the Connect app to inspect a Pod’s health and signal. If its link is weak, move it nearer the Hub and check again. With a powerline kit, confirm the main unit remains connected to the Hub and repeat the documented pairing sequence if an added unit is not linked.
06
Resolve a failed pairing
Restart the relevant units and follow the instructions for that exact kit. Avoid applying Pod app steps to a powerline Booster or vice versa. If a supported Pod is not offered in the app, or the legacy units still fail to pair, Virgin Media support can check the service and hardware.
Common questions
Questions before you buy
How to setup Virgin WiFi booster?
First distinguish a powerline Booster from a WiFi Pod. Connect the powerline kit’s main unit to the Hub by Ethernet and pair add-on units as its leaflet explains; add a Pod through Virgin Media Connect.
Does a Virgin WiFi booster need to connect to the Hub by cable?
The older powerline kit’s main unit connects to the Hub with its supplied Ethernet cable. A white WiFi Pod is set up as a mesh device using Virgin’s app flow instead.
How far from the Hub should a Virgin WiFi Pod be?
Virgin advises placing it about halfway between the Hub and the area with weak coverage, where it can still receive a useful signal.
Can I set up a Virgin booster without the Connect app?
The newer Pod setup and health checks use Virgin Media Connect. The older powerline Booster kit has its own physical pairing procedure, so follow the supplied installation guide for that model.
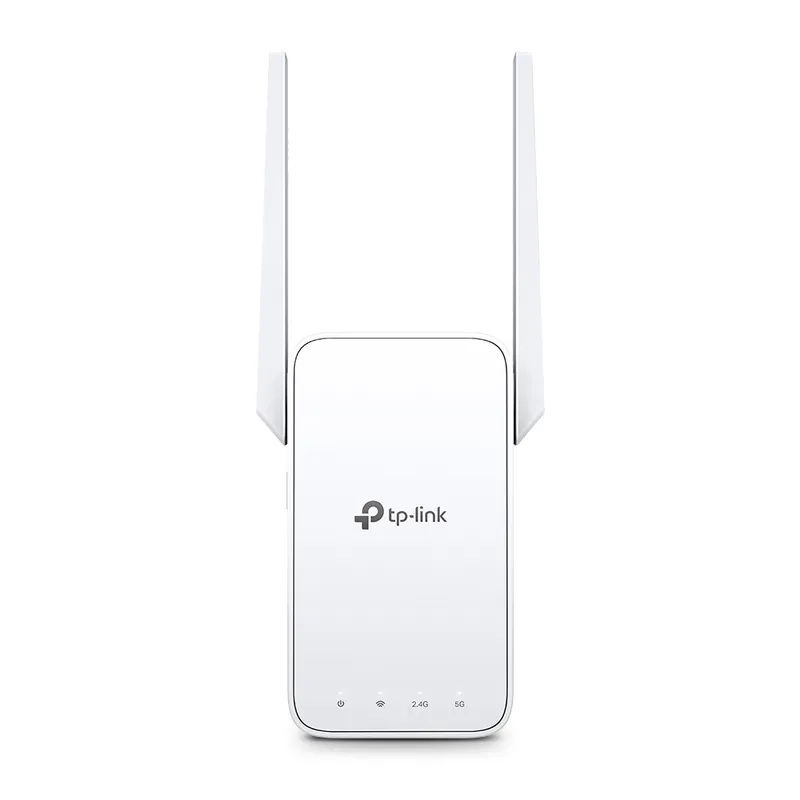
TP-Link RE315 is a practical starting point for a standard indoor dead zone. Consider a Wi-Fi 6 device for newer kit, outdoor-rated hardware for a garden, or powerline where a wireless hop struggles.
Sky has different booster products for different broadband generations. Sky Max customers may use a Max Pod; check your account and hub-specific help before seeking a third-party extender.
A WiFi extender can carry your router signal further, but placement and backhaul matter. Choose a plug-in repeater for a nearby dead zone, powerline WiFi for difficult layouts, or an outdoor-rated unit for a garden.
Your privacy
We use cookies and similar technologies. Necessary ones keep the site working. With your permission we also use statistics cookies (Google Analytics and Microsoft Clarity) to understand which guides help readers. You can accept all, reject all or choose. You can change your choice at any time from "Cookie settings" at the bottom of every page. Cookie policy