Identify the exact model and hardware version
Read the label on the extender and note its model and hardware version. Download the matching manual from TP-Link support; menus and supported features can differ across versions.

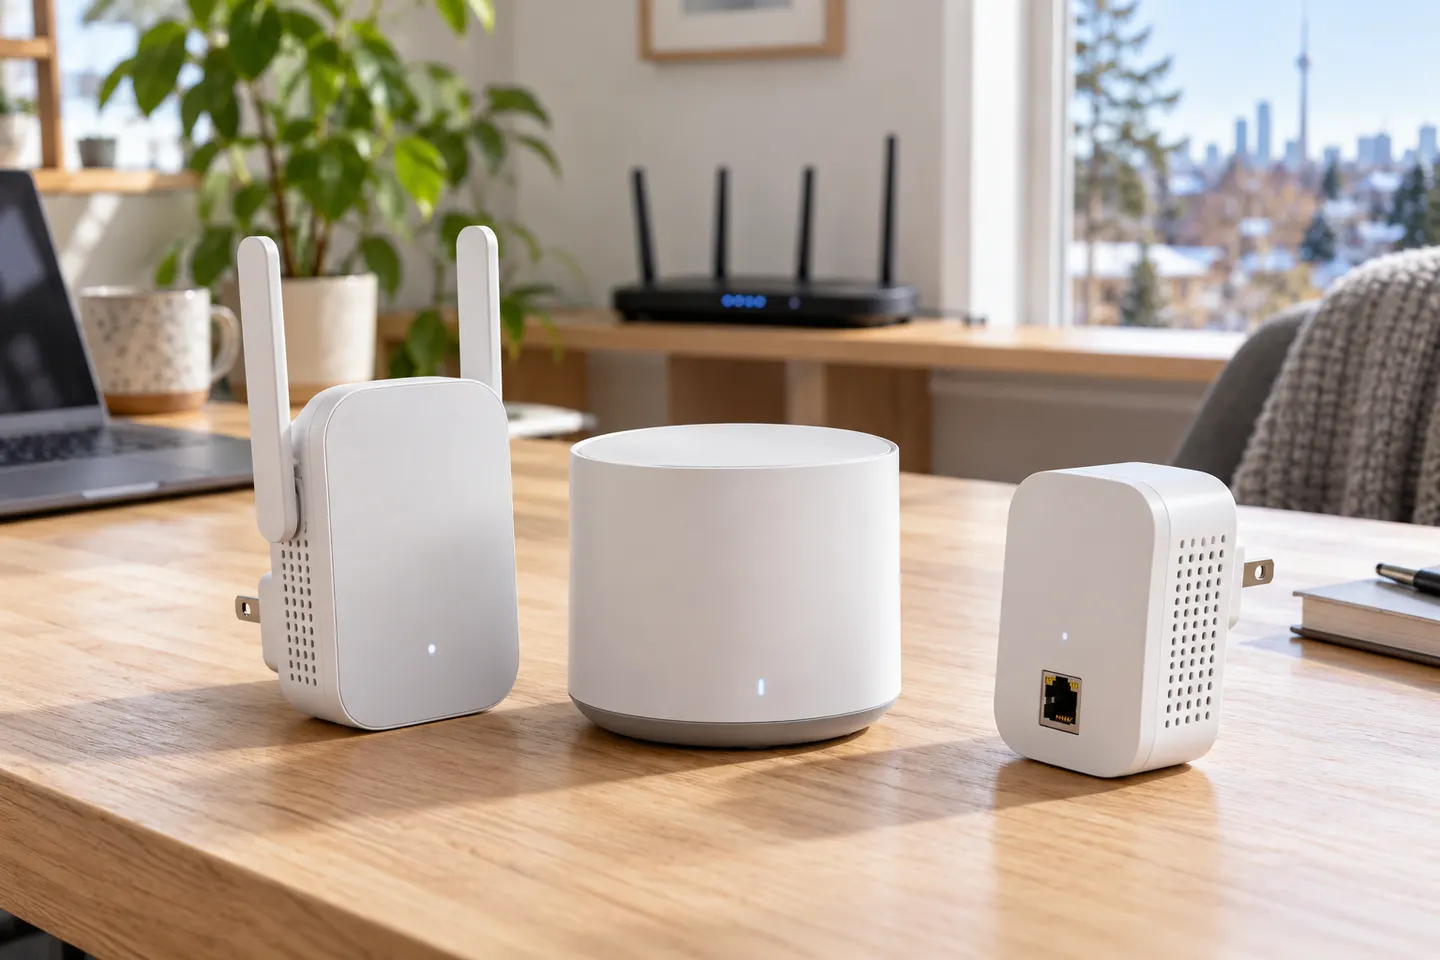 Best picksBest WiFi Extenders in the UK: Compare Five Practical Options
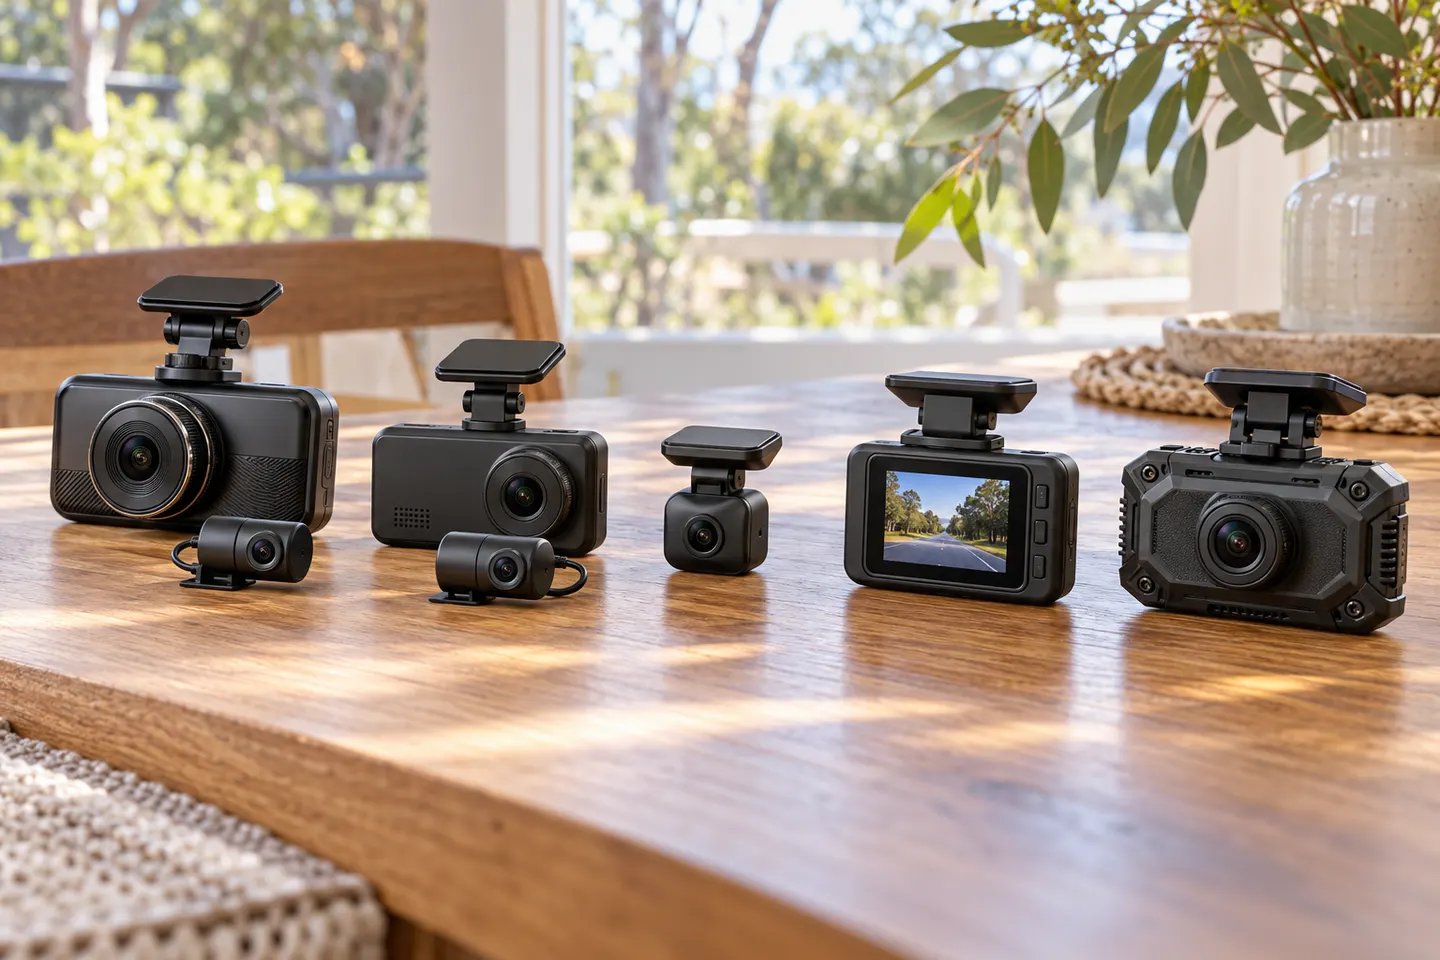 Best picksThe Best Dashcams in the UK for 2026
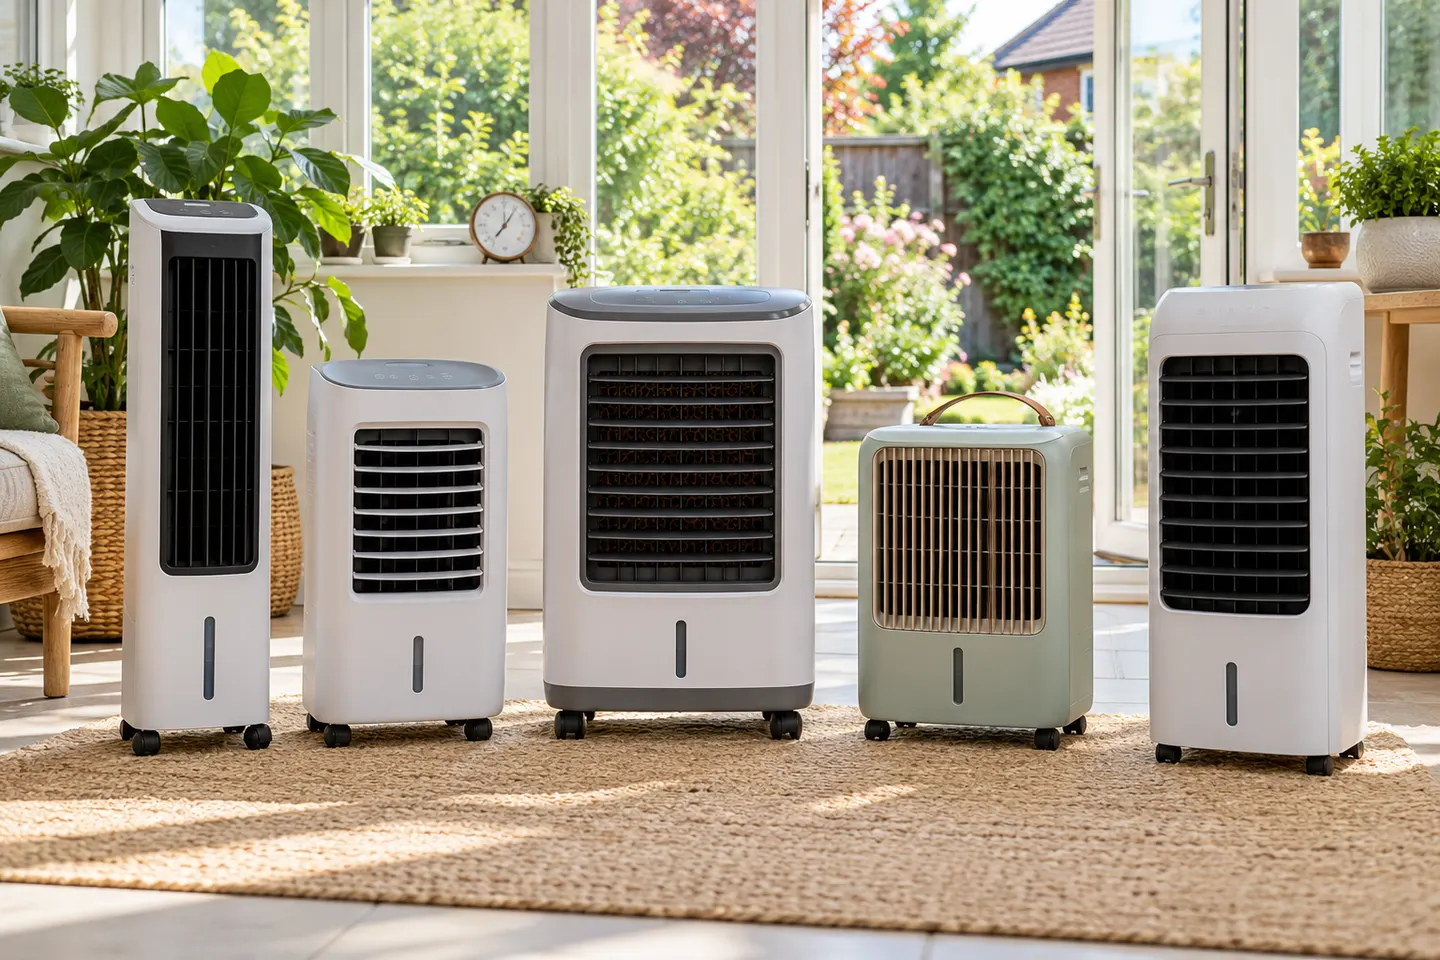 Best picksBest Portable Air Coolers: Five Models to Compare for 2026
 Best picksBest Meat Thermometers in the UK for 2026
 Best picksBest Headlamp Torches in the UK: Five Choices for 2026
 Best picksBest Winter Gloves in the UK: Five Activity-Based Choices for 2026
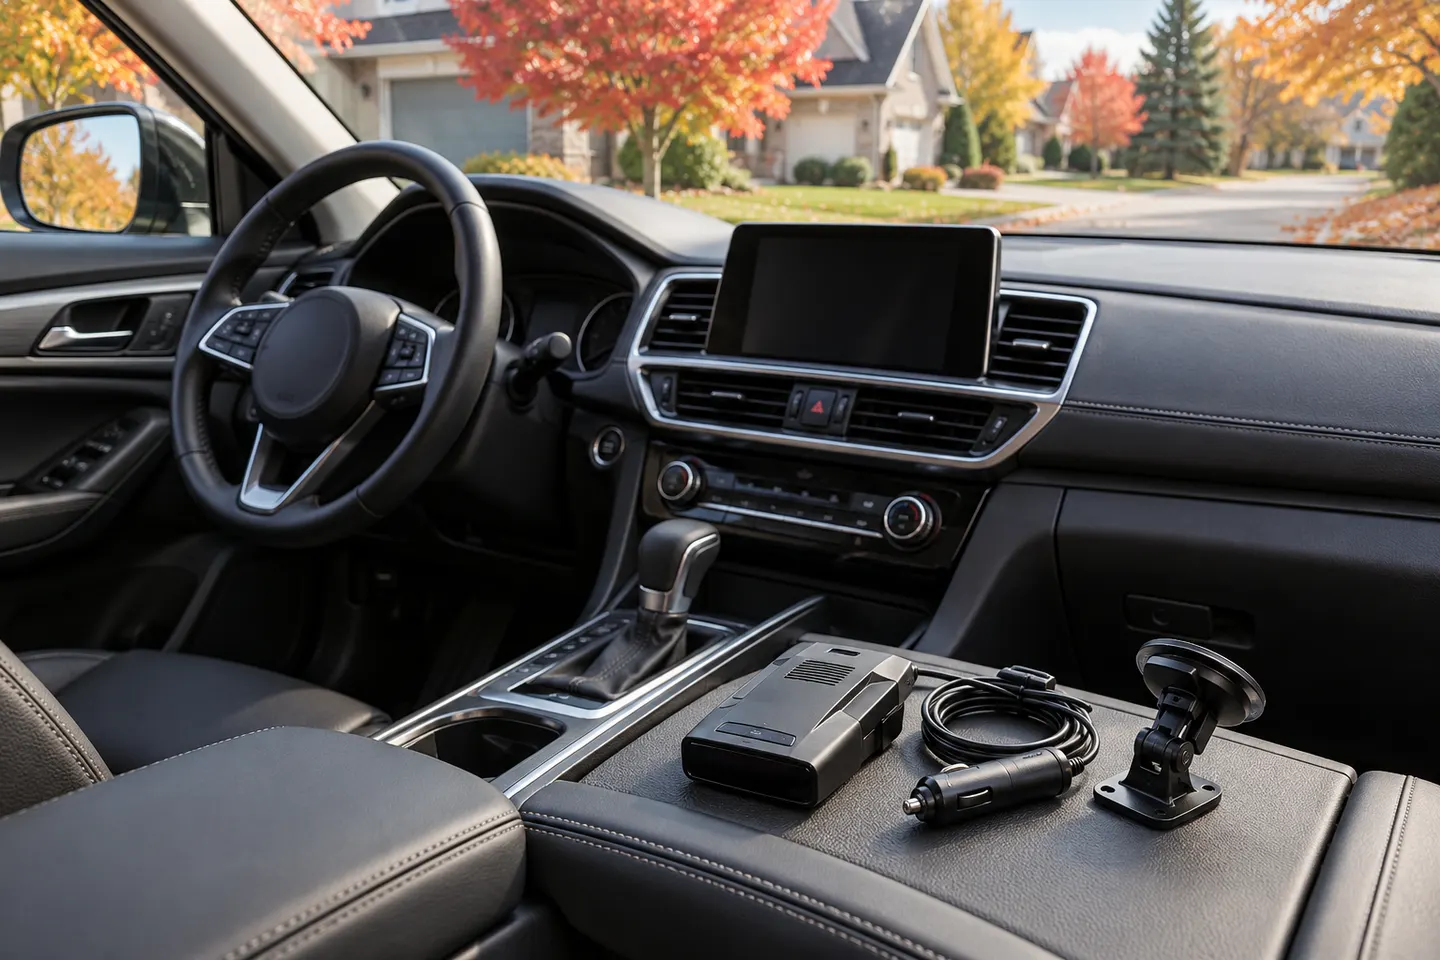 Best picksBest Radar Detectors in the UK: Models Compared for 2026
 Best picksBest Value Cordless Strimmers in the UK (2026)
 Best picksBest Air Purifiers in the UK for Different Rooms and Needs
Gearjury may earn a commission when you buy through retailer links.
Guide
TP-Link extenders can be set up through Tether, a web interface or WPS where supported. The exact screens and buttons depend on model and hardware version.
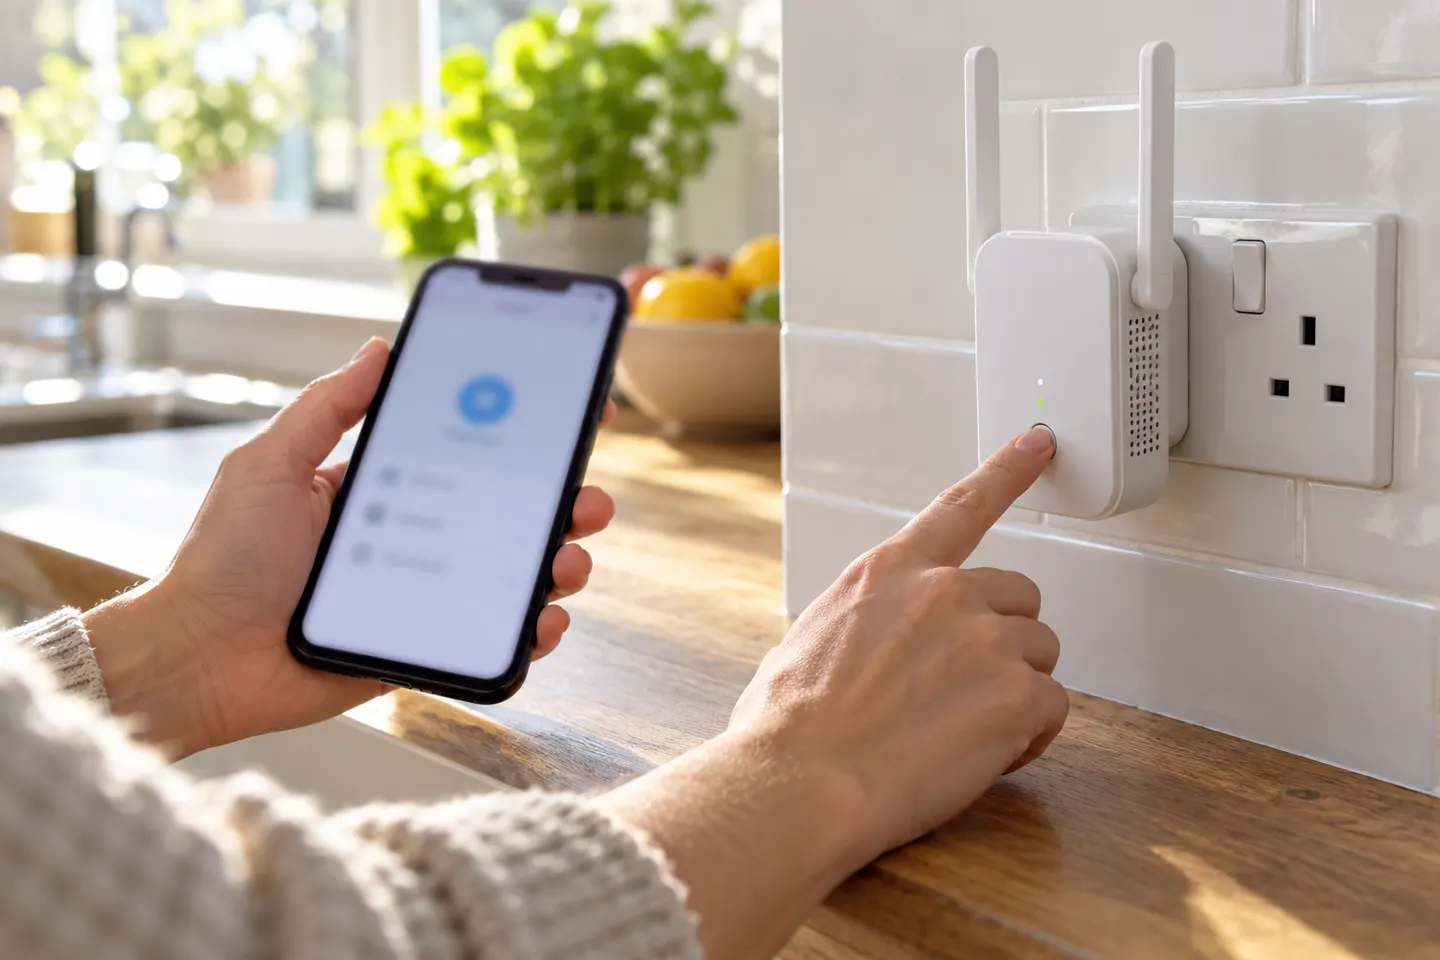
Read the label on the extender and note its model and hardware version. Download the matching manual from TP-Link support; menus and supported features can differ across versions.
Install TP-Link Tether on a compatible phone, power the extender near the router, then follow the app’s discovery and network-selection prompts. Enter the router’s WiFi password carefully and wait for the extender to restart.
Connect a phone or computer to the extender, open tplinkrepeater.net or the device address shown in its manual, and follow Quick Setup. TP-Link notes that the interface can vary by model. Select repeater mode for a wireless router link; choose access-point mode only when connecting Ethernet to the router.
Press the router’s WPS control and then the extender’s WPS control in the timing and order specified by their manuals. Wait for the signal indicator to confirm the connection. If WPS is disabled or unavailable, use app or browser setup instead.
After pairing, unplug the extender and place it between the router and the coverage gap. Avoid putting it in the dead zone. Use its signal indicator and test the target room; move it closer to the router if the backhaul signal is weak.
Depending on the model and mesh mode, the extended network may keep the router name or add an extender suffix. Reconnect devices using the displayed network details. Compatible OneMesh or EasyMesh setups can inherit router settings.
Confirm the phone is connected to the extender, recheck the router password and restart both devices. If the management page will not open, use the address and reset procedure in the exact model manual; a factory reset erases its saved settings.
Common questions
Connect to the extender first, then use tplinkrepeater.net or its listed IP address in a browser. The exact address and login flow can vary by model.
Yes. TP-Link documents setup through its Tether app or web management interface for supported models.
Place it between the router and the weak area where it still receives a good router signal. Follow the unit’s indicator and manual.
Make sure the phone or computer is connected to the extender itself, then try its IP address from the manual. Restarting the extender or using its documented reset steps may help.
Keep exploring
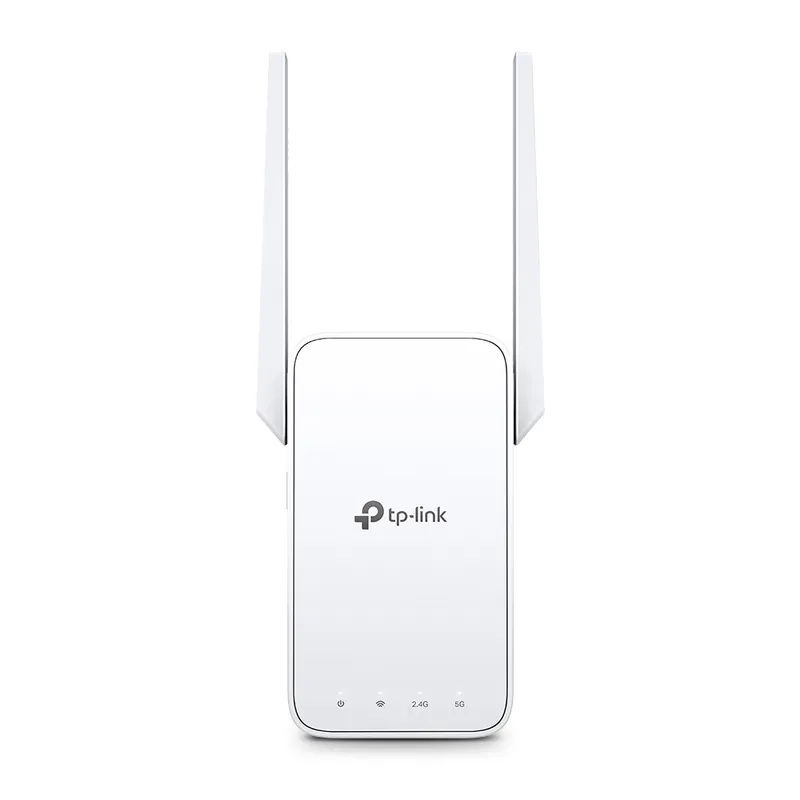
TP-Link sells plug-in repeaters and powerline kits. Check EasyMesh support, Ethernet needs and the exact UK hardware revision before buying.
TP-Link RE315 is a practical starting point for a standard indoor dead zone. Consider a Wi-Fi 6 device for newer kit, outdoor-rated hardware for a garden, or powerline where a wireless hop struggles.

Sky has different booster products for different broadband generations. Sky Max customers may use a Max Pod; check your account and hub-specific help before seeking a third-party extender.
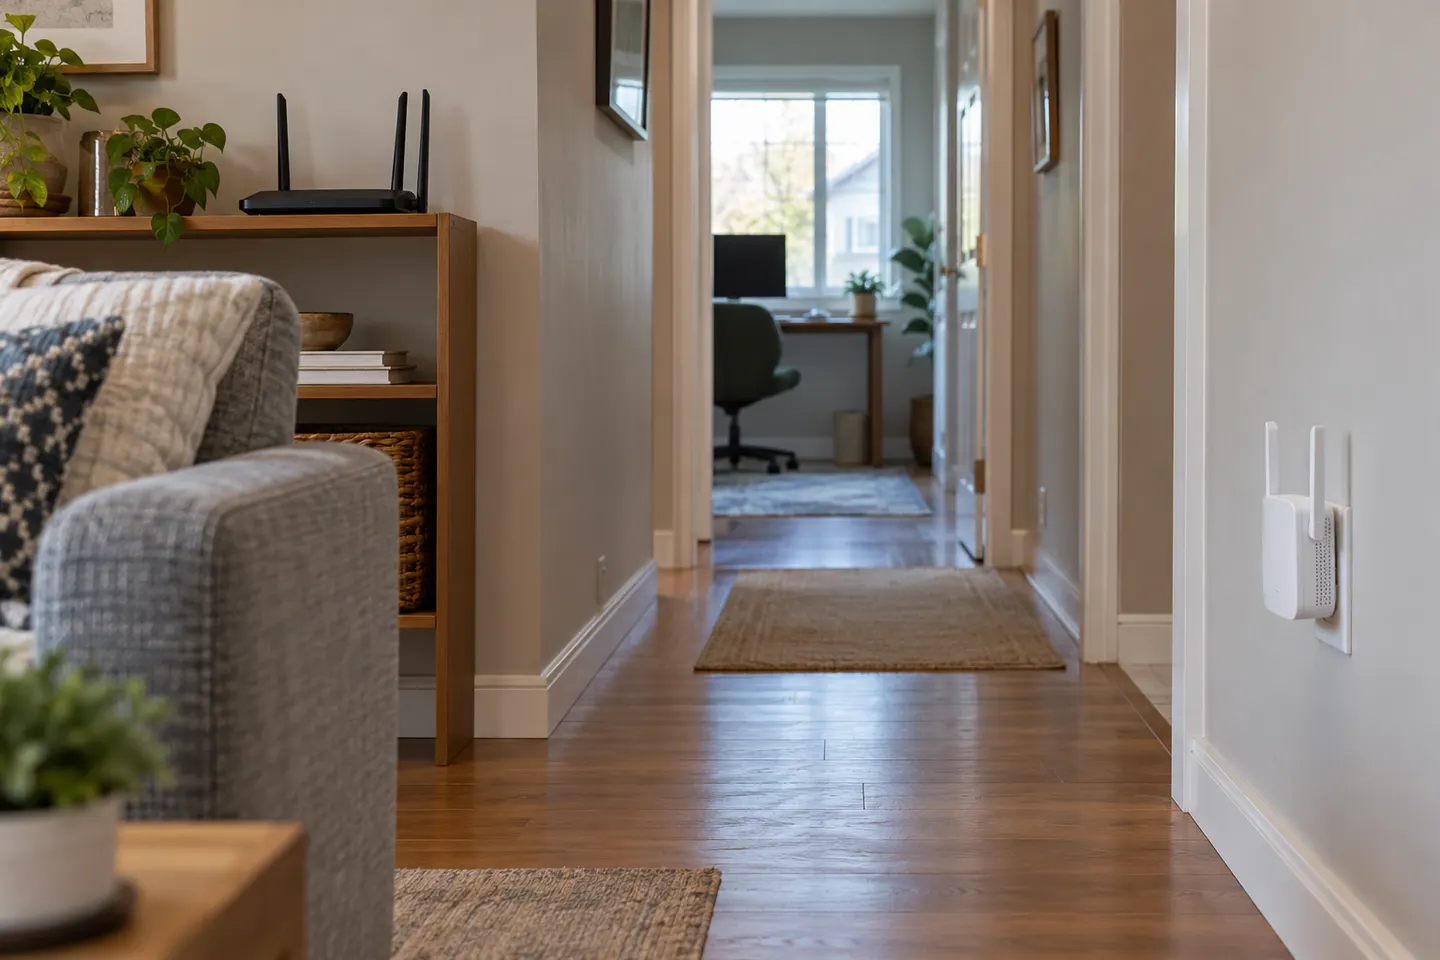
A WiFi extender can carry your router signal further, but placement and backhaul matter. Choose a plug-in repeater for a nearby dead zone, powerline WiFi for difficult layouts, or an outdoor-rated unit for a garden.